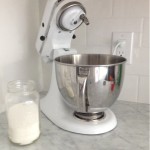
I’m in love with my KitchenAid stand mixer. I’ve used it several times and it hasn’t let me down. It’s¬†pretty darn mighty! After baking up a few delicious treats over the last couple of weeks, I thought it was time for me to¬†make some pasta. KitchenAid¬†generously sent over¬†the pasta cutter trio and I was pretty excited to test them out. Short story – I love them. Long story – keep reading.
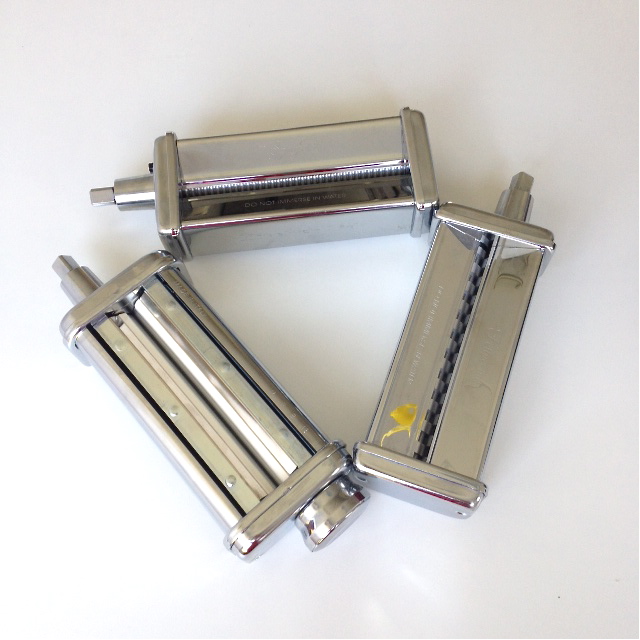
KitchenAid’s pasta roller & cutter¬†set
I grew up helping my mom make pasta with the classic Italian crank pasta machine. My mom¬†always took the lead on the dough making, and I was on crank and fluff-with-flour duty. I’ve made pasta¬†with my own machine, too, even though my Italian parents were pretty shocked when I told them that my cheaper machine was Made in China. “You need one that’s Made in Italy, Jordana.”, they said. Um, yeah,¬†it’s a touch life, I lead, I know.
Anyway…
Fast forward to last week when I opened the KitchenAid package and learned that the pasta roller and cutters were Made in Italy. Awesome. Way to go, KitchenAid!
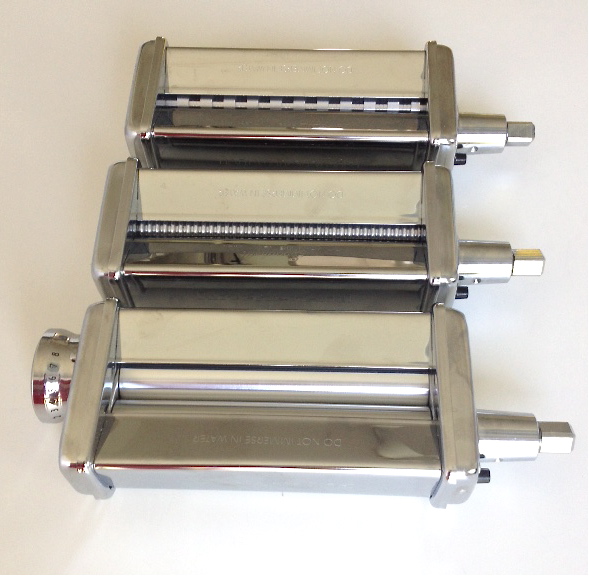
top to bottom: fettucini cutter, spaghetti cutter, pasta roller
I decided to use the pasta recipe that was in the KitchenAid recipe book…4 eggs, 3.5 cups of flour, 1 tbsp water…mix with dough hook for 2 minutes…etc.
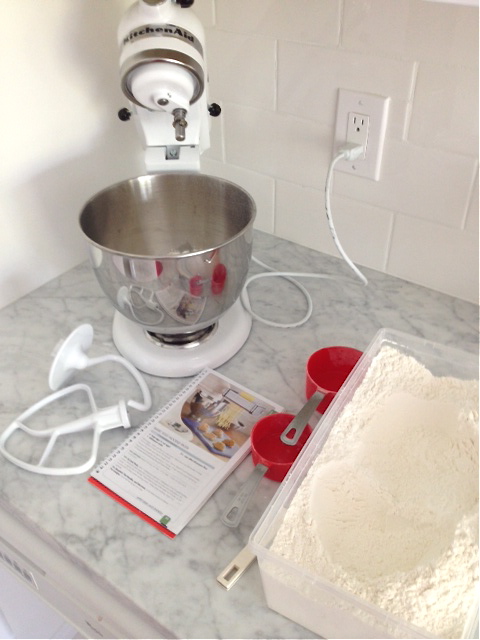
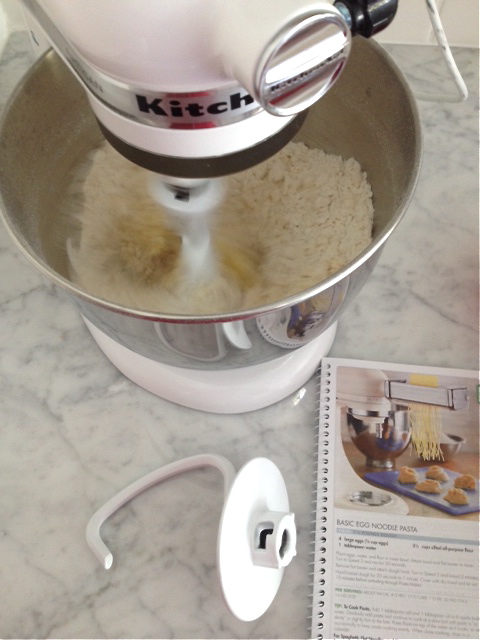
Unfortunately, this recipe didn’t work out for me. It was a big fail. My dough, even after more than 2 minutes with the dough hook, was so darn crumbly! Not sure exactly why. I tried adding more water, then another egg.¬†It was a mess.
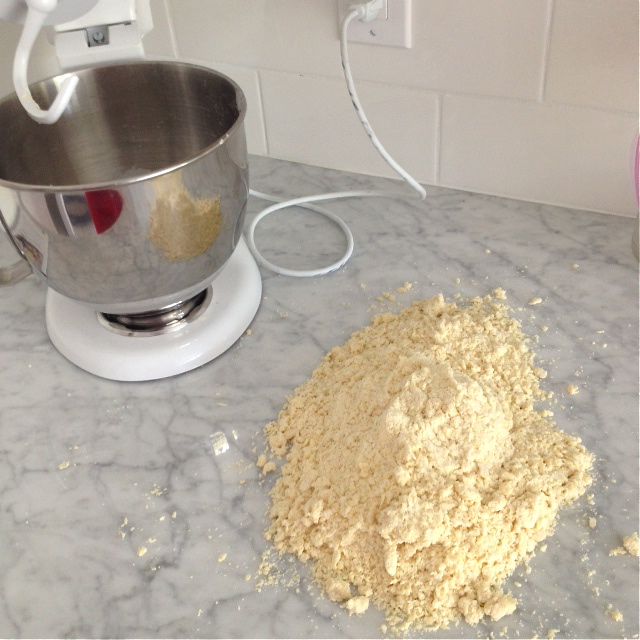
crumbly dough
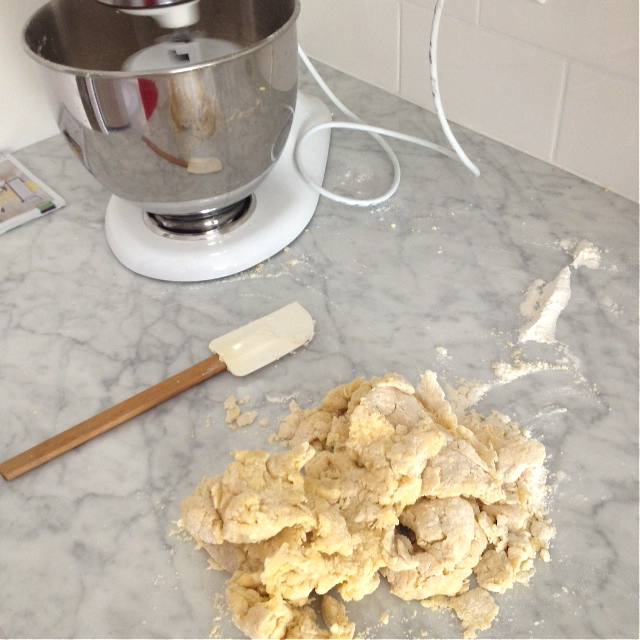
I couldn’t save this dough
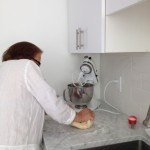
I didn’t give up, though. Instead, I tried out my mom’s recipe. It goes something like this…an egg per person, some handfuls of flour, just enough water. So vague, I know. This is what all of her recipes are like! But, just like probably every Italian Nonna has ever said, you just need to feel the dough and recognize when you’ve hit the¬†right consistency and texture. Anyway,¬†I put the ingredients in¬†the mixing bowl, attached the dough hook, and gave it a spin for a couple of minutes. Things were looking pretty darn good! I then spent a minute (or less) kneading the dough by hand.
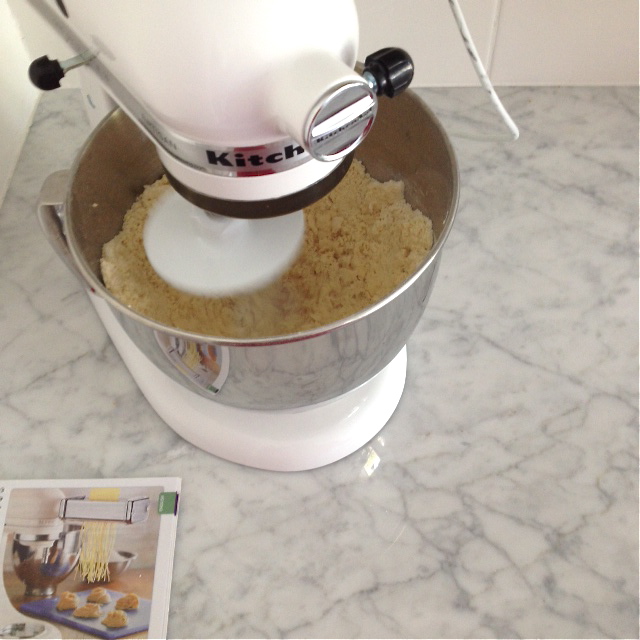
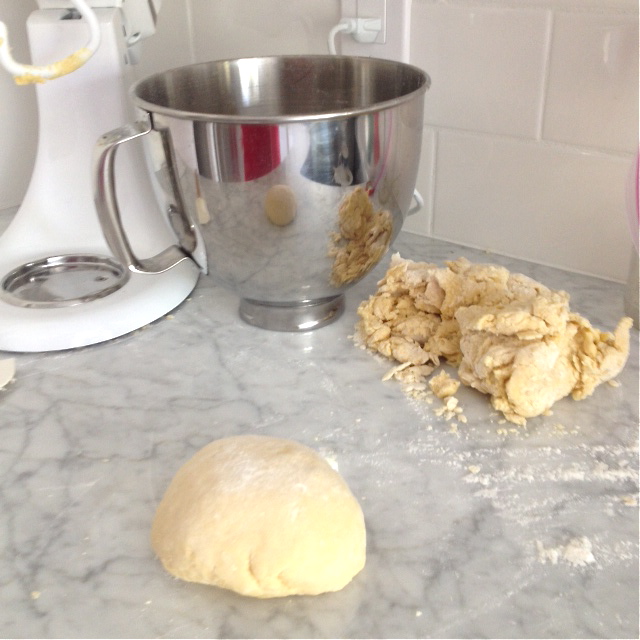
after kneading – top: my failed project;
bottom: my mom’s winning recipe
When I reached the right texture (smooth, not too wet, not too dry), I knew I was ready to move on to the attachments. The instructions that came with the attachments & stand mixer were clear, and inserting the attachments was really easy and straight forward. No problem there.
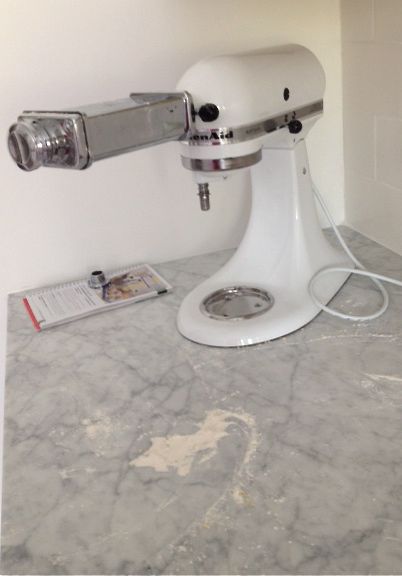
First, I used the pasta roller to flatten out chunks of dough. I started with the knob at 1 (widest space between rollers), and then worked my way to 5 (much smaller space between rollers). I set the machine to level 2 – not too fast, not too slow. Once the machine was on, the rollers got a-rollin’.
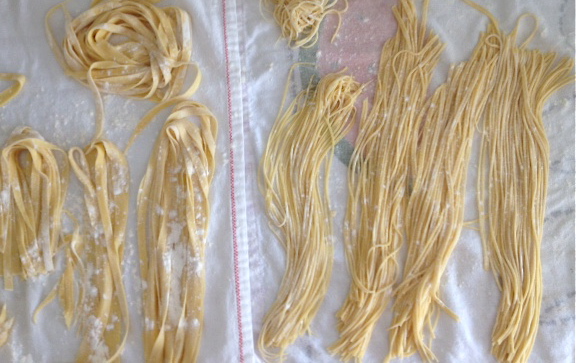
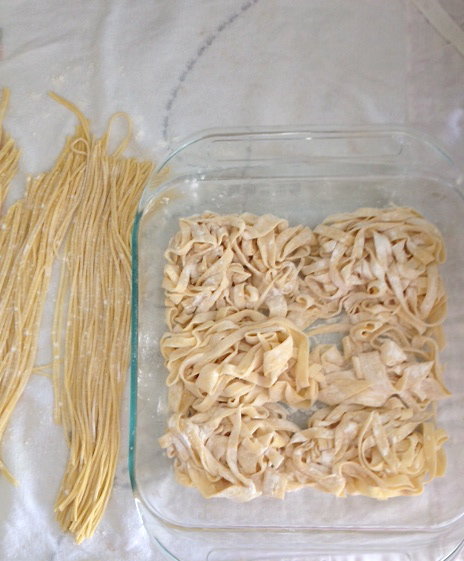
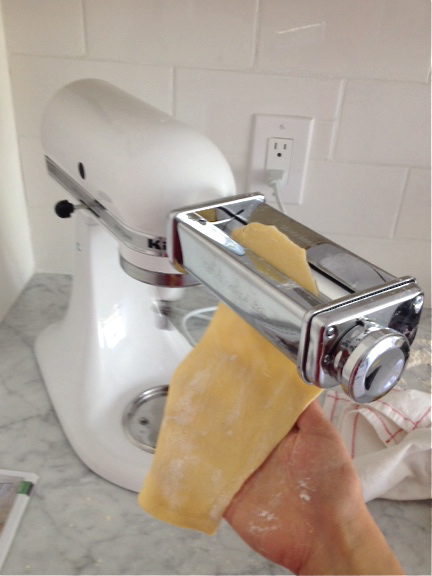 Next, I switched attachments to make spaghetti and fettucini. I floured everything up so that nothing would stick.
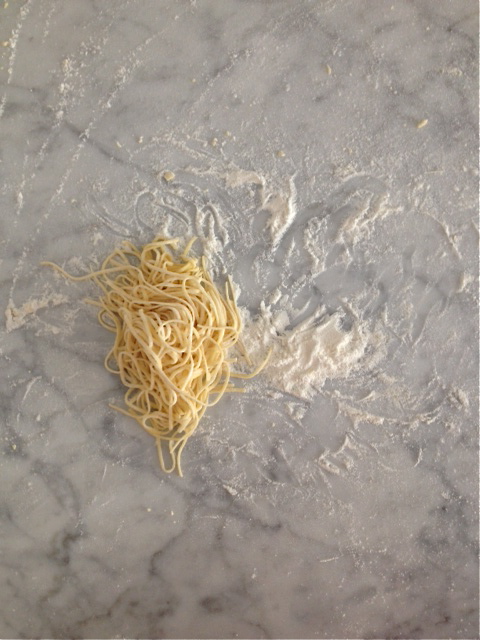
I ate some for dinner (I made pasta carbonara), obviously, and I froze the rest. Amazing.
The pasta roller and cutter attachments make easy work of pasta making. Let me tell you, they’re really awesome and work so quickly. Incredible. I thought about my Nonna who used a wooden roller the size of a dining table to roll out the dough and then cut it into strips¬†all by hand. Gosh, I don’t think I could have done it her way – I’m much too impatient!
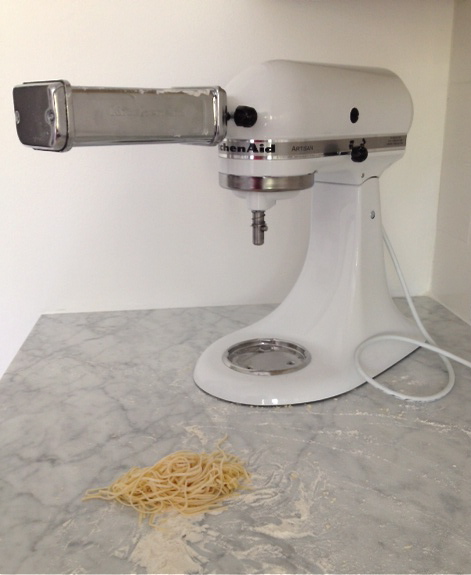
Oh – and I also could never be¬†a no-carbs gal. I’m too much of a pasta fan!
Many thanks to KitchenAid  & Hayley for sending me the pasta roller and cutter set.
You’re brave! I don’t know why, but the thought of making pasta scares me. You did your Nonna proud. That pasta looks delish.
My electric (hand-held) mixer died this week and I’m investing in a KitchenAid stand mixer. I’ve wanted to for a while, but now is the perfect opportunity! I’ll be getting a coloured one.
Wonderful! You are going to LOVE it!!! What colour are you going to get? I really think the fuchsia is vibrant and fun. I’d probably go for red if I didn’t get the white one.