Every since I moved to Waterloo, people have been talking about The ION. They were probably talking about it before I arrived, too. At first, I had no idea what people were going on about because nothing was visibly happening in my neighbourhood. Then last summer, King St. was ripped up completely while the ION crew was working away, This is when I really noticed that things were a-changin’ in the region.
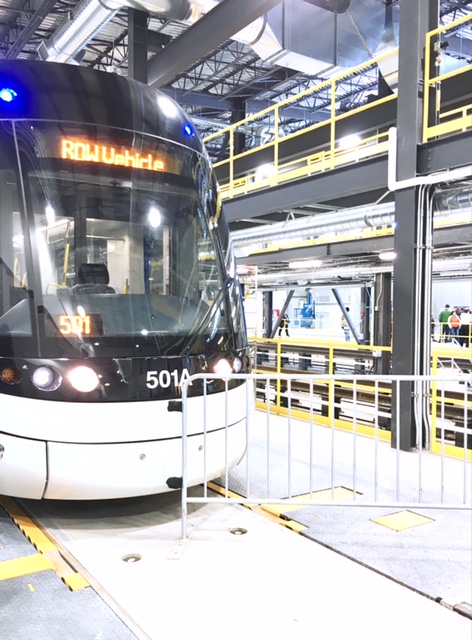
The ION, for those of you outside the Waterloo region, is our new light rail system. It will connect one end of the region to the other. The first ION train came to the area just a couple of weeks ago from Bombardier’s Thunder Bay plant, and they hype has been growing.
Last weekend, the city hosted an open house so that the public could take a tour of the first ION train. I opted to take mosey on over, and I was surprised by the crowd of people! There was an incredible turnout on a sunny Saturday afternoon! This was history in the making, and it was interesting to see the public’s enthusiasm as well as all the different people and organizations who have been part of the ION journey.
Today, I’d like to spread the news and share with you some photos along with five things that I learned about the ION during the open house.
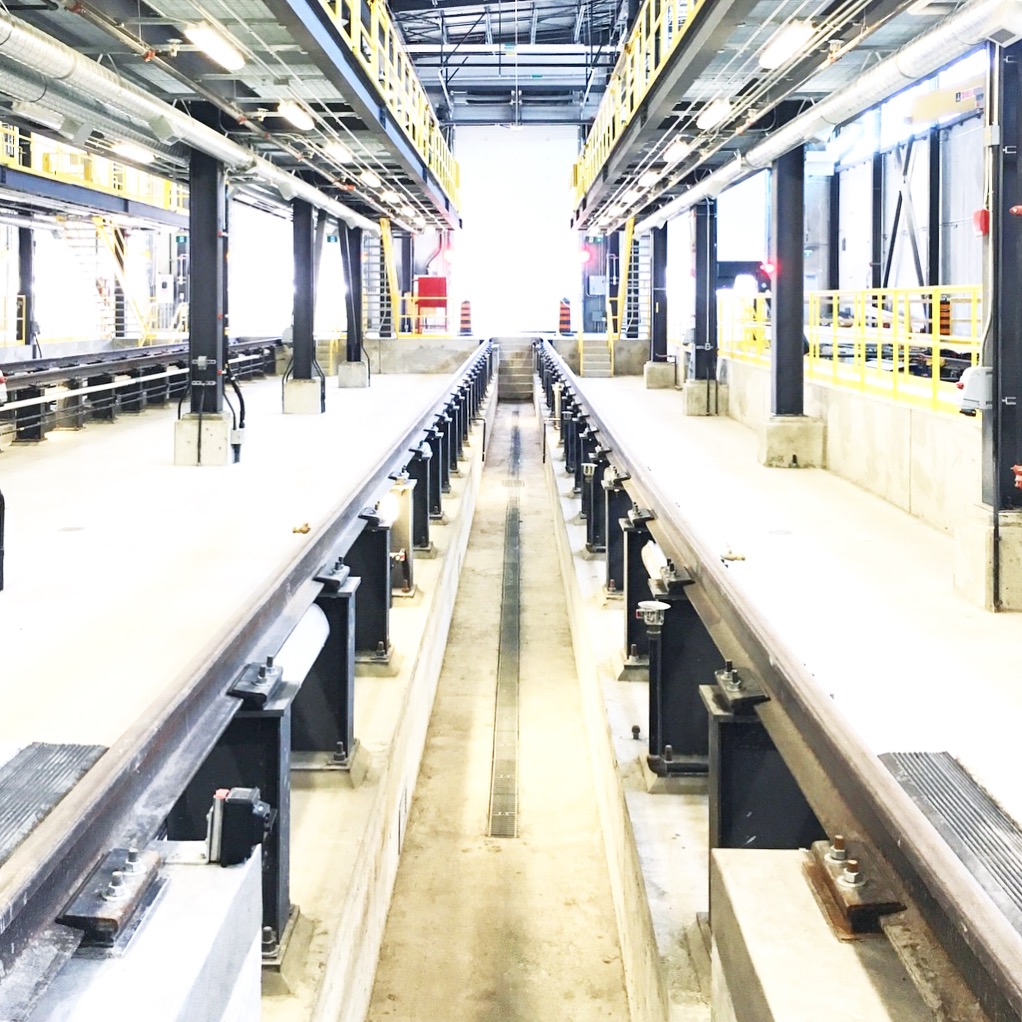
1. The ION’s light rail transit (LRT) is made up of 19 kilometers of rail which goes from the Conestoga Mall transit terminal in Waterloo to the Fairway Mall transit terminal in Kitchener.
2. There are about 60 seats in each LRT vehicle. Each vehicle can carry about 200 people.
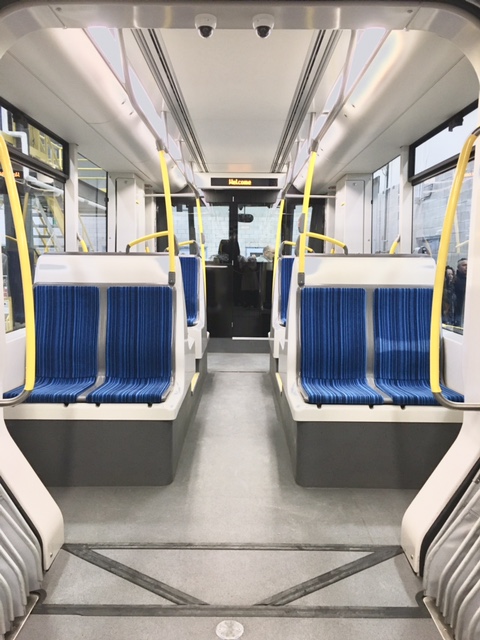
3. The LRT vehicles are build by Bombardier. The Waterloo Region has purchased 14 vehicles. The first has arrived at ION’s Dutton Dr. headquarters (aka The site of the open house.).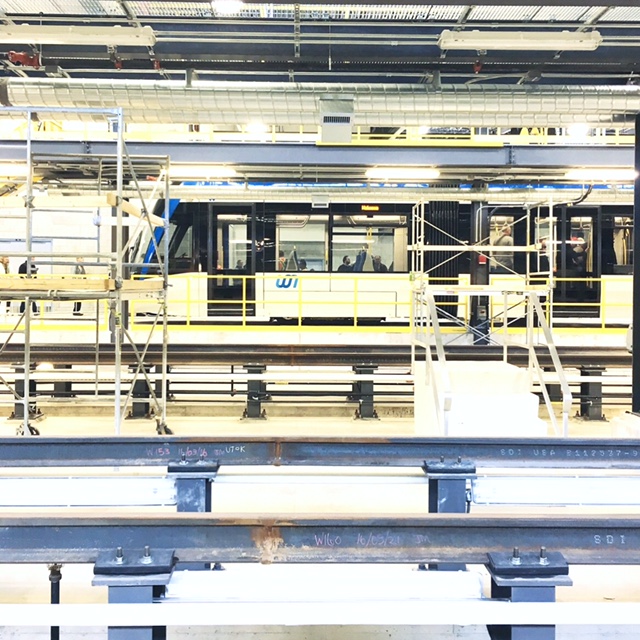
4. ION riders and Grand River Transit riders (bus system) will pay one fair to use both services.
5. Stage 2 of the ION development will include a link to Cambridge. In all, there will be a 37km route connecting Cambridge, Kitchener, and Waterloo.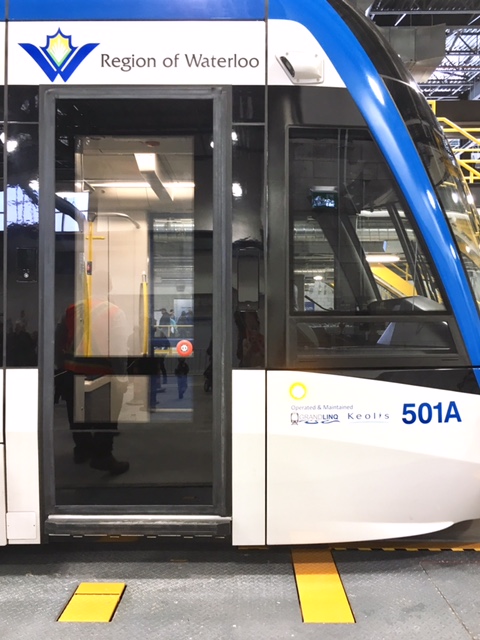
I think developing in public transit is a smart option for our region. Yes, it is costing a ton of money (and I’m sure my taxes are paying for it), but in the long run, I think it makes sense for a region as developed – and developing – as this one!
Learn more at RideION.
Photos by Jordana.