The Friday Five: What I Like about My Sea Bags Tote

Recently, I styled some outfits with various totes from Sea Bags – a Maine shop that specializes in crafting high-quality bags and accessories using recycled sails.

Today, I’m taking you on a close-up tour of my customized tote. I adore it! Truly. Absolutely did not expect to love it as much as I do.

But, first, a photo of me during one summer of sailing (which made it onto the cover of Ontario Sailor magazine, by the way):

There I am in red, weighing the boat down…and enjoying the view, ignoring the fact that things were getting pretty wild on the high seas (ha ha – not the high seas, but it sounds  dramatic). It doesn’t look like I was working so hard, but I assure you that my role was essential. That’s what I like to tell myself! As a graduation gift from my Master’s program, my parents contacted the magazine and photographer and got their hands on the original photo. I now have it framed on my office gallery wall. I love it. This is a special photo and brings back many happy memories.

So now back to the whole point of this post – my Sea Bags tote. Do you see those massive sails on the boats? Sea Bags reuses olds sails like those and turns them into an amazing collection of totes.

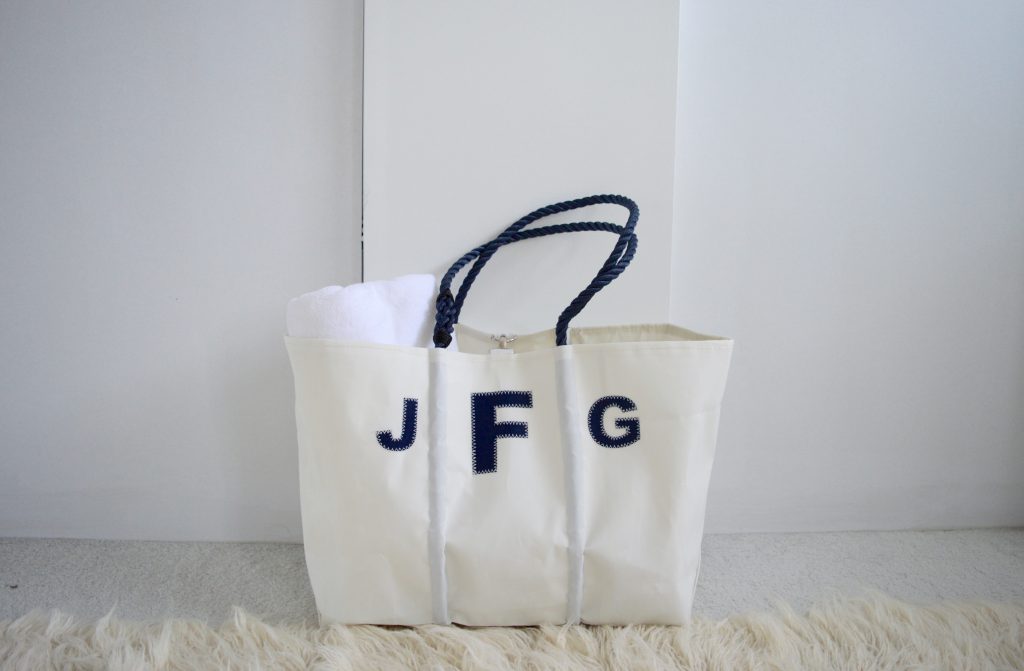
My custom monogram tote arrived several weeks ago, and I was certainly surprised by the quality of it. For today’s post, I’m sharing five things that I like – really really like – about my customized Sea Bag tote.

1. The size. The tote is large, and it’s going to be a great bag to bring to Florida this summer. It’s also good for trips to the market and short getaways, too. The tote can fit a few towels, and it can certainly fit enough for an overnight trip.
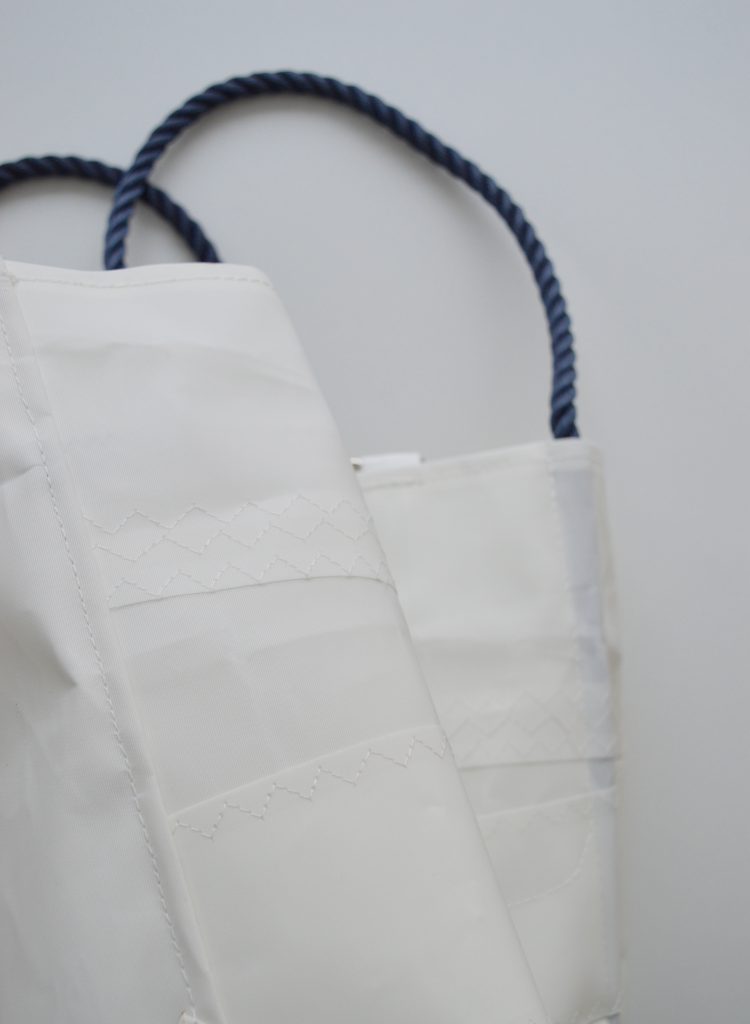
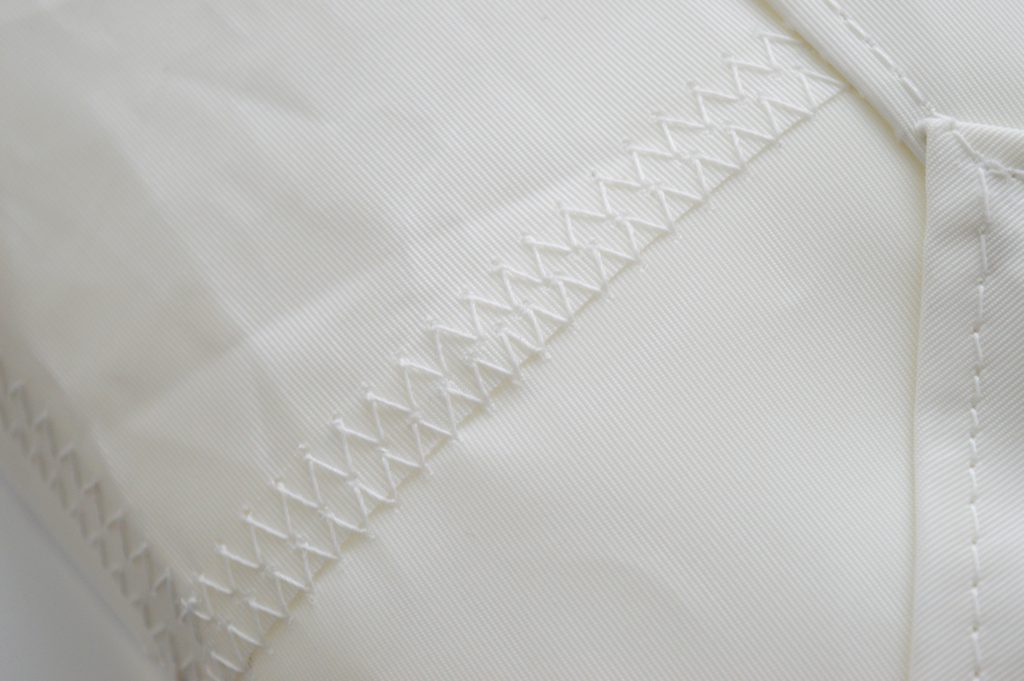
2. The stitching. I knew the sail material would be substantial, but I didn’t expect the stitching to be so detailed and designy (yes, I just made up that word). This was a very nice surprise!
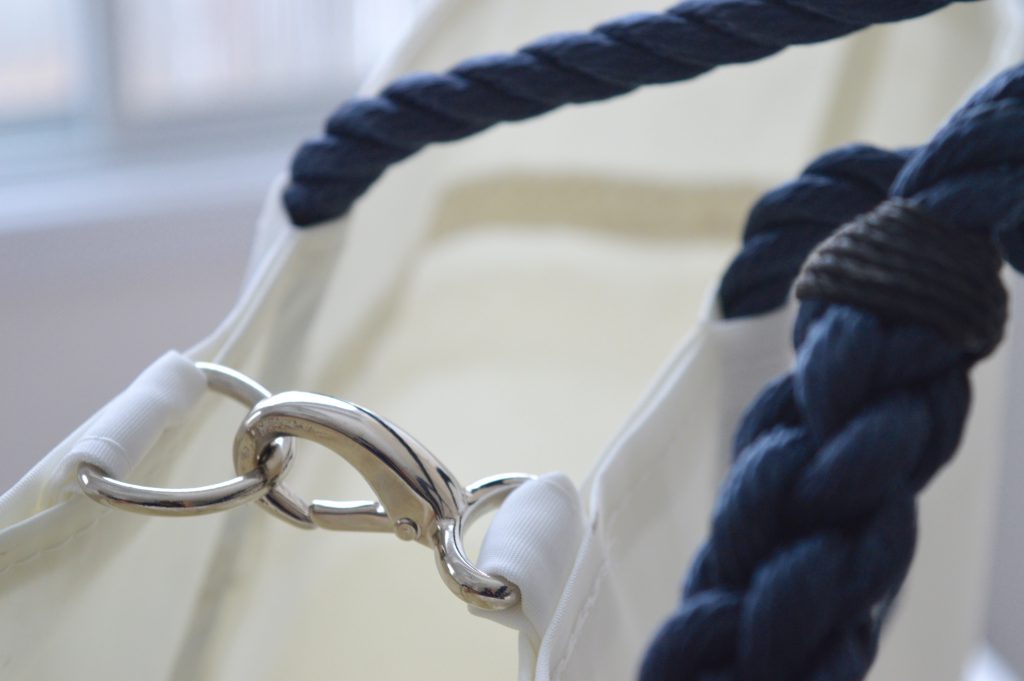
3. The clasp. Another pleasant surprise was the strength and weight of the clasp. This is an optional feature, and I would encourage you to opt-in. It’s a shiny detail that’s functional, too.
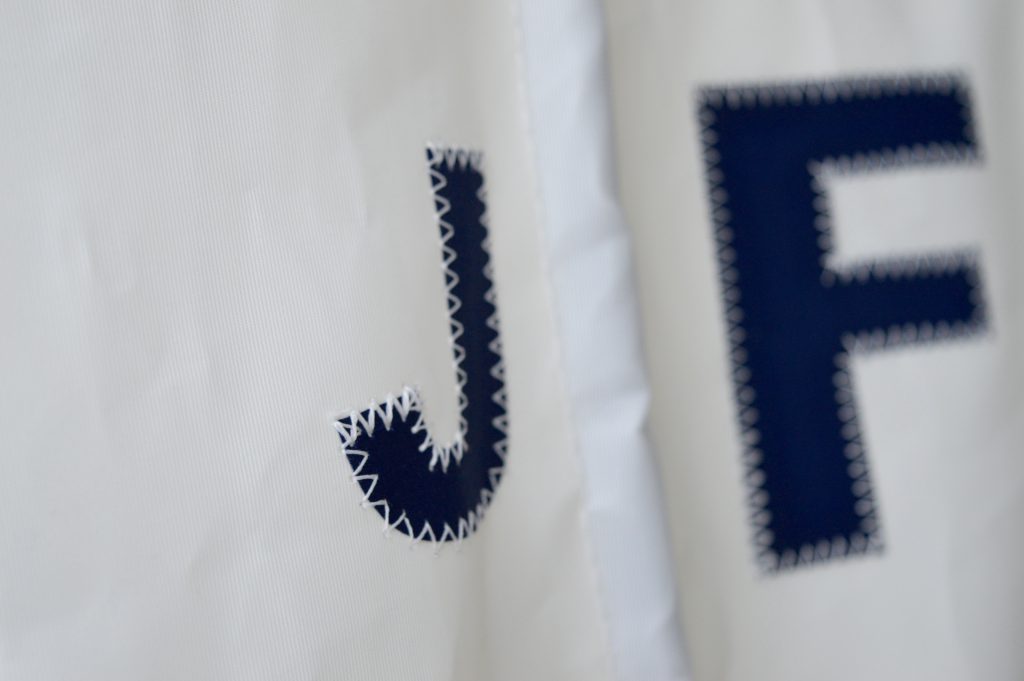
4. The custom letters. Anything personalized floats my boat. I’m thinking that my last name initial should have been the biggest and in the middle, but I may have placed my order too quickly to pay attention to monogram etiquette. Word to the wise – investigate the options before you place the order!
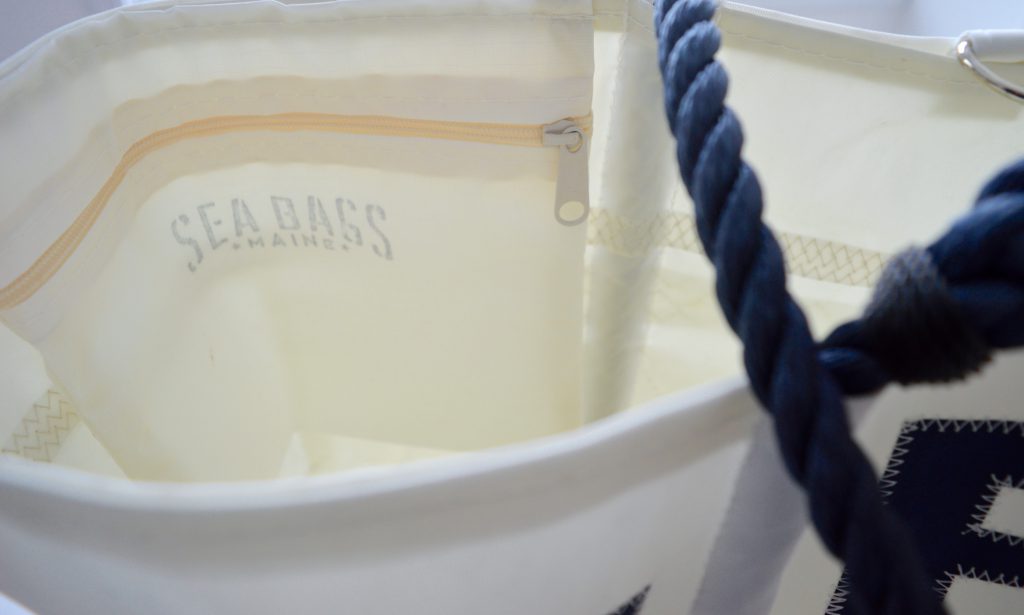
5. The extra inside pocket. This was an add-on, and I would certainly recommend it. Inside pockets like this are great for keys, lipstick, money, and more. I also like that the branding is on the pocket. This reminds me that my tote was Made In America by a team of passionate people!
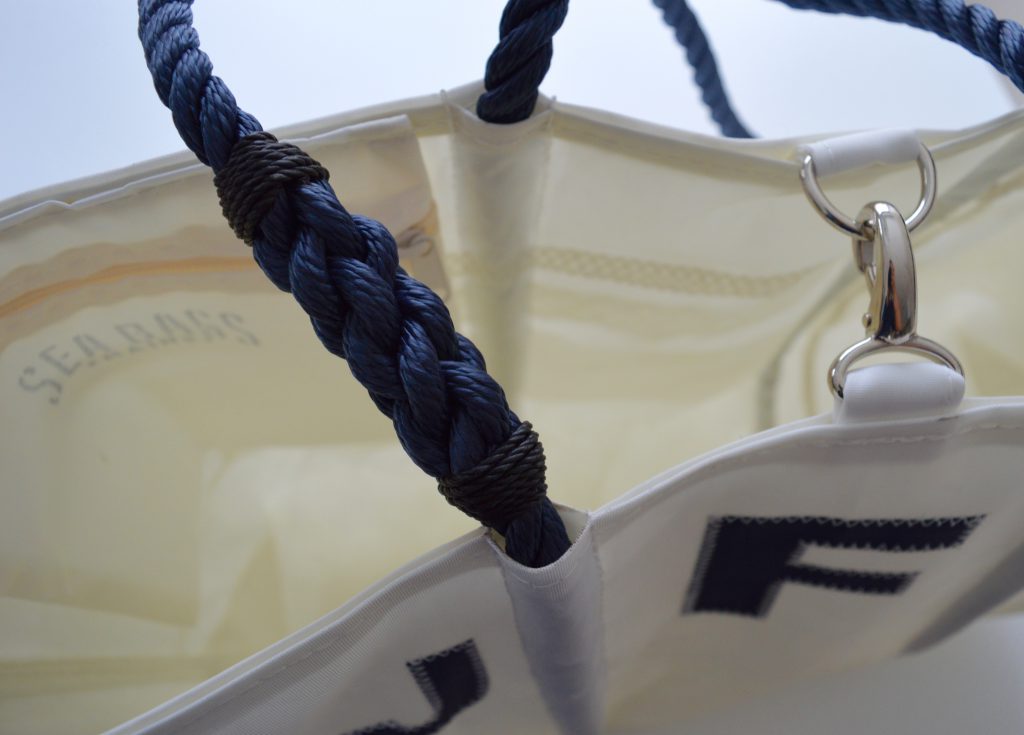
There are so many options that you can consider when you place your Sea Bags tote order. My bag, for example, starts at $185 USD, but the inside pocket ($20) and the clasp ($10) were add-ons. The Sea Bags team used navy handles instead of the traditional hemp version on my bag, and I’m so happy that the Sea Bags team decided on these custom options for me. I’m very appreciative, and this design is definitely me!

Note: If you’re a Canadian customer looking to place an order, call 1-888-210-4244.

Thanks to Sea Bags for sponsoring this post. All opinions are my own.

Save

Save

Save

Save

Save

Save

Save

Save

Save

Save

Hotel to Home: Shangri-La, Abu Dhabi

Last week’s Shangri-La Vancouver enticed me to look into other Shangri-La hotels. With this Internet adventure, I landed on the Shangri-La Abu Dhabi. And I want to go! The archways have got me…even though the design is much more ornate than I generally prefer.

Look at the grand foyer:

via Shangri-La Abu Dhabi

I’m using this space as today’s design inspiration.

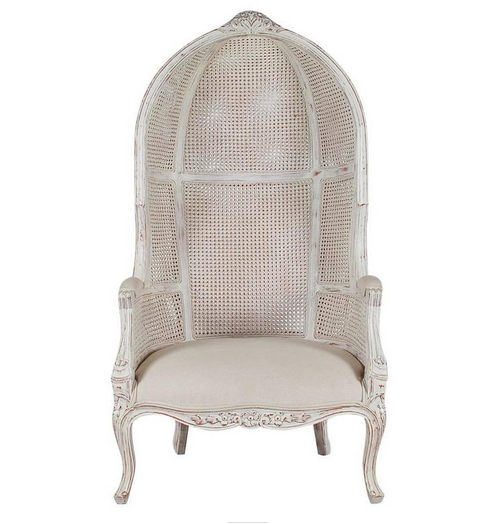
palm tree, room screen, over-dyed rug, wall sconce, armchair, end table, curtains

Save

Save

Save

Food: Finding the Perfect Pizza Dough Recipe

Among all the other things on my to do list this year, I’d like to try to find the perfect pizza dough recipe. My parents get the best fresh pizza dough from a local bakery near where they live, but I have only been able to find frozen pizza dough here in Waterloo. And it’s okay. Nothing amazing. Just fine.

Recently, I watched Anthony Bourdain’s Rome episode in his show The Layover, and I cannot get over the pizza that I saw in the show. The dough looked just perfect.

I tried this recipe from Ina Garten (side note – Ina and Jeffrey – #couplegoals), but I wasn’t impressed. It wasn’t malleable and, frankly, it was bland.

I put a call out on Instagram, and Deborah from Green Light District sent me over a recipe from Gourmet from 15 years ago. I gave it a go, and it was quite good. Although it was a time consuming process – the rise, punch, rise, punch routine – the dough was soft and easy to work with. It had a nice amount of saltiness, too.

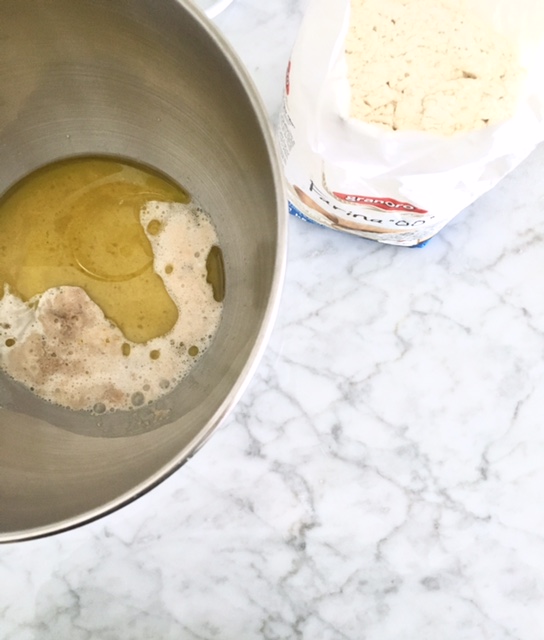
Steps 1 & 2

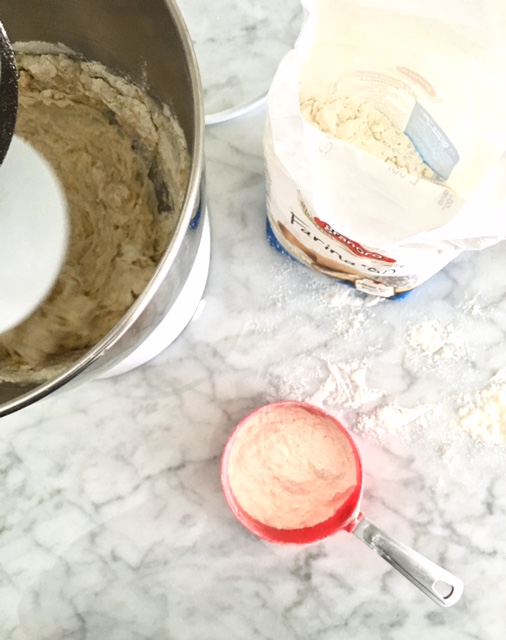
Steps 2 & 3 

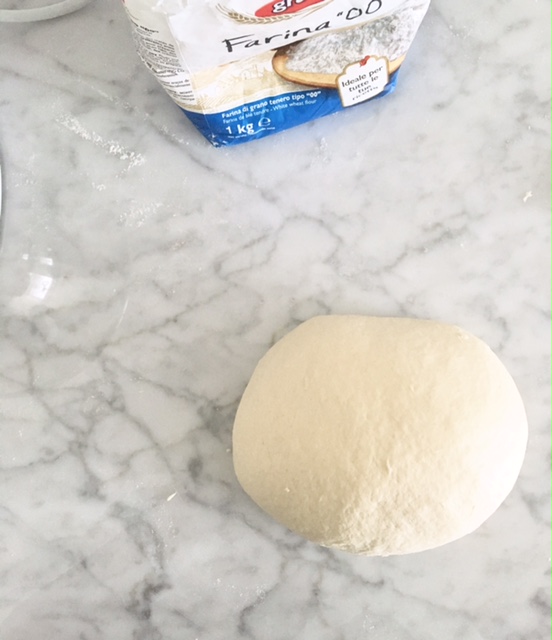
Step 3

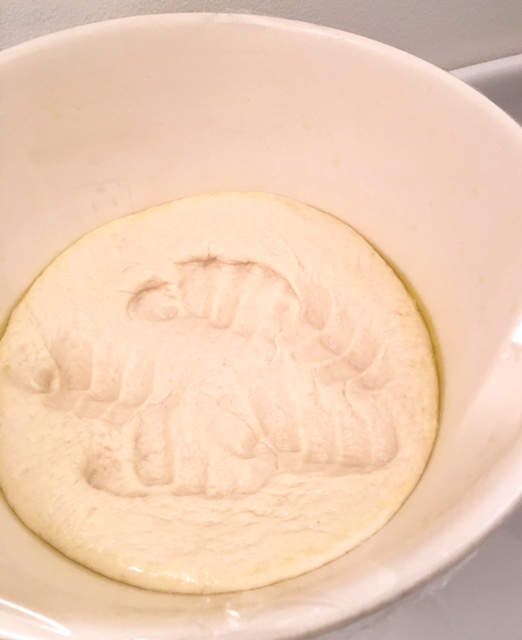
Steps 4 & 5

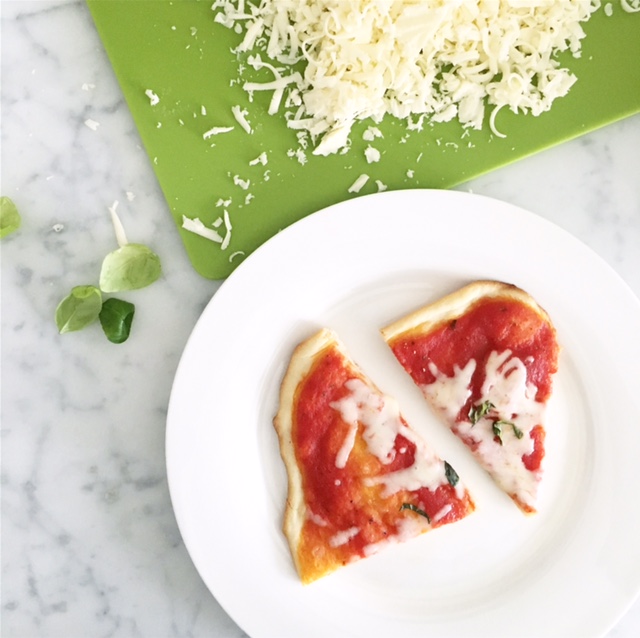
Final product!

Here’s the recipe if you want to give it a try – with a few of my add-on notes at the end:

Ingredients:
2-1/2 teaspoons active dry yeast
1 tablespoon sugar
1-1/4 cups warm water
1 tablespoon salt
1/4 cup olive oil
3 cups unbleached all-purpose flour (over the years I substituted 1/4 cup or so with whole wheat or other interesting floors like buckwheat)
Cornmeal for dusting the pizza tile

Procedure:

  1. In a large bowl, proof the yeast with the sugar & 1/4 cup warm water for 10 minutes or so, until foamy.
  2. Stir in remaining 1 cup warm water, salt, oil and 2-3/4 cups flour. Blend until it forms a dough.
  3. Turn out onto a floured surface, knead, incorporating as much as the remaining 1/4 cup flour as necessary to prevent dough from sticking. Should take anywhere between 7-10 minutes. Should be smooth like a baby’s bottom!
  4. Transfer dough to an oiled bowl, turn to coat, let rise covered with plastic wrap in a warm place for 2 hours, or until doubled.
  5. Punch down, let rise again for 45 minutes until doubled again, covered with plastic wrap.
  6. Divide the dough into 3 balls.
  7. Preheat oven to 500.
  8. On a lightly floured surface, roll one of the three balls out into a 12″ round. Quickly transfer on pizza tile, top with sauce, veggies, other toppings. Bake 8-10 minutes or so. Check it often.
  9. A couple of minutes before the pizza is done, add the cheese.

Additional Notes:

  • I don’t use a pizza tile. I use a cookie sheet. I also don’t use cornmeal. I oil up my cookie sheet.
  • I heat my oven to 450.
  • I use my KitchenAid stand mixer for most of the mixing. I then knead it a few times on my floured counter before I let it rise in the bowl.
  • I used “OO” flour (this one from Granoro) because this is what my aunt in Italy uses, but I’m not sure if it makes a difference. I really need to ask her for her recipe. That’s what I really should do!
  • I really like the classic margherita pizza, so that’s why you’ll see it in my Instagram feed most often.

Save

Save

Save

Save

Save