In the Kitchen: Coffee Maker Review

A little while ago, I shared that I was in the market for a new coffee maker. I was fortunate to work with the fine folks at Bed Bath & Beyond to get the best-for-my-needs coffee machine. Here’s what happened since I shared my coffee maker options with you…

After reading about the machines online, talking to friends about their machines, I headed on over to Waterloo’s Bed Bath & Beyond one evening to make the purchase. I could have easily bought a machine online, but I thought it best to get the full Bed Bath & Beyond experience.

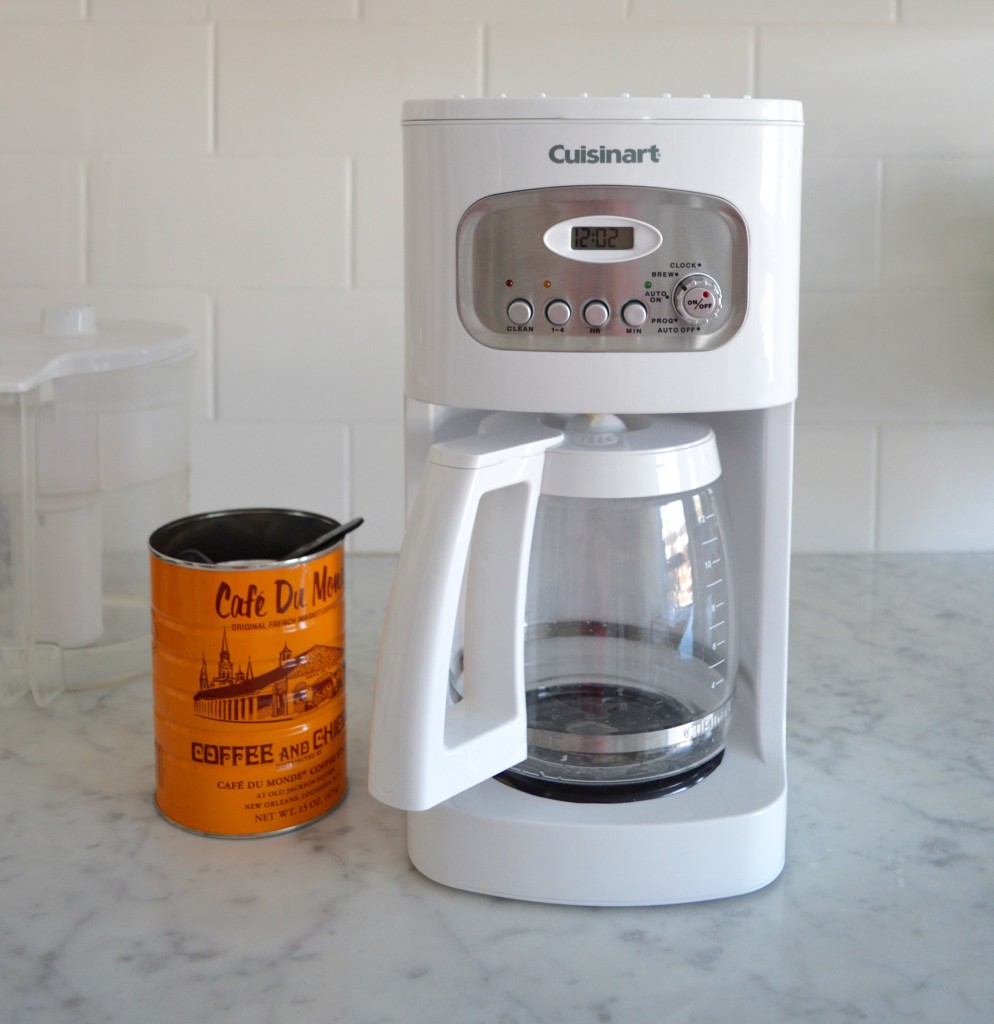
I had intended to buy KitchenAid’s 12-cup coffee maker (mostly because it was white, white, white!), but when I saw the options in store, the Cuisinart 12-cup coffee maker caught my eye. I hadn’t seen this one on the Canadian Bed Bath & Beyond site, so it kind of threw my whole decision off. I kept thinking about my sister’s long-lasting Cuisinart machine, and I really liked the buttons and small time display on this machine over the large, round display on the KitchenAid.
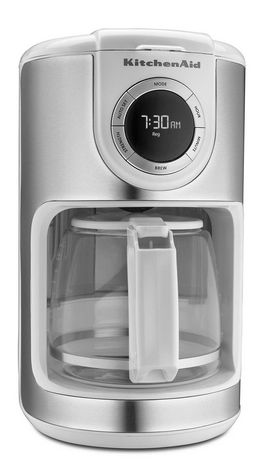
KitchenAid-coffee maker-Bed Bath BeyondKitchenAid 12-cup glass carafe coffee maker, $129.99 CAD, Bed Bath & Beyond
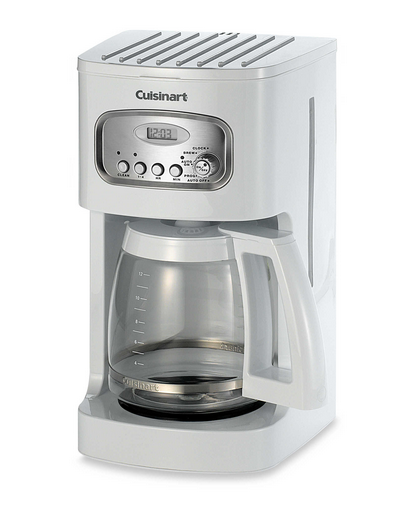
Cuisinart-coffee maker-Bed Bath BeyondCuisinart 12-cup programmable coffee maker, $99.99 CAD, Bed Bath & Beyond

While aesthetics are important, I wanted to be sure that the machine was of high quality, too. And this is where the manager of Bed Bath & Beyond came in.

I am still completely impressed by how knowledgeable and matter-of-fact the manager was. (This is unsolicited feedback, by the way. Nobody in the store new that I was going to be writing a review of the coffee maker on my blog.) She took the time to go over pretty much ever feature on each of the two machines so that I could make a decision. She was so patient, and she asked me really good questions about my needs.

She asked me several times if I was sure I wanted a white machine (I told you she didn’t know who she was dealing with!) because the coffee staining on white machines is more noticeable than on black or stainless. This was a good point to consider, but I assured her that I had to have white!

She also pointed out interesting features of the carafe of each of the machines. The KitchenAid’s carafe has a glass spout which could be easily knocked/chipped/broken. Plus, in her opinion, these types tended to dribble. The Cuisinart’s carafe has a plastic spout, which could result in less dribbles.

Together, we explored the various features – programming options, water filters, buttons, etc. We also looked at the price. The KitchenAid came in at $30 more than the Cuisinart, and I really didn’t know why – especially after we compared all of the features. Now, we all know I love KitchenAid (I’ve been extremely happy with my stand mixer), but I wasn’t convinced of its price tag.

So, in the end, I left Bed Bath & Beyond with a shiny new Cuisinart machine, and I’m definitely pleased! I’ve been using it for several weeks, and it’s been working out really well.
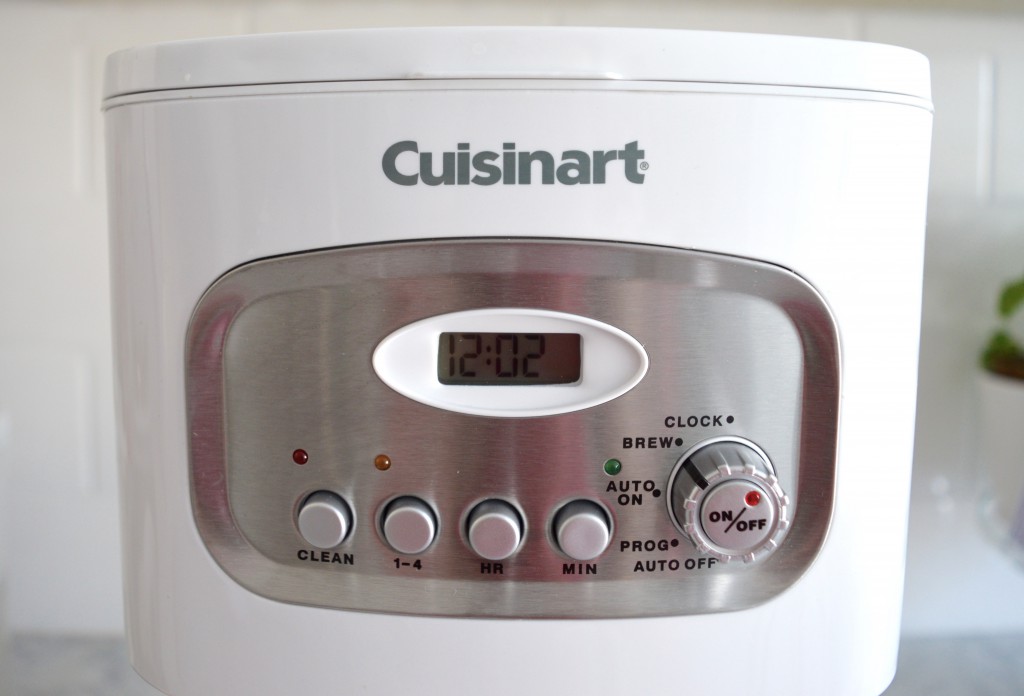
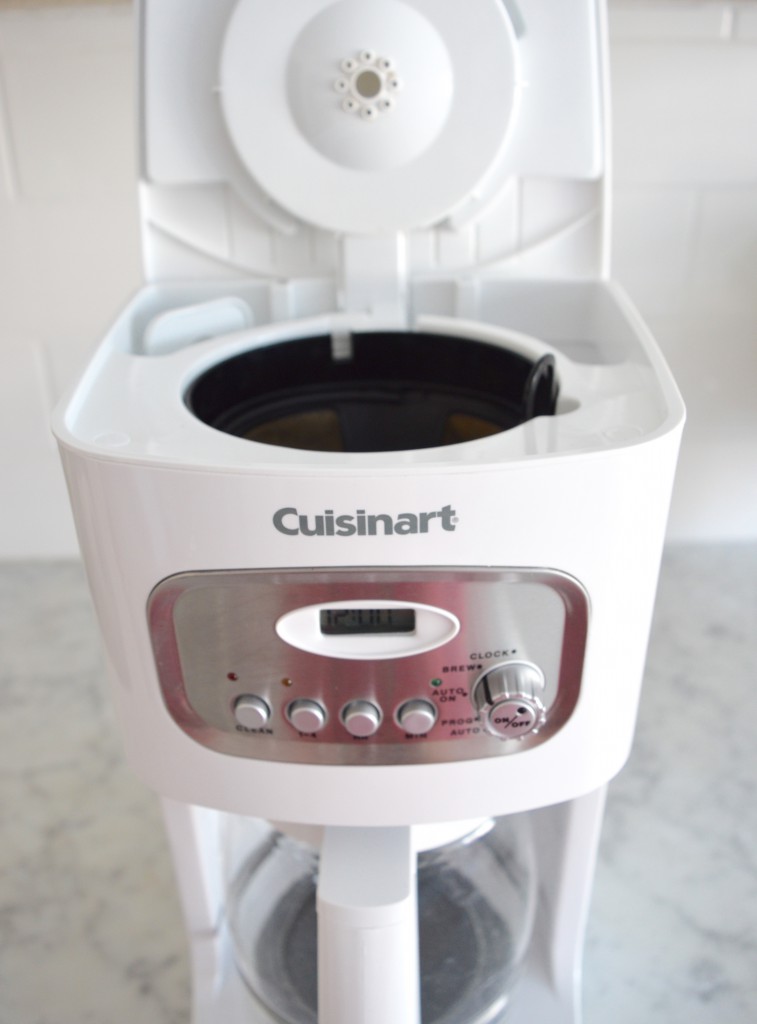
White-Cabana-Cuisinart-Coffee Maker-Bed Bath Beyond-3White-Cabana-Cuisinart-Coffee Maker-Bed Bath Beyond-5 White-Cabana-Cuisinart-Coffee Maker-Bed Bath Beyond-2

White-Cabana-Cuisinart-Coffee Maker-Bed Bath Beyond-4

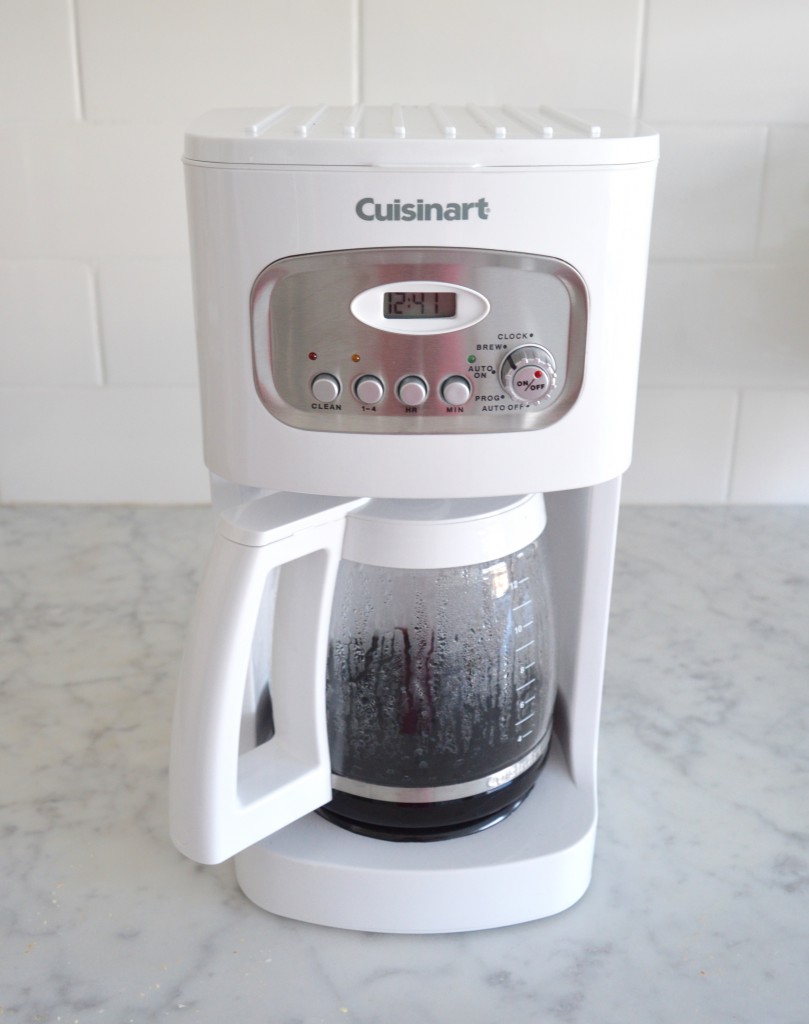
I like that the reusable gold-ish basket, the integrated water filter, the look of the buttons, and the programmable feature. Design-wise, it sits nicely beside my Cuisinart toaster. The coffee brews quickly, and it tastes good, too! The carafe pours well and there’s no dribbling. I can see how the coffee can easily stain the white plastic, so I do take an extra minute to wipe everything down carefully (after I’ve had my first cup of coffee, of course).

Many thanks to Bed Bath & Beyond for sponsoring this post. Thanks to Leah, too! And more thanks to Waterloo’s Bed Bath & Beyond manager who was so patient with me! All opinions are my own.
The Friday Five: Must-Haves for Relaxation

Phew! I completely missed Friday over here, so that surely tells you what kind of week I’ve had!

It’s the end of the semester which means university life has been chaotic. I had busy days and something on the go every night this week. While it was a fun and rewarding week, I need a bit of relaxation time this weekend. I don’t know about you, but if I don’t get “Jordana time”, I feel overwhelmed and cranky.

So…what do I do to relax after very intense weeks? These things usually do the trick for me (and yoga isn’t even one of them).

To do lists.
If I take a few minutes to regroup and think about what tasks need to be done, I feel calmer. I can see what needs to get done, and I can empty my brain of things that are taking up space in there.

Cleaning.
Seriously. I get in a zone, and I just go to it. Yes, most of the time, I find cleaning to be tedious, but it also forces me to clear my head and breathe.

Magazines.
I never tire of reading magazines on my big comfy couch. I have a few that arrived in recent weeks, so the build-up means extended periods of quietness. Print magazines also force me away from my computer, which is a good thing.

Baking.
Most of the time, weekend baking means bread making. Again, I get in a zone, make a mess in my kitchen, and end up with something delicious after a couple of hours. My dough is rising as a type this, by the way.

Sleep.
I’m not someone who naps, but sometimes it’s exactly what I need. Especially on grey days (or days like today where the weather sends over a surprise mini snow storm).

What do you do to relax after a very busy week (or several!)? I’d love to know!

Happy weekend, dear readers!

Hotel to Home: Monochrome and Wood in Paris

Who wants to go to Paris? Oh, I do! I do! If I had an endless sum of money, I’d go once a month just to get a croissant and baguette!

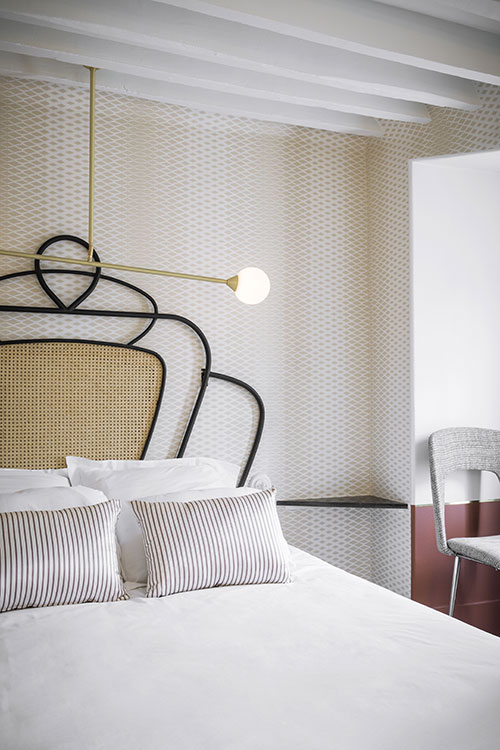
The Hotel Panache in Paris isn’t a classic Parisan hotel, but it sure does impress. I love this unique bentwood headboard against monochromatic, subtle prints.

hotel-panache-05

Hotel Panache

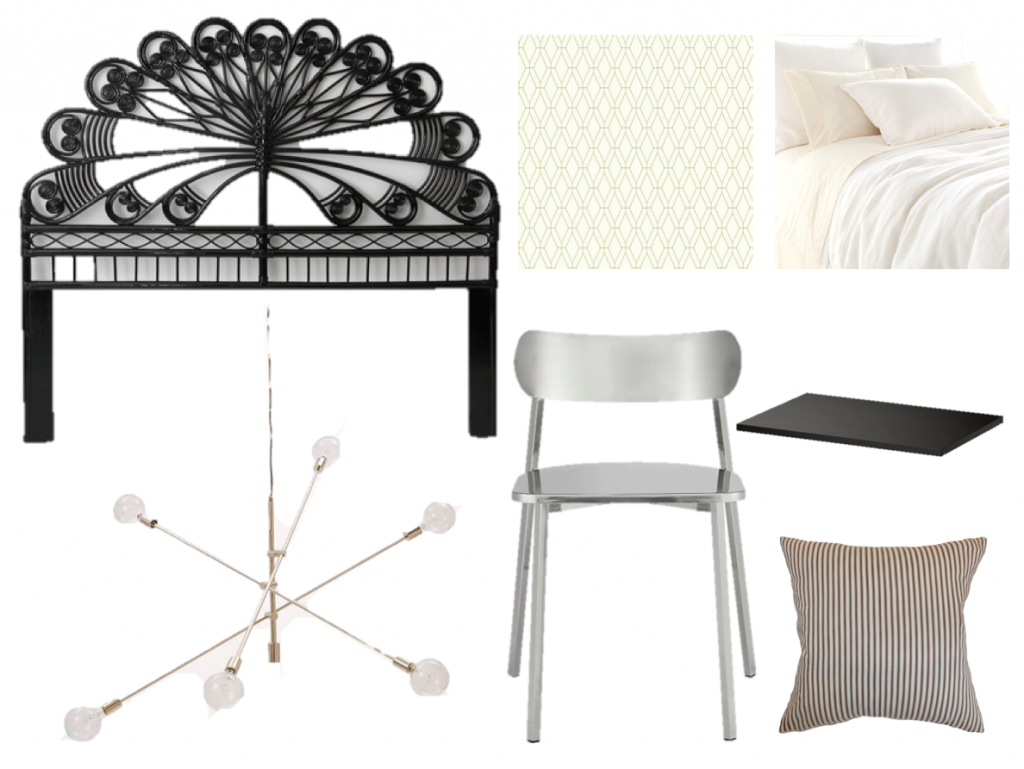
And here’s what the room inspired me to create:

Hotel-Panache-WhiteCabana

headboard, pillow, bed linens, chandelier, wallpaper, shelf, chair

Food: How to Make Gnocchi

Easter lunch at my parents’ place means gnocchi. This tradition certainly makes me a happy daughter! My mom’s gnocchi and tomato sauce is amazing. While I always help out – we all have our jobs when it comes to making gnocchi for a gazillion people* – this year, I tried to document the gnocchi making process just in case some readers are interested in learning how to make it.

This isn’t a definite recipe. With much of my mom’s cooking (and recipes), you just “have to feel it”. This makes learning a bit of a challenge, I have to say, but I’ve gotten better at figuring out what “feels” right, and I’m sure you will too!

1. Boil a bunch of potatoes with the peels on for a bunch of minutes so they soften.

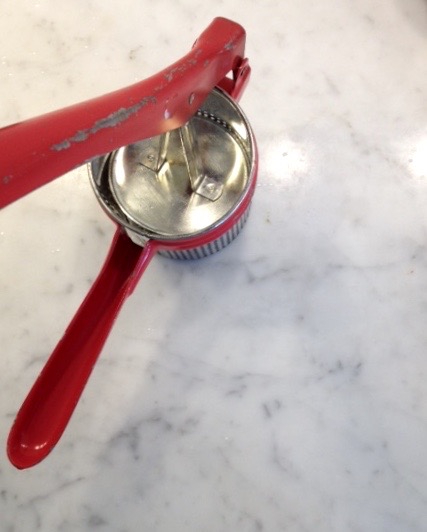
2. Drain the potatoes, peel them, and smoosh them in one of these potato press gadgets. (You can also use a food mill, but mom recently told me that she likes the results from the potato press better than the food mill.)

White-Cabana-how-to-make-gnocchi-5

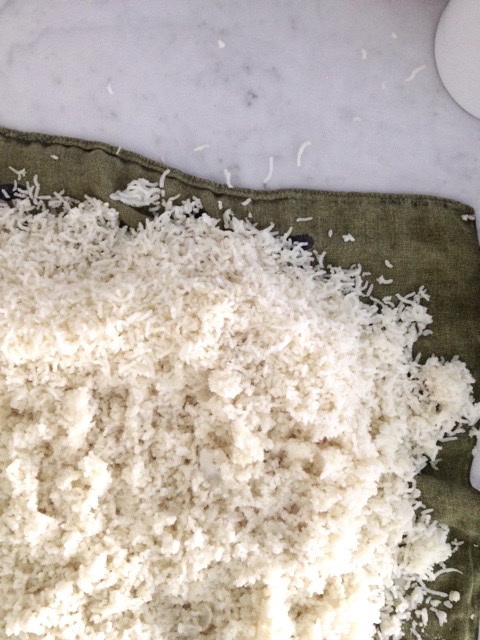
3. Spread the grated/smooshed potatoes onto a clean tea towel and let them cool.

White-Cabana-how-to-make-gnocchi-1

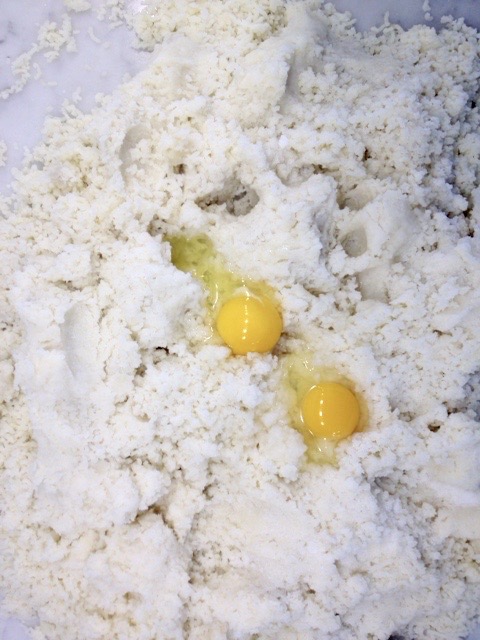
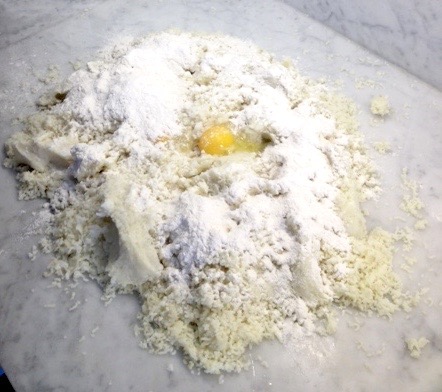
4. Once cool, put the grated potatoes onto the counter, crack two eggs on top of them, and spread a bunch of flour around the pile of potatoes.

White-Cabana-how-to-make-gnocchi-2

White-Cabana-how-to-make-gnocchi-3

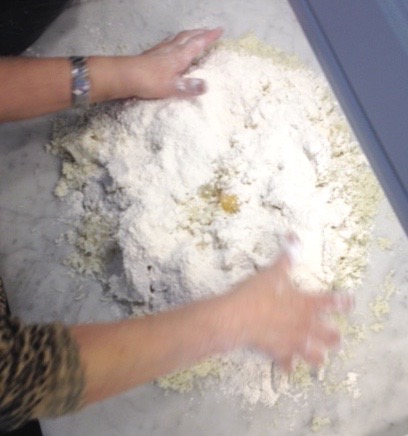
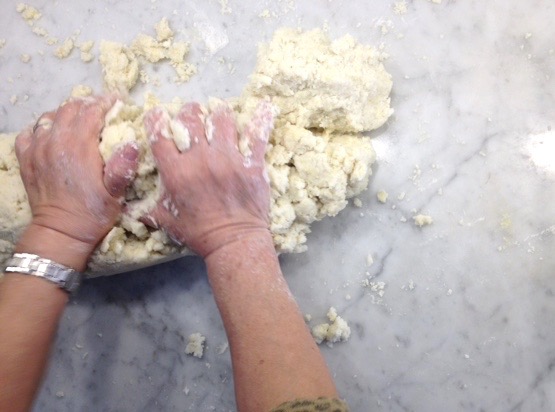
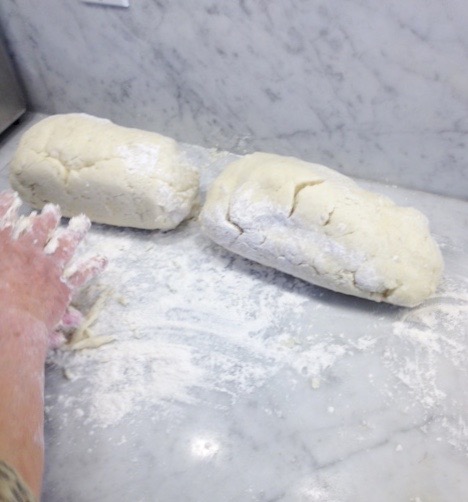
5. Gather these ingredients together, then knead, knead, knead, and knead some more. The consistency has to be “just right” so “feel” the dough and stop kneading once the texture is good. If the dough is too soft, the gnocchi will lose its shape. If it’s too hard, it’ll be tough to eat. Like I said, the dough should “feel right”. Good luck!

White-Cabana-how-to-make-gnocchi-4

White-Cabana-how-to-make-gnocchi-6

White-Cabana-how-to-make-gnocchi-7

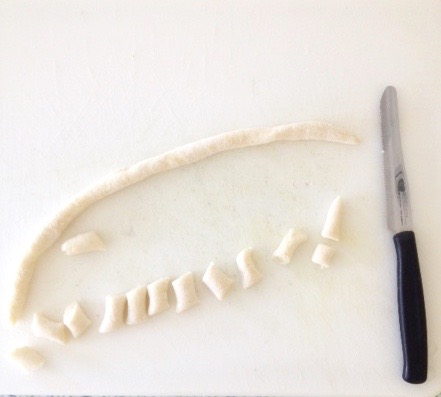
6. Once the dough has been formed, break off small bits, and roll the dough into long dough snakes.

7. Cut 1-inch-ish pieces from the dough snakes. Flour the pieces as you go, so they don’t stick together.

White-Cabana-how-to-make-gnocchi-8

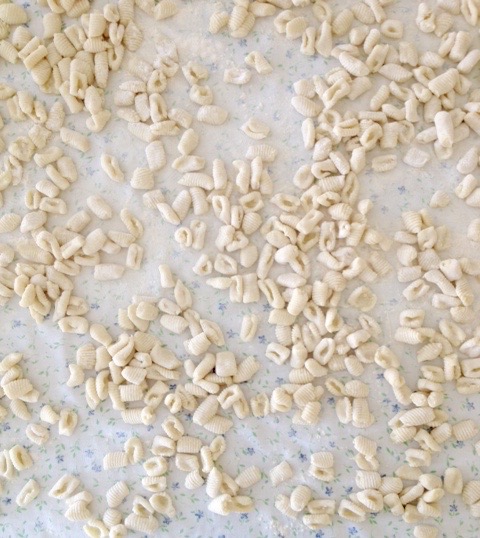
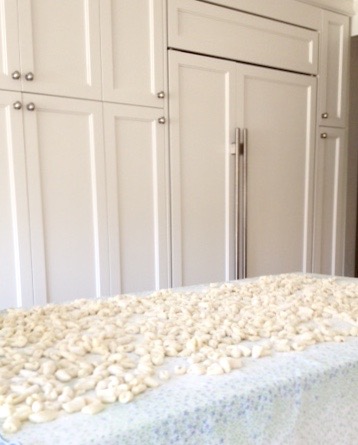
8. Spread all the pieces out on a large, clean tablecloth** and sprinkle flour over top the pieces.

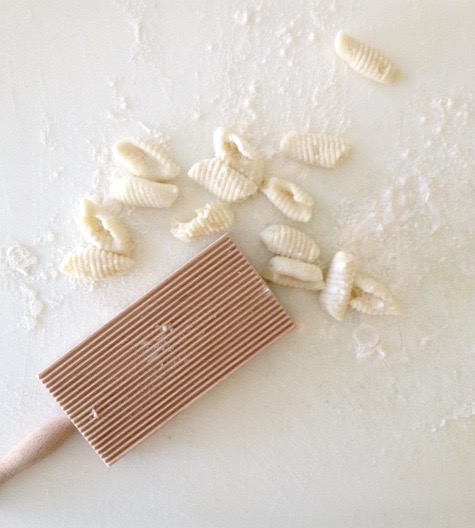
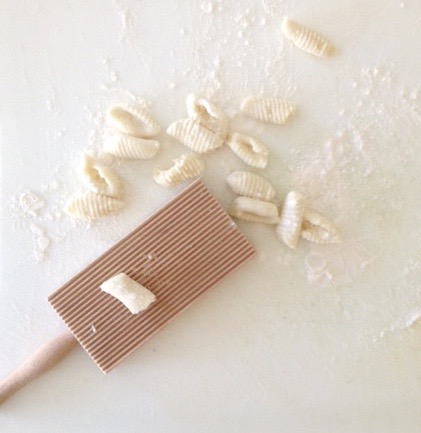
9. If you want to be fancy, invest in one of these inexpensive wood gnocchi rollers. Roll individual pieces of dough quickly down the wood gadget. While the gnocchi is delicious without this step, the rolled gnocchi is amazing because the newly formed ridges catch the sauce, and the little hole/space in the gnocchi holds sauce really.

White-Cabana-how-to-make-gnocchi-9 White-Cabana-how-to-make-gnocchi-10

10. Take a moment to step back and admire your rolling work.White-Cabana-how-to-make-gnocchi-11 White-Cabana-how-to-make-gnocchi-12

11. To cook the gnocchi, boil a pot of water. Once the water is boiling, add a bunch of gnocchi. The gnocchi are ready once they float to the top of the water and the water is boiling slightly again. Scoop them out, drain them, then add them to a bowl of sauce. By rolling them around in sauce right away, the gnocchi won’t stick together.

12. When you’re ready to serve, call out “tutti a tavola” just like Lidia Bastianich (and a lot of Italian people!). The expression is Italian for “everyone to the table”, which signals to your guests that it’s time to eat, and they should hurry up so they don’t keep everyone waiting.

Unfortunately, I didn’t take a photo of the final product, but trust me, it was delicious, and the sauce worked beautifully with the rolled gnocchi.  (I was definitely more concerned about eating than taking photos once my plate of gnocchi was in front of me.)

*this year, there were only 6 of us, but mom must have made about 20 servings worth because a few of us like to have seconds and there’s always a bunch to share for leftovers

**The tablecloth is an essential part in our process. It might seem unusual, but it’s our tradition. The pieces might stick to a counter, but they don’t stick to a tablecloth.

Thanks, Mom, for letting me capture you in action!

Two for Tuesday: Lizard Patterns

Did everyone have a nice long weekend? I just ended a glorious 5-day weekend! It started with a surprise snow day on Thursday (say what!?), which meant that (basically) the Waterloo region shut down. We had a crazy ice storm, and I was happy to get some random, minor projects done around my home and then embrace my lazy side.

Friday, my new bed arrived (oh my goodness – it’s so. darn. glorious.). I’ll share photos in the months ahead once I (finally) buy a new mattress (any suggestions?), upgrade my nightstands, and buy the perfect bedside lamps. This is the Year of My Bed, and this makes me happy!

Saturday and Sunday was family time…which involved a lot of food and loud discussions.

I took Monday off, too, and with the weather so dreary, I was in the mood for a few errands and a lot of nothing.

And this brings us to Tuesday…time for a two-for-Tuesday comparison! Today it’s all about texture!

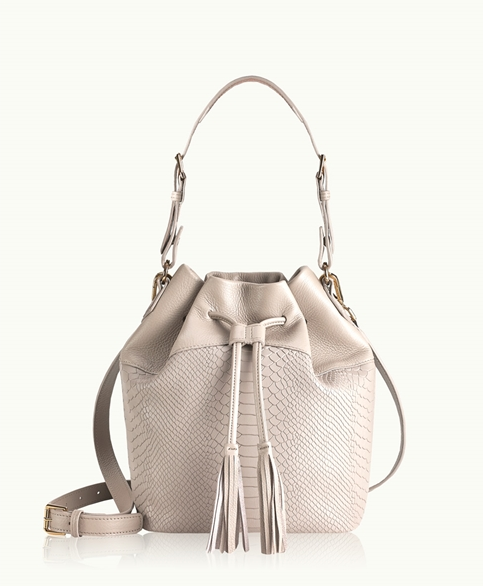
Jenn-Bucket-Bag-GiGi New York

Jenn bucket bag – GiGi New York
(btw: get 15% off at GiGi New York with code “exclusive15” and you might also be interested in its personalization options)

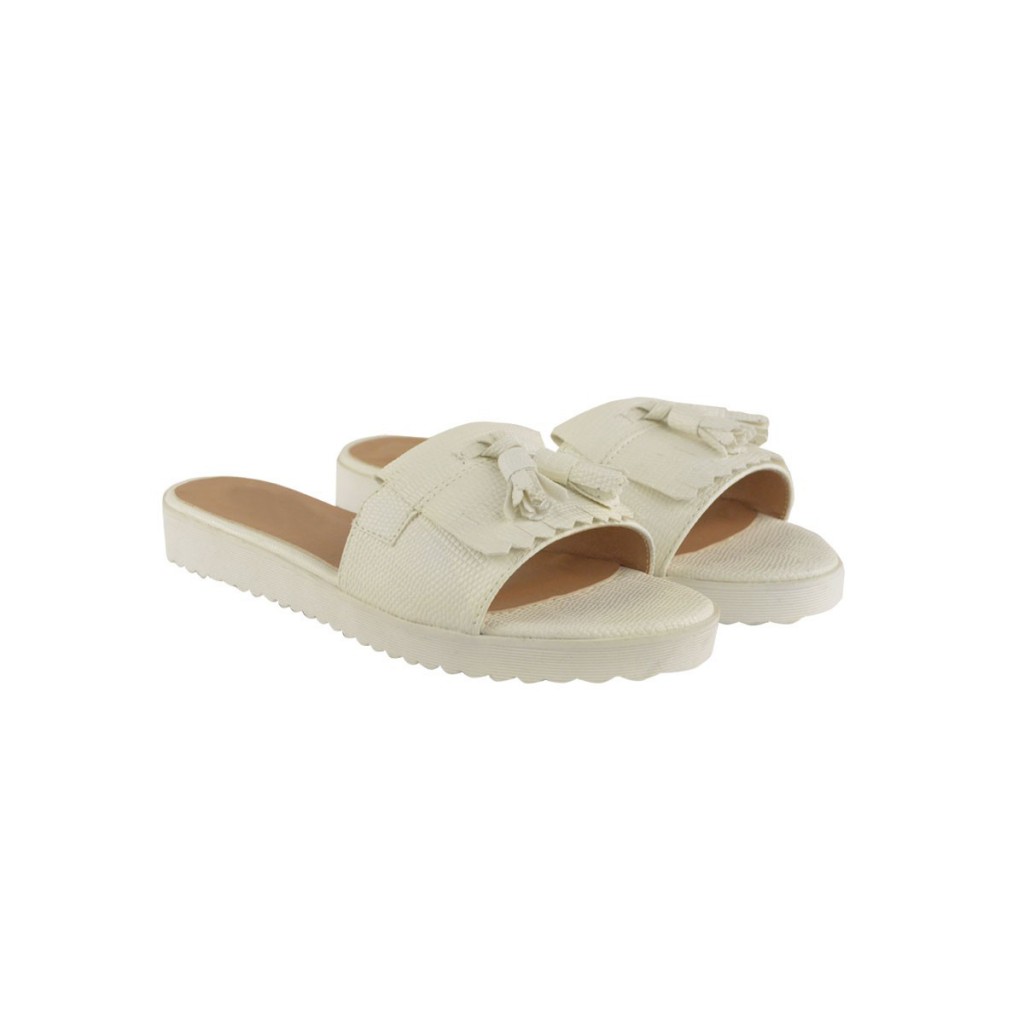
tf30_wp

faux leather lizard pattern sandals with tassels – Heelberry