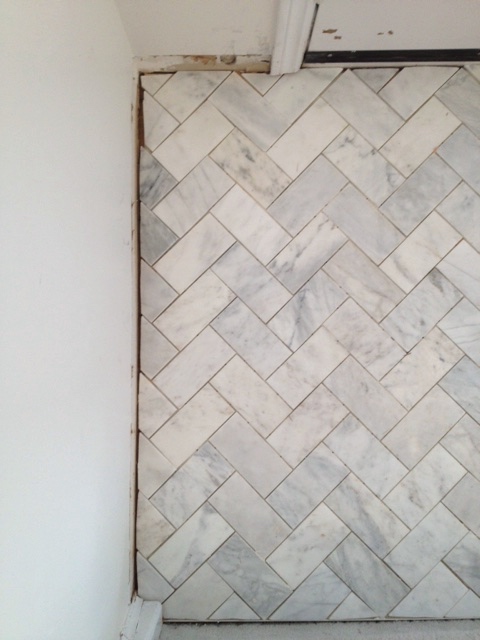
As you may recall, I decided to install a marble floor in a herringbone pattern in my small foyer. The project is just about complete, and I’m so so so thrilled with how it has all turned out. I’m extremely happy! Here’s a bit of a how-to for you in case you’re considering doing this type of thing yourself.
My herringbone floor is my third tile project. My first tile project was my hex tile floor in my powder room. Then, I tackled my kitchen backsplash with large white subway tiles. For foyer floor, I picked up a gazillion marble tiles from the ReStore about a month after I bought my home. I knew they’d look great in my foyer.
My first two tiling projects went very smoothly, so my confidence to tackle the marble was fairly high going into the project. I have found tiling to be quite interesting. It’s sort of zen-like because of the repetitive installation process, and it’s also like solving a puzzle because of how all the pieces need to fit neatly together. It also includes a bit of baking skills, I’d say, because of the mixing of mortar and grout. Just work with me here, people!
While I was mostly confident that I could tackle the foyer tile installation, I was also hesitant because I knew I’d have to use a wet saw for the gazillion cuts involved because of the herringbone pattern. I didn’t even own a wet saw when I began this project!
I didn’t take photos throughout the process – it’s hard to do when my hands are a complete mess! – but here’s what I did do.
1. Get educated: I read this article and watched this video.
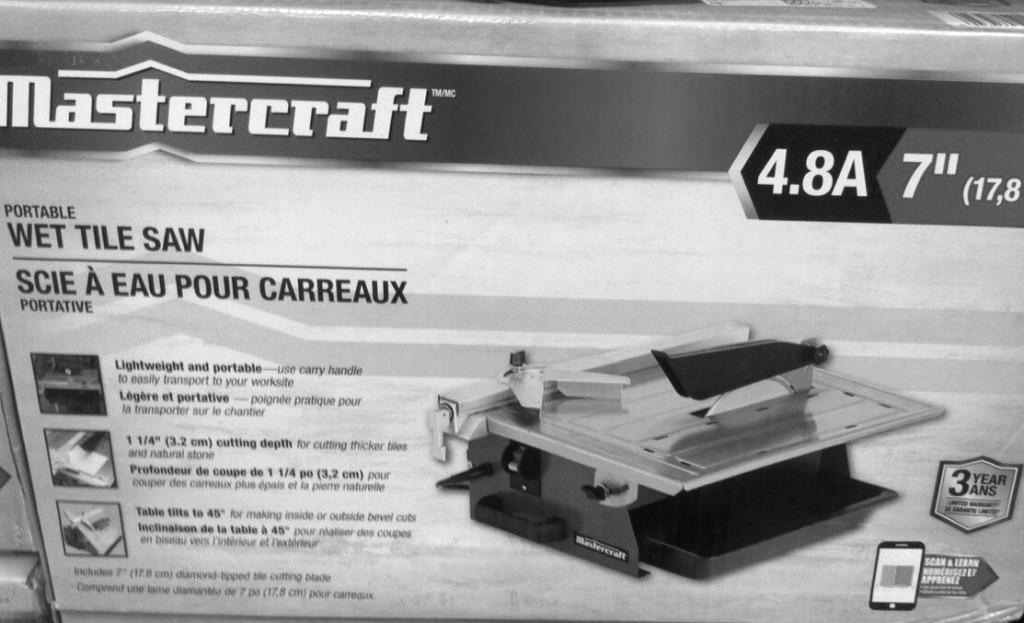
2. Upgrade tools: I bought a wet saw from Canadian Tire (it was on sale for less than $100 one week).
3. Prepare work area: My dad ripped out the old linoleum for me (thanks, Dad!), and we both installed a new piece of plywood (5/8″, I think it was). Installing the new piece of plywood caused us both frustration because of the tight space.
4. Prepare marble tiles: I cleaned and sealed the marble tiles pre-installation.
5. Play with patterns: I tested out different patterns just to be sure that herringbone was my favourite.
6. Organize tiles: I sorted the tiles by colour variation so that I could install more light than dark tiles (that was my preference).
7. Measure, measure, measure: I did a lot of measuring in order to ensure that my tile placement was straight. Because I didn’t have a wet saw when I began the project, I didn’t begin the way the article suggested (with the cut triangle piece against the straight edge). If I ever do a herringbone pattern again, I would definitely start with the triangle cut/piece, so that there would be fewer tiles cut.
8: Plan layout: I dry-fit the tiles (again).
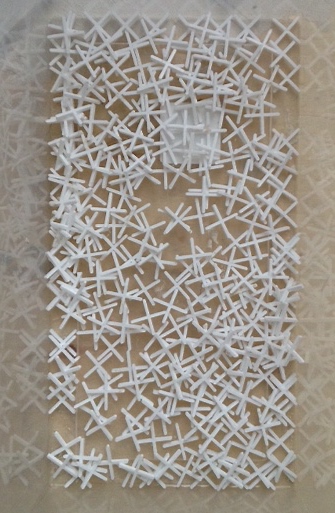
9. Mix mortar and install tiles: I mixed the mortar, spread it out, and started sticking the tiles down on the floor. Hooray! I went slowly to be sure that I wasn’t screwing up the pattern, and I used tile spacers (the smallest ones I could find). I also laid down a white plastic edger thing to protect the carpet stairs and to make my edge as neat as possible.


 I left all the edging (which included the cut pieces) for another time (post-wet-saw-purchase).
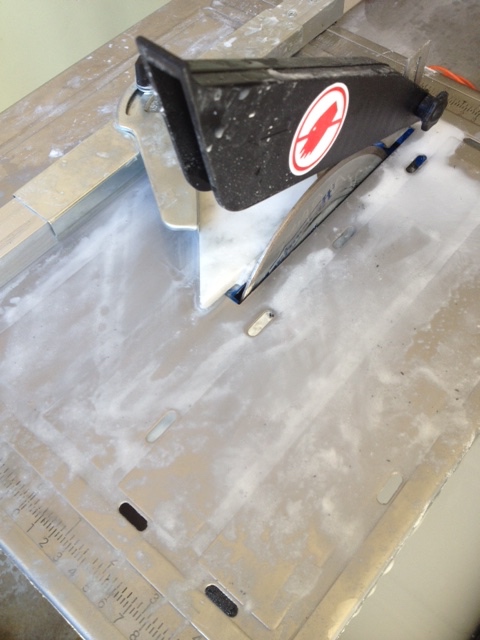
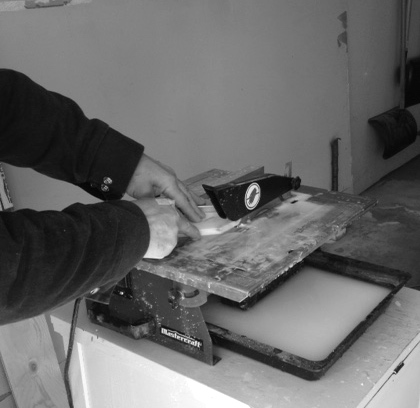
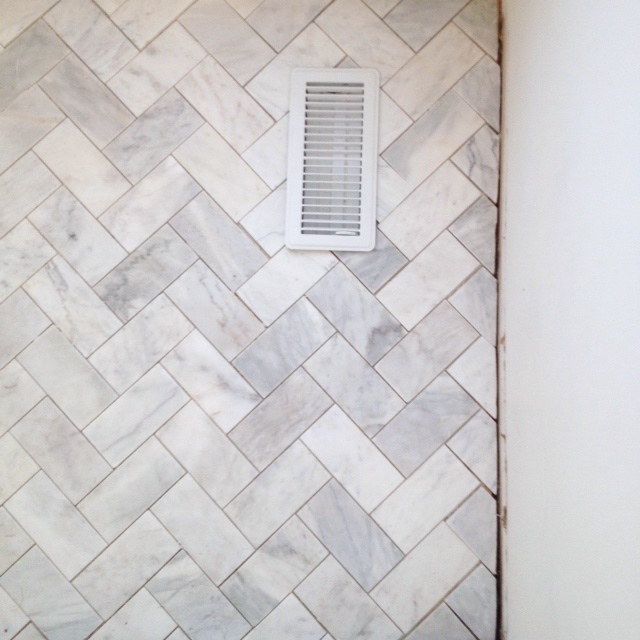
10. Cut tiles: I bought a wet saw and convinced my dad to come help me with all the cuts (it didn’t take much convincing…everyone loves a good power tool). The tag-team effort made the process go much more smoothly and quickly. After we learned about the best way to cut the marble tiles to avoid chips (see the video link above), things progressed well. I measured the heck out of every piece (measure twice, cut once, right?), while dad was on cutting duty. We also used the measuring attachments that came with the saw (e.g., the angle guider attachment) as they made the cutting easier.
This could have been a one-person job, but it was much faster to have two people do it. We made about 60 cuts for the edging and the space around the vent. The cutting took us maybe 4-6 hours.
 11. Mix more mortar for individual pieces: I labelled every cut piece of marble and its matching space on the floor, removed all the pieces, vacuumed the floor (again), mixed up another batch of mortar, and then installed the cut pieces individually. (This step could have been avoided had I had the wet-saw from the very beginning.)
 12. Grout and clean: After wiping the marble floor and vacuuming (again), I mixed up some grey grout, and spread it around the floor. I followed the instructions on the back of the grout package, and spread it out using one of those rubber-like grout spreaders (what are they called?). After the grout was set/dried for just about 2 hours, I took another chunk of time to wipe off the excess grout, so that there would be no grout residue on the tiles. This step is essential, and it is essential to do it carefully and precisely.
13. Re-install the baseboards: Once the tile work was done, it was time to reinstall the baseboards. Easy. A few nails later, and they were done.
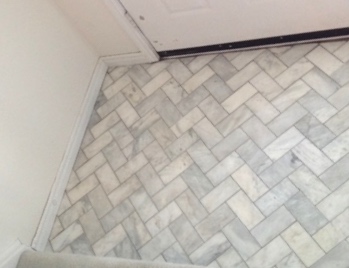
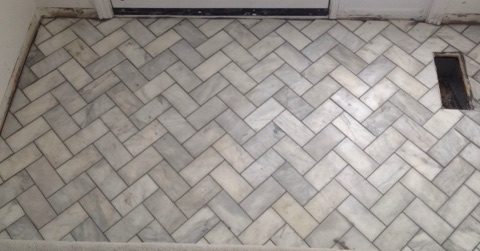
Here’s the space now:
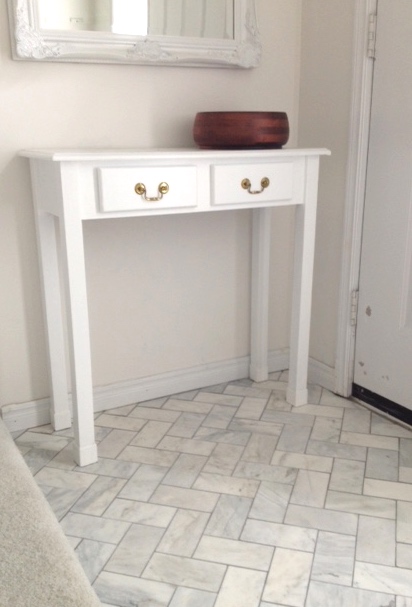 It’s just about complete. I need to caulk around the baseboards and then repaint them. I used the existing baseboards (to save time and money), but they need a fresh coat of paint.
Would I do something like this again? Heck ya! If I do marble again, I’ll need to upgrade my wet-saw blade (I think it’s done now). If I do herringbone again, I’ll definitely start with the triangle cut. I already have my next tiling project in mind!
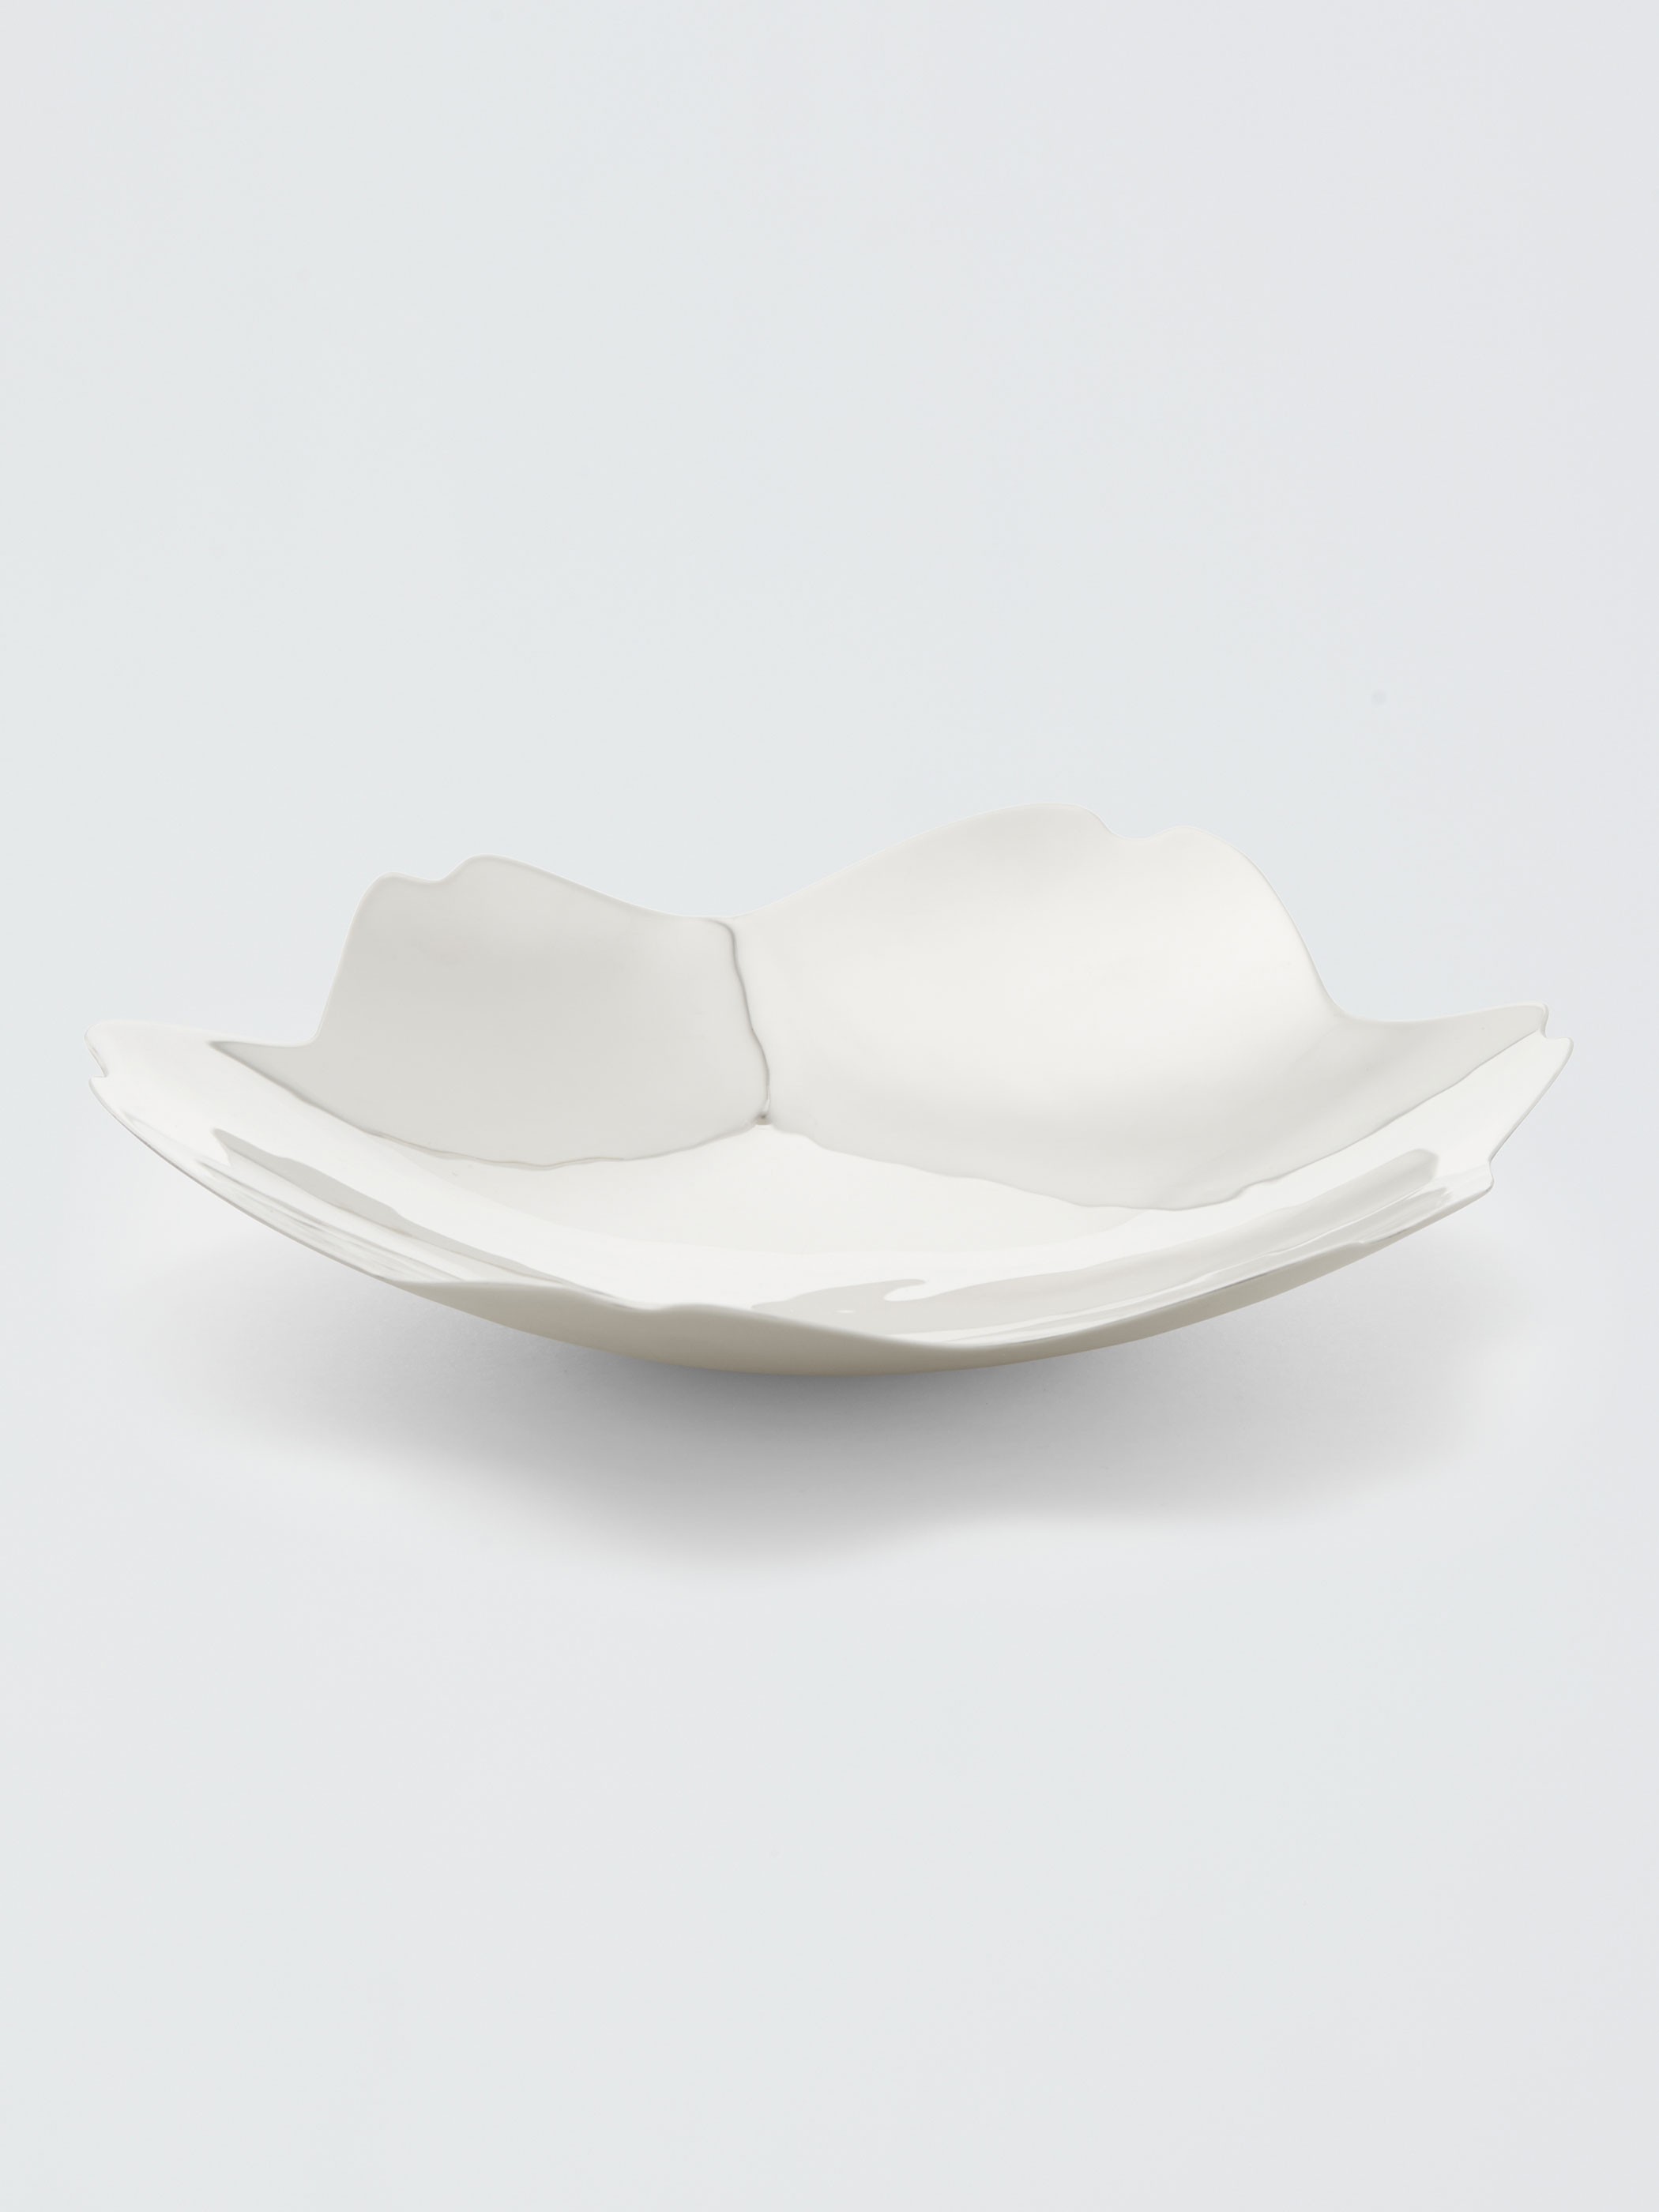 sterling silver magnolia bowl, $400 (USA)
 horseshoe objet, $98
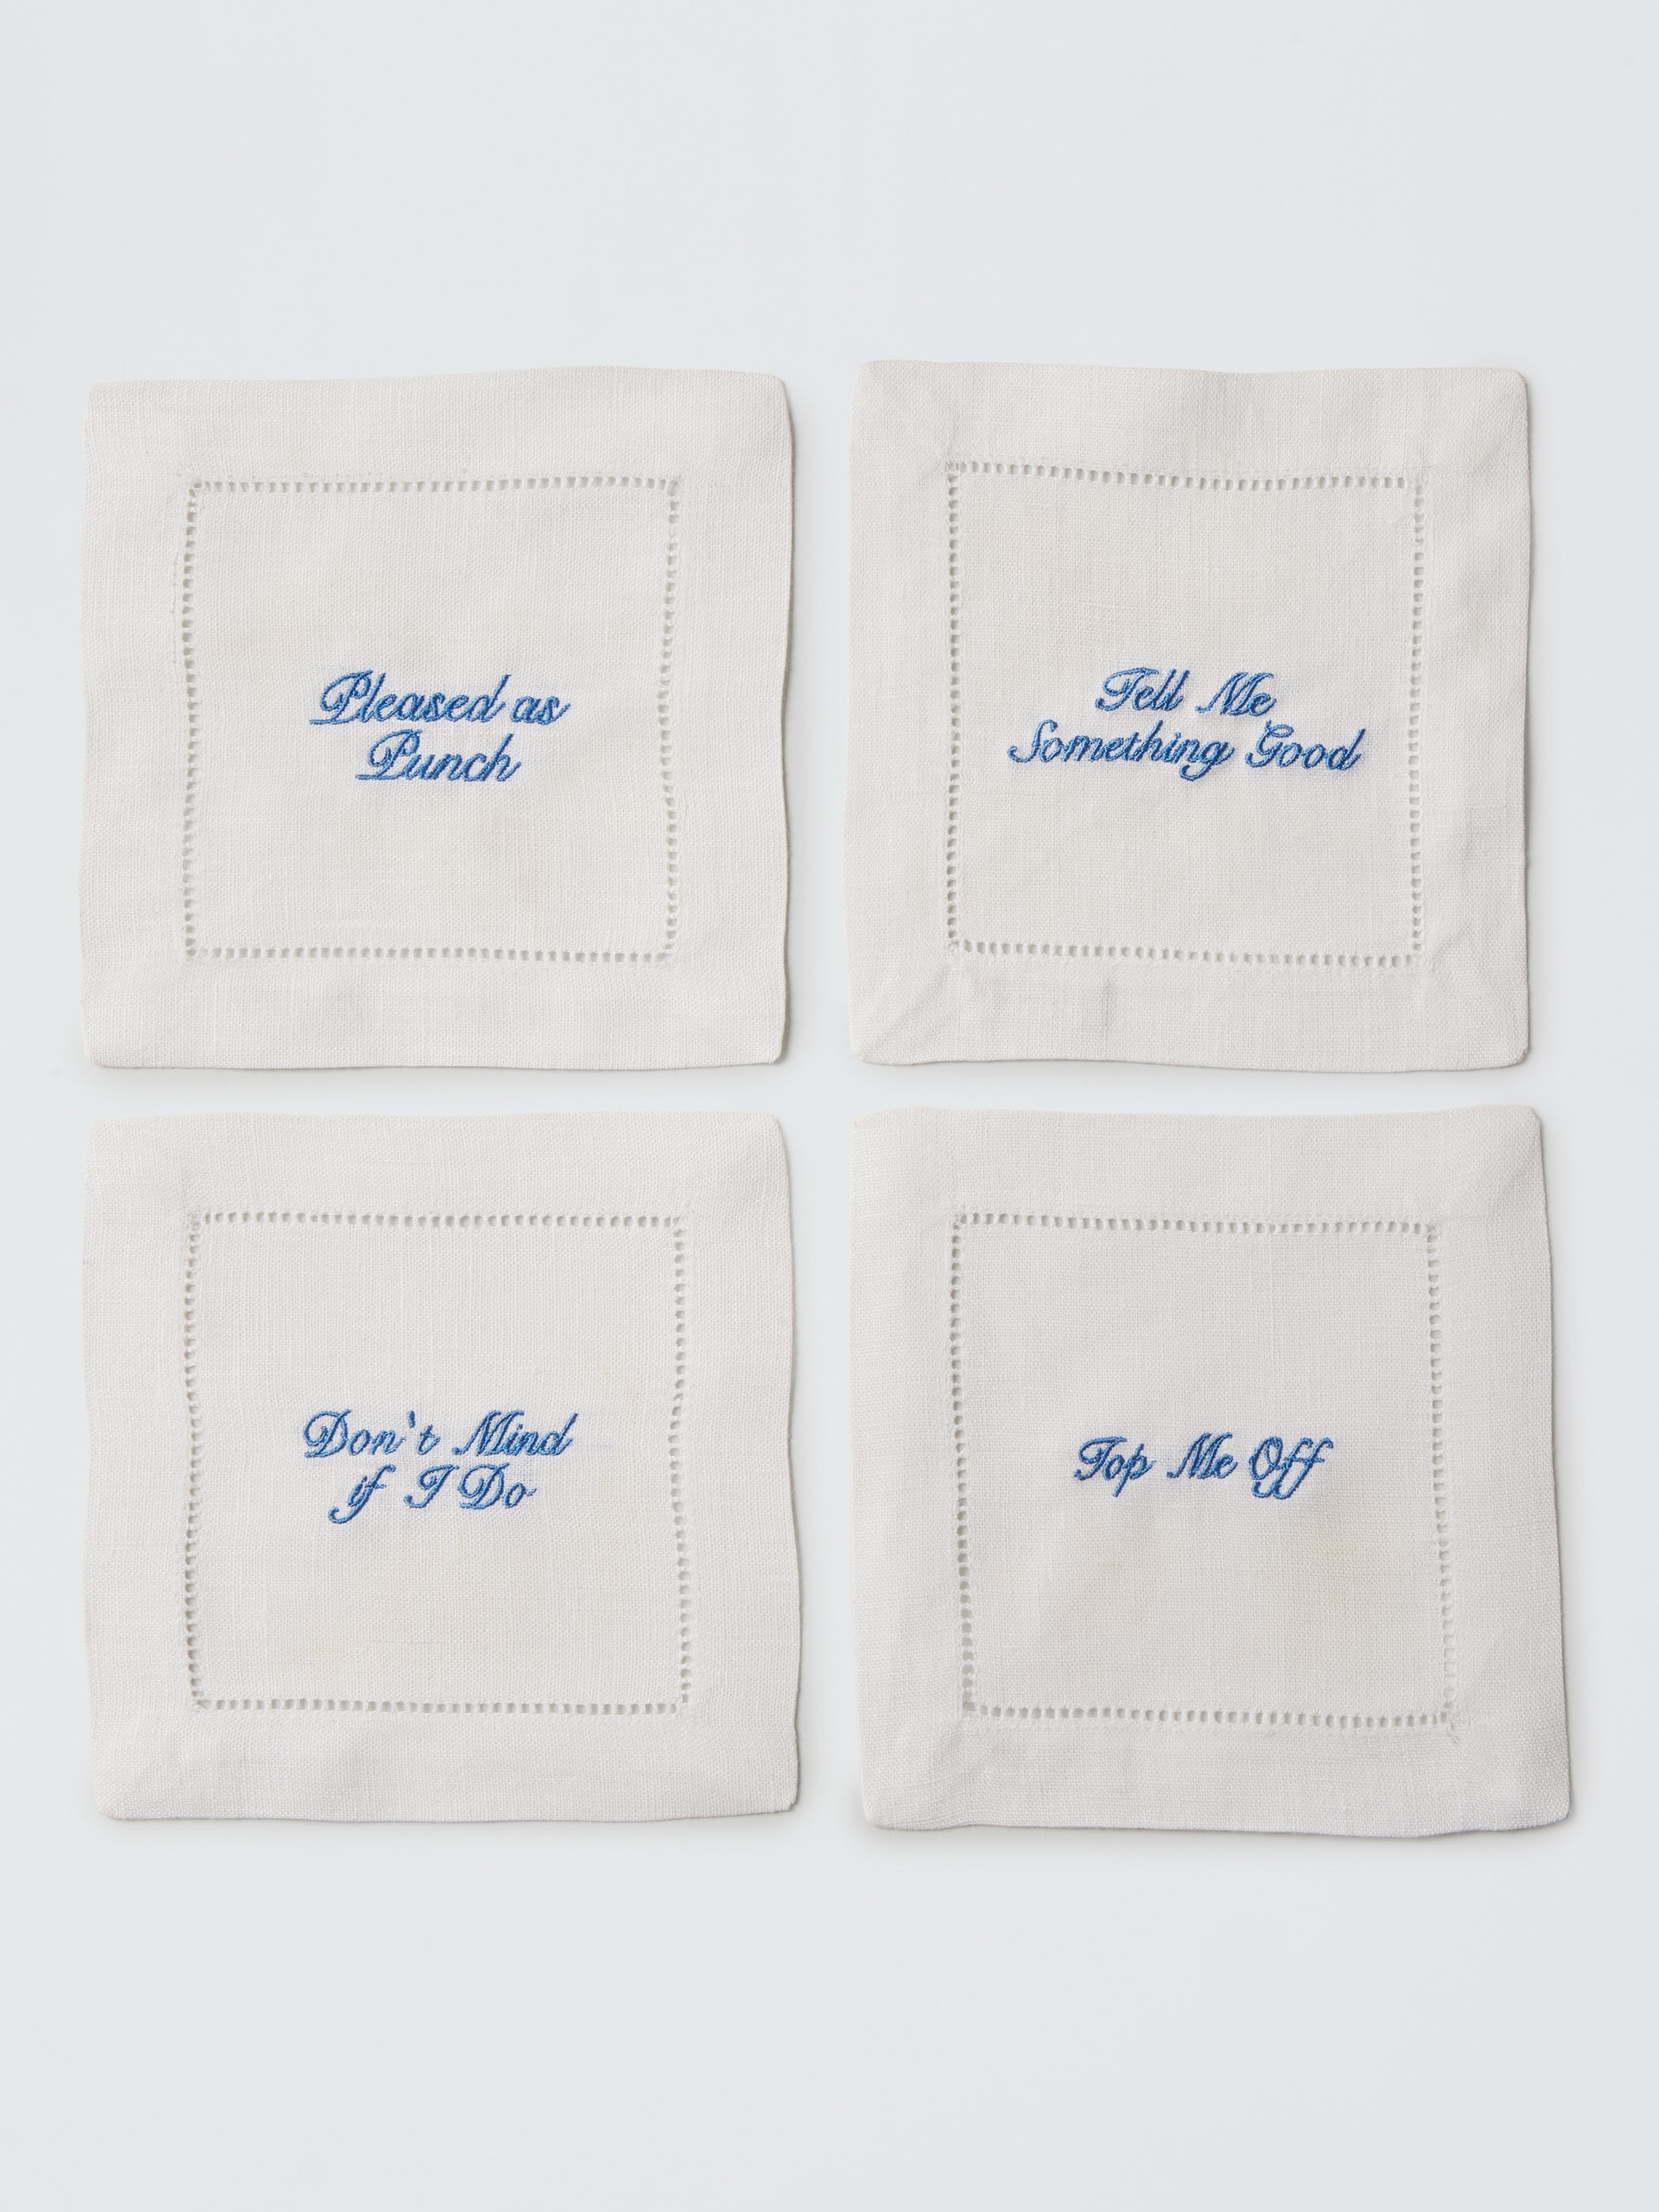 southern sayings cocktail napkin set, $85
 custom mint julep, $85
 canvas powder room pouch, $65 (import)
 eyelet love circle dress, $285 (import)
 kiawah cover up, $200 (import)