Seeing all the rust on my air conditioner unit, I really just wanted to bite the bullet and buy a shiny new one. But thinking about my bank account, I quickly realized that I didn’t want to spend a fortune on a new unit when mine, although rusty, worked perfectly fine. A couple of weeks ago, I bought a couple of cans of spray paint (I used Rustoleum), read this article sent to me by Hogg (thanks!), and got to work.
before: I muted the colours in this photo, and it’s still disgusting
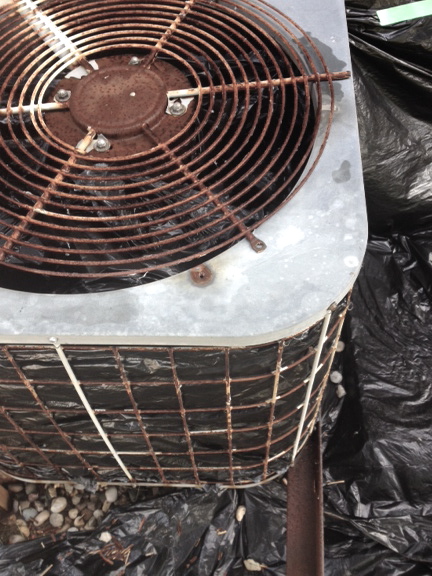
before: the rust was horrible, the muted photo only provides a glimpse into the condition of the unit (this is perhaps the ugliest photo I’ve ever shared on my blog)
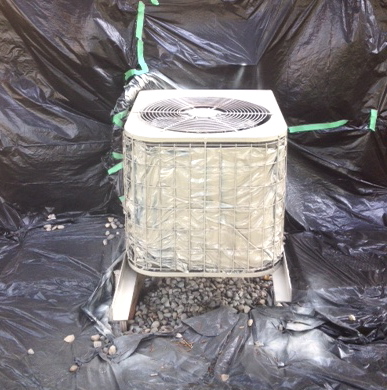
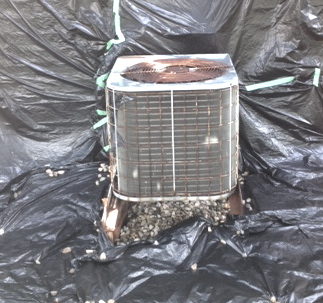
during: one coat of paint
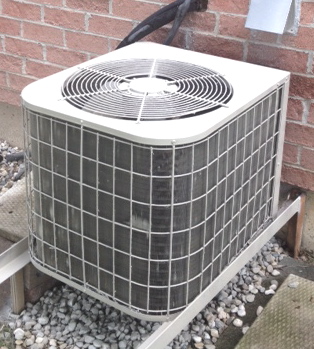
after: rust has disappeared!
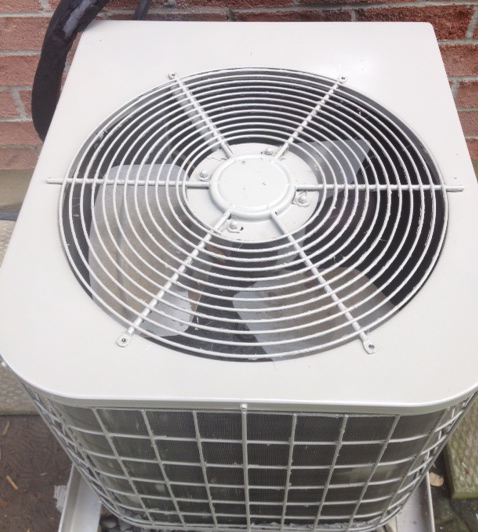
after: this looks like a brand new air conditioner
Here’s what I did:
1. I cleaned and scrubbed the unit with a CLR + water mixture. I then rinsed it off*.
2. While the unit was drying, I taped plastic bags on the wall surround and around all the pipes. I also unscrewed the top grate so I could cover the fans with plastic, and I weaved plastic in between the grate and the filter/fan/unit**.
3. When the unit was dry, I sprayed two coats of Rustoleum Tremclad rust paint*** (letting the paint dry in between coats) all over the unit and the rusty metal bars that hold it up.
4. When everything was dry, I removed all the plastic, and screwed the top grate back on. Done.
The project took about 3 hours from start to finish. I could have put on a 3rd coat of paint for fun, but I was too lazy (2 coats covered very well). I feel like I have a brand new unit, and the side of my house now looks so much more attractive!
* I would recommend scrubbing with a wire brush. I didn’t have one, so it took me a bit longer to scrub and chip the old rusty bits off the unit.
** I covered the fan and the filter parts with plastic, but I’m not entirely certain this was necessary.
*** I didn’t paint the unit white (big shock, right?). Instead, I chose a colour that matched the grout in between the bricks.
 Well, that’s it! I hope you enjoyed visiting parts of my house as much as I enjoy living in it! Drop by for a visit on