In the Kitchen: Making Pasta (again)

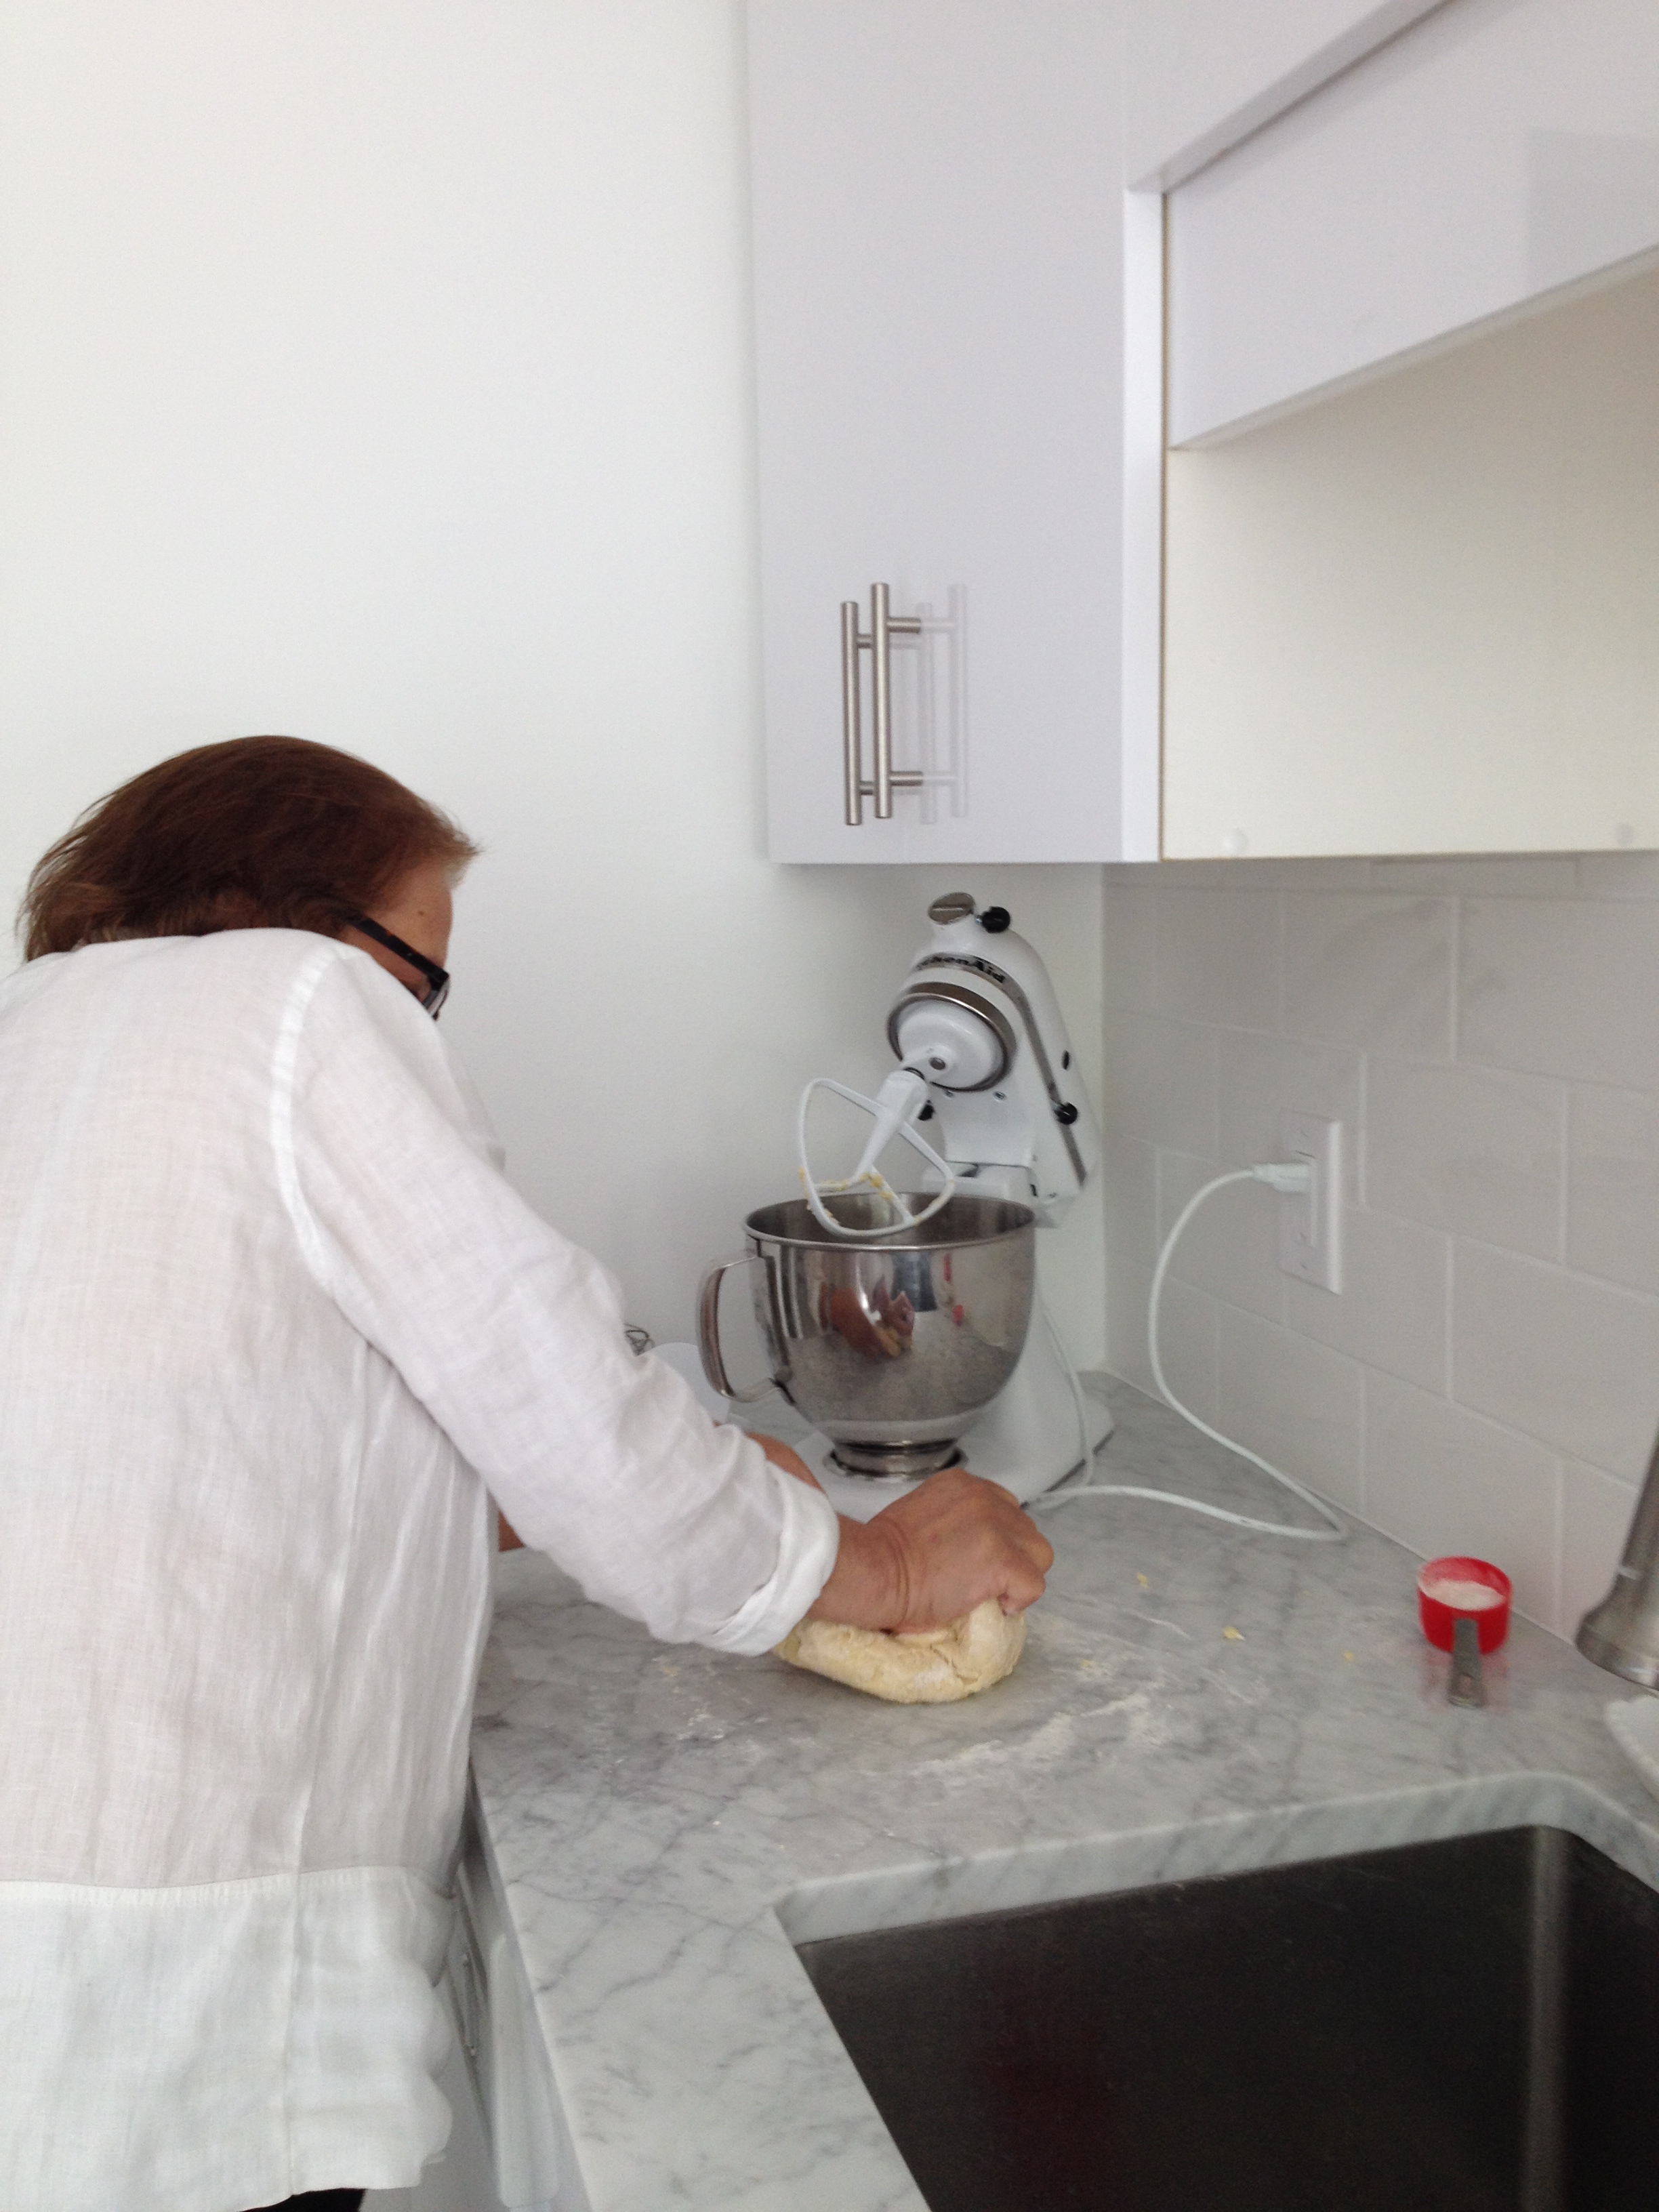
Remember when I first attempted making fresh pasta with my KitchenAid stand mixer and pasta attachments? I started with the recipe that was in the KitchenAid recipe book. I failed. It was horrible. I then tried out my mom’s very vague recipe and it worked perfectly. Well, some of my family members thought I shouldn’t have been so harsh on the KitchenAid recipe and that, surely, it was my fault and I did something wrong. (I followed the recipe exactly, but noone seemed to want to take my side.) Anyway, when my parents were over last weekend, I tried the KA recipe again (under my mom’s supervision). The recipe calls for: 4 large eggs, 3.5 cups all-purpose flour, and 1 tbsp water. My mom suggested that I reduce the amount of flour by 1/2 a cup. So I did. I followed the exact recipe but I only used 3 cups of flour. I let the stand mixer do its job, and me and my mom watched over the bowl. I could tell something wasn’t right. After a bit of mixing, I dumped the dough out onto the counter and I knew it wasn’t right. It didn’t feel like it was supposed to feel. My mom was pretty surprised (“but you followed the recipe, you reduced the flour”, she said). At this point, I added a bit more water, then a lot more water, then more flour. It wasn’t coming together the way it should have. I gave up. I left my mom to knead the dough for maybe another 5-10 minutes. There was a lot of kneading involved. In the meantime, I started a new batch with her trusted (and very vague) recipe. It worked out perfectly. She was still kneading the original batch of dough, while I was done with my new batch. White-Cabana-pasta-1

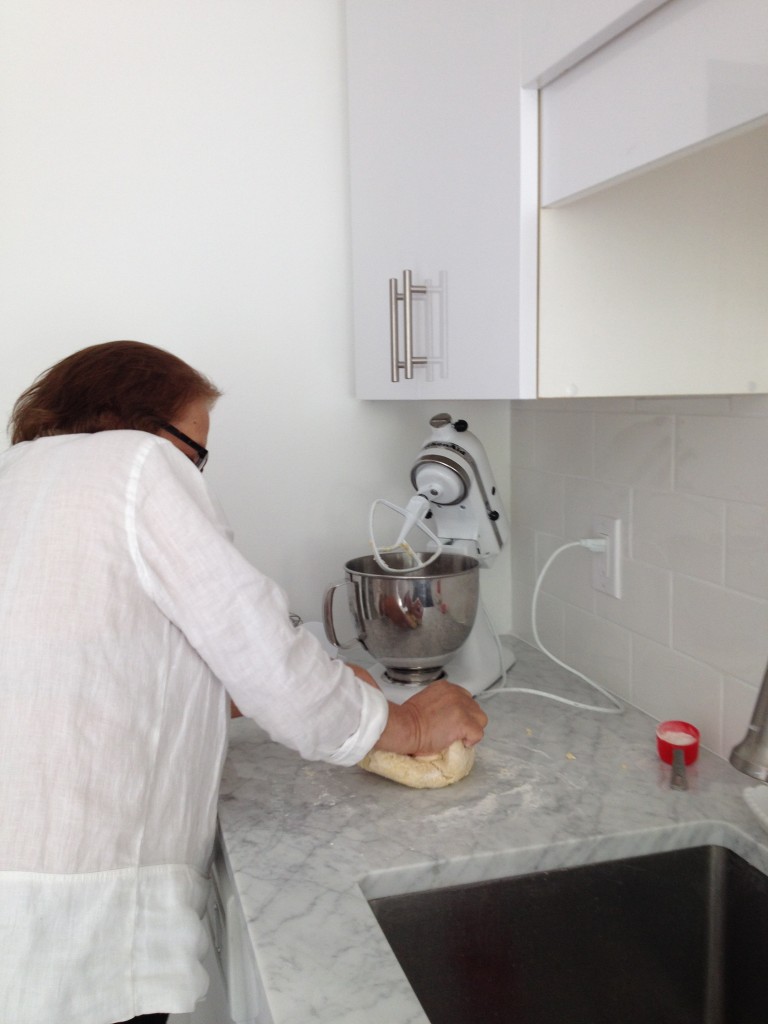
here’s mom hard at work White-Cabana-pasta-2

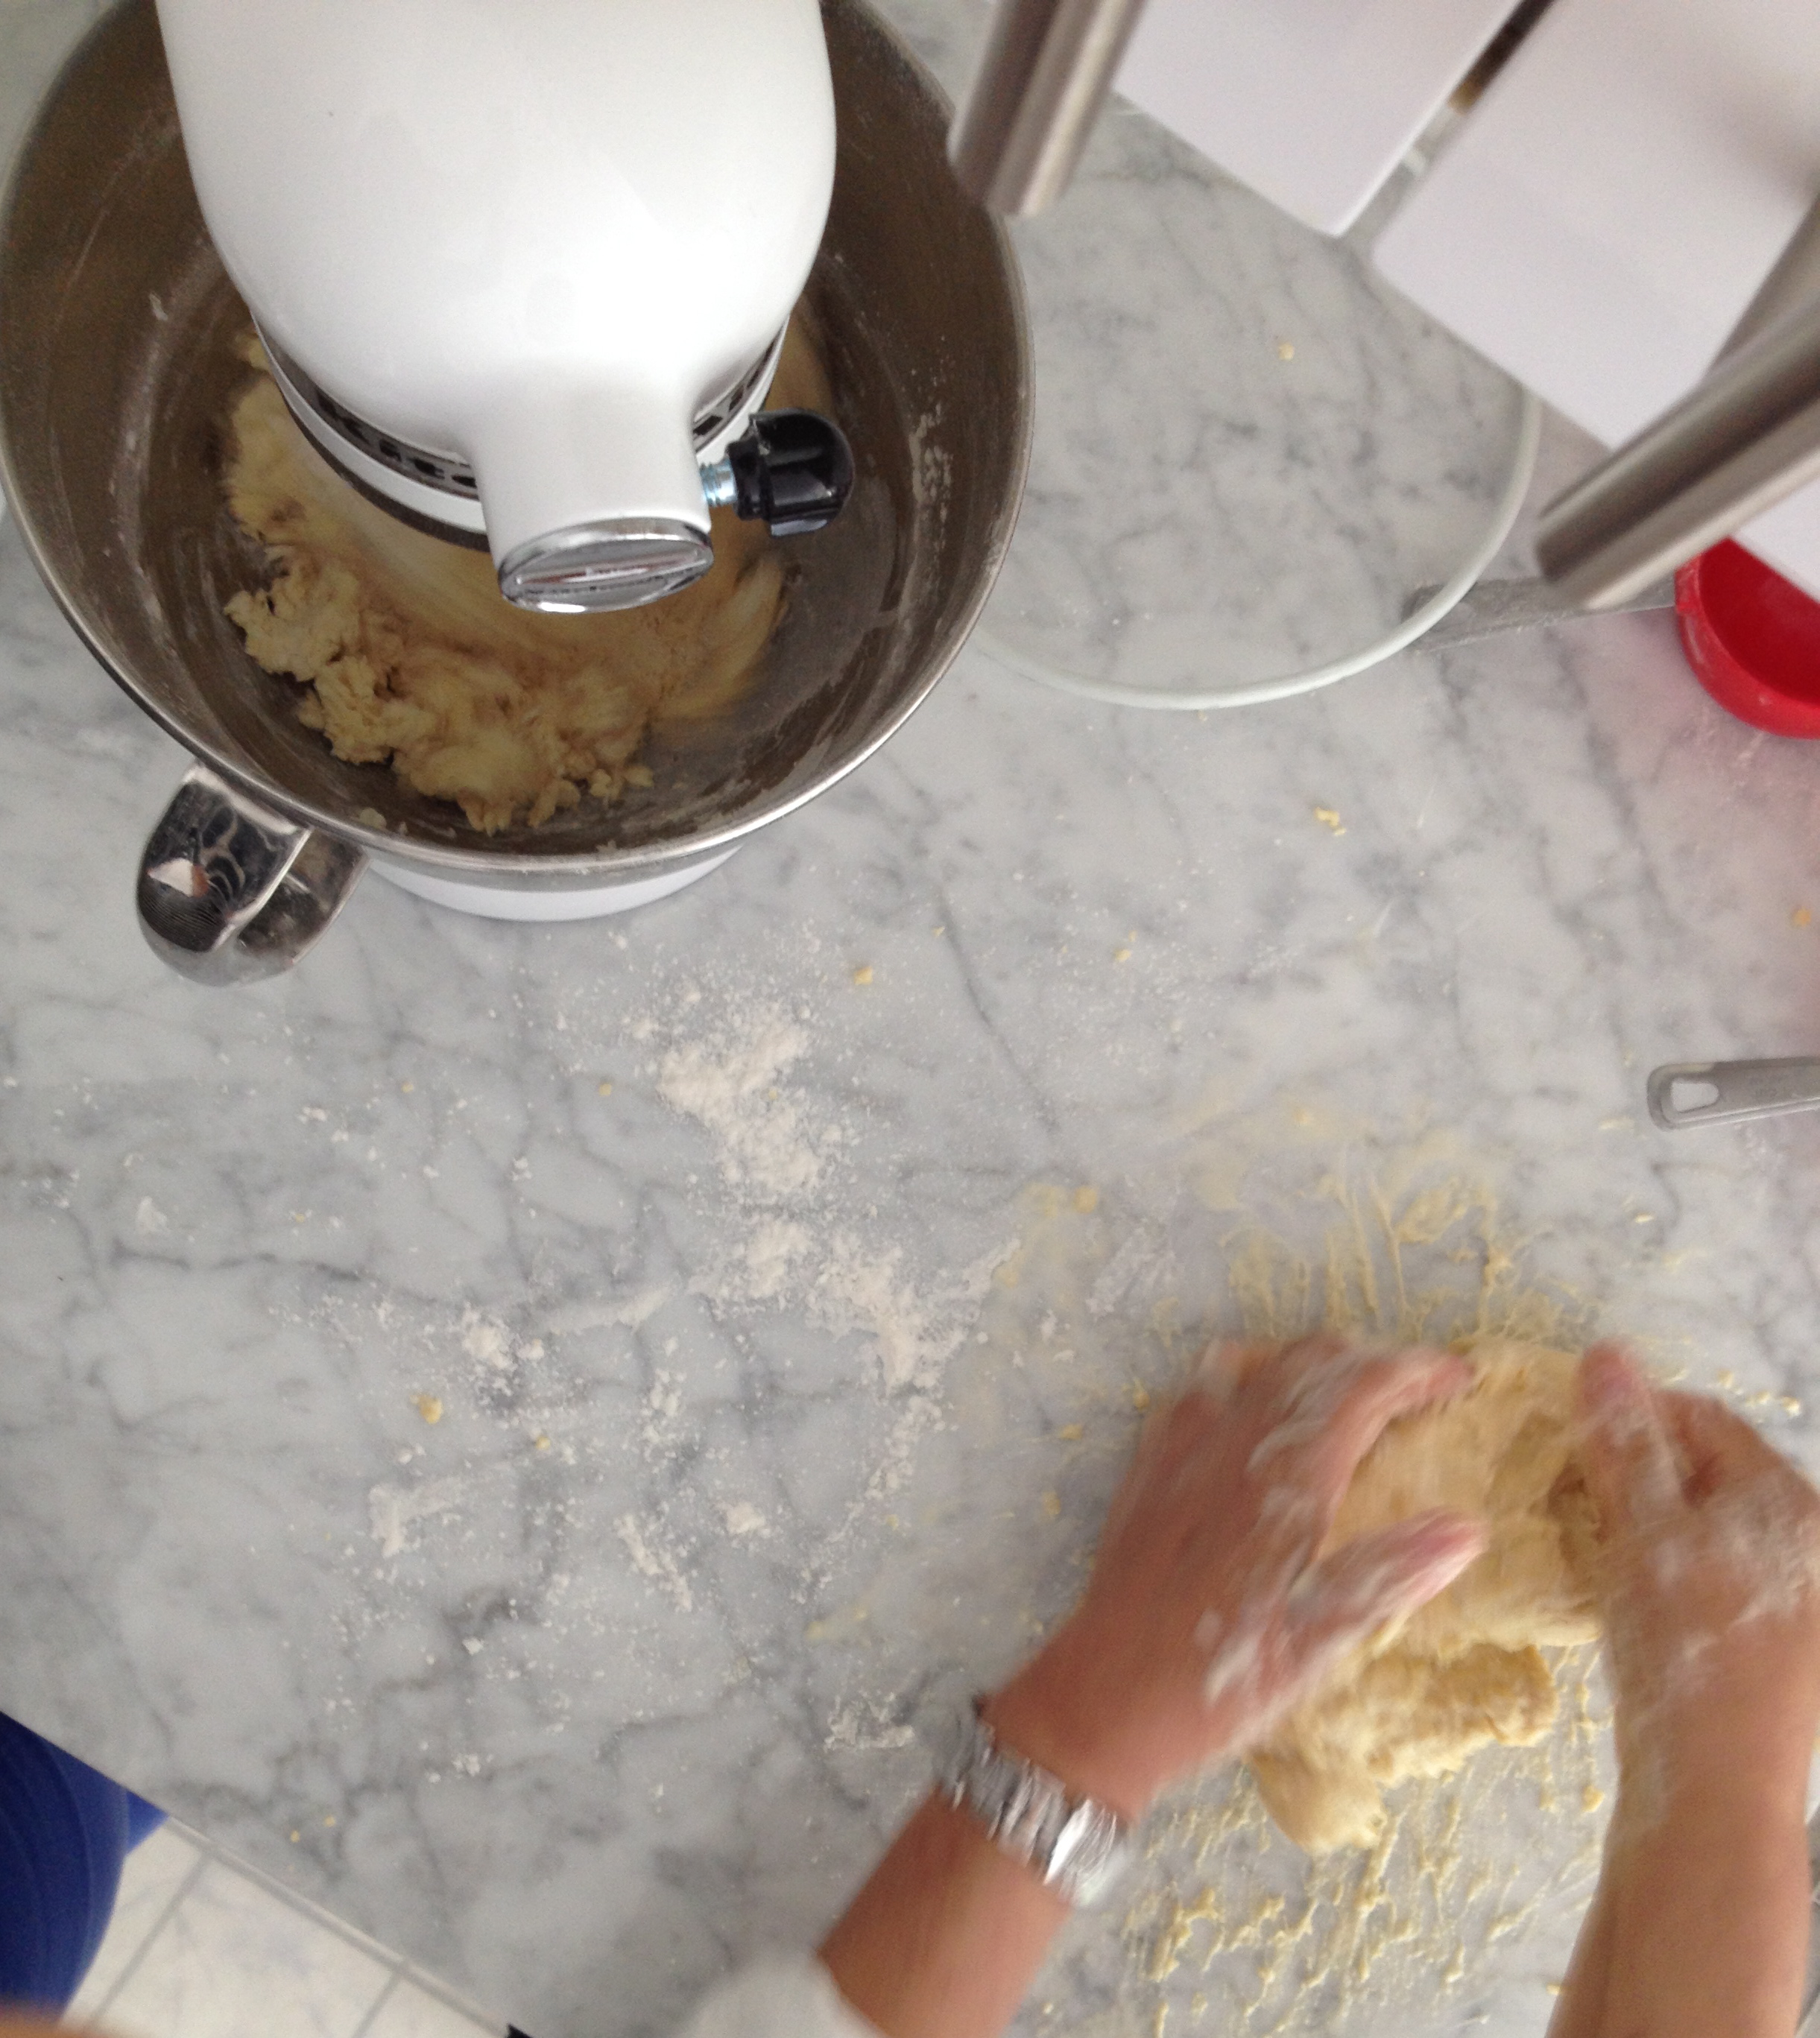
here’s mom still trying to fix the broken dough, my new version is in the mixer

White-Cabana-pasta-3

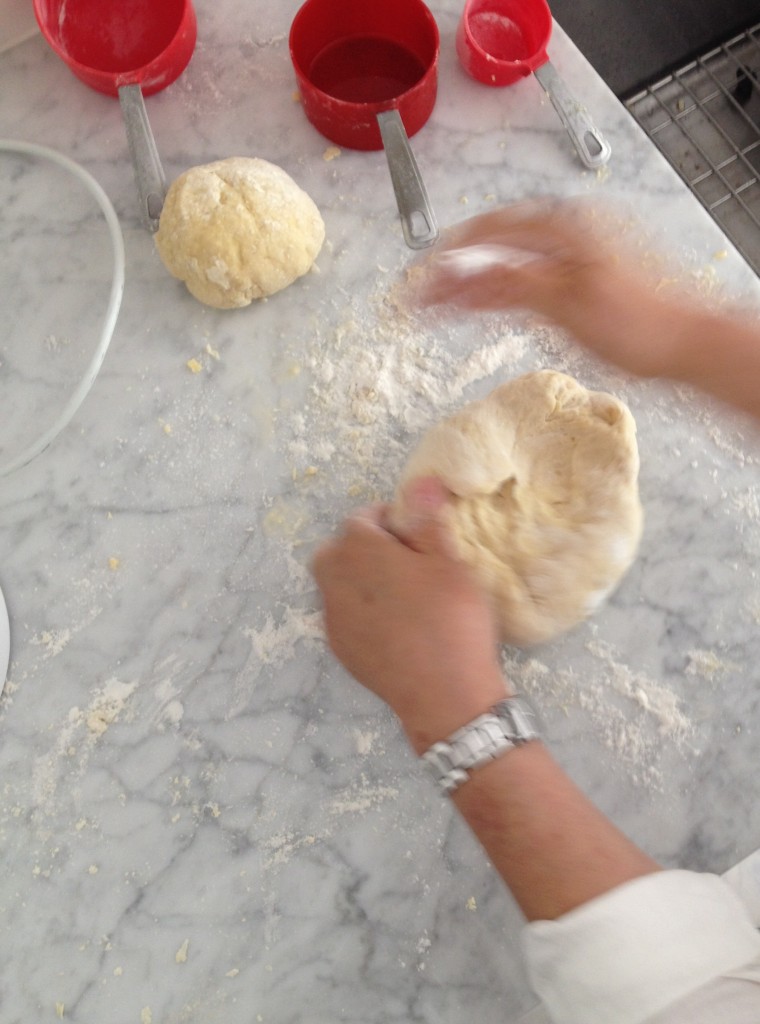
dough 2.0 is done and mom is still kneading dough 1.0

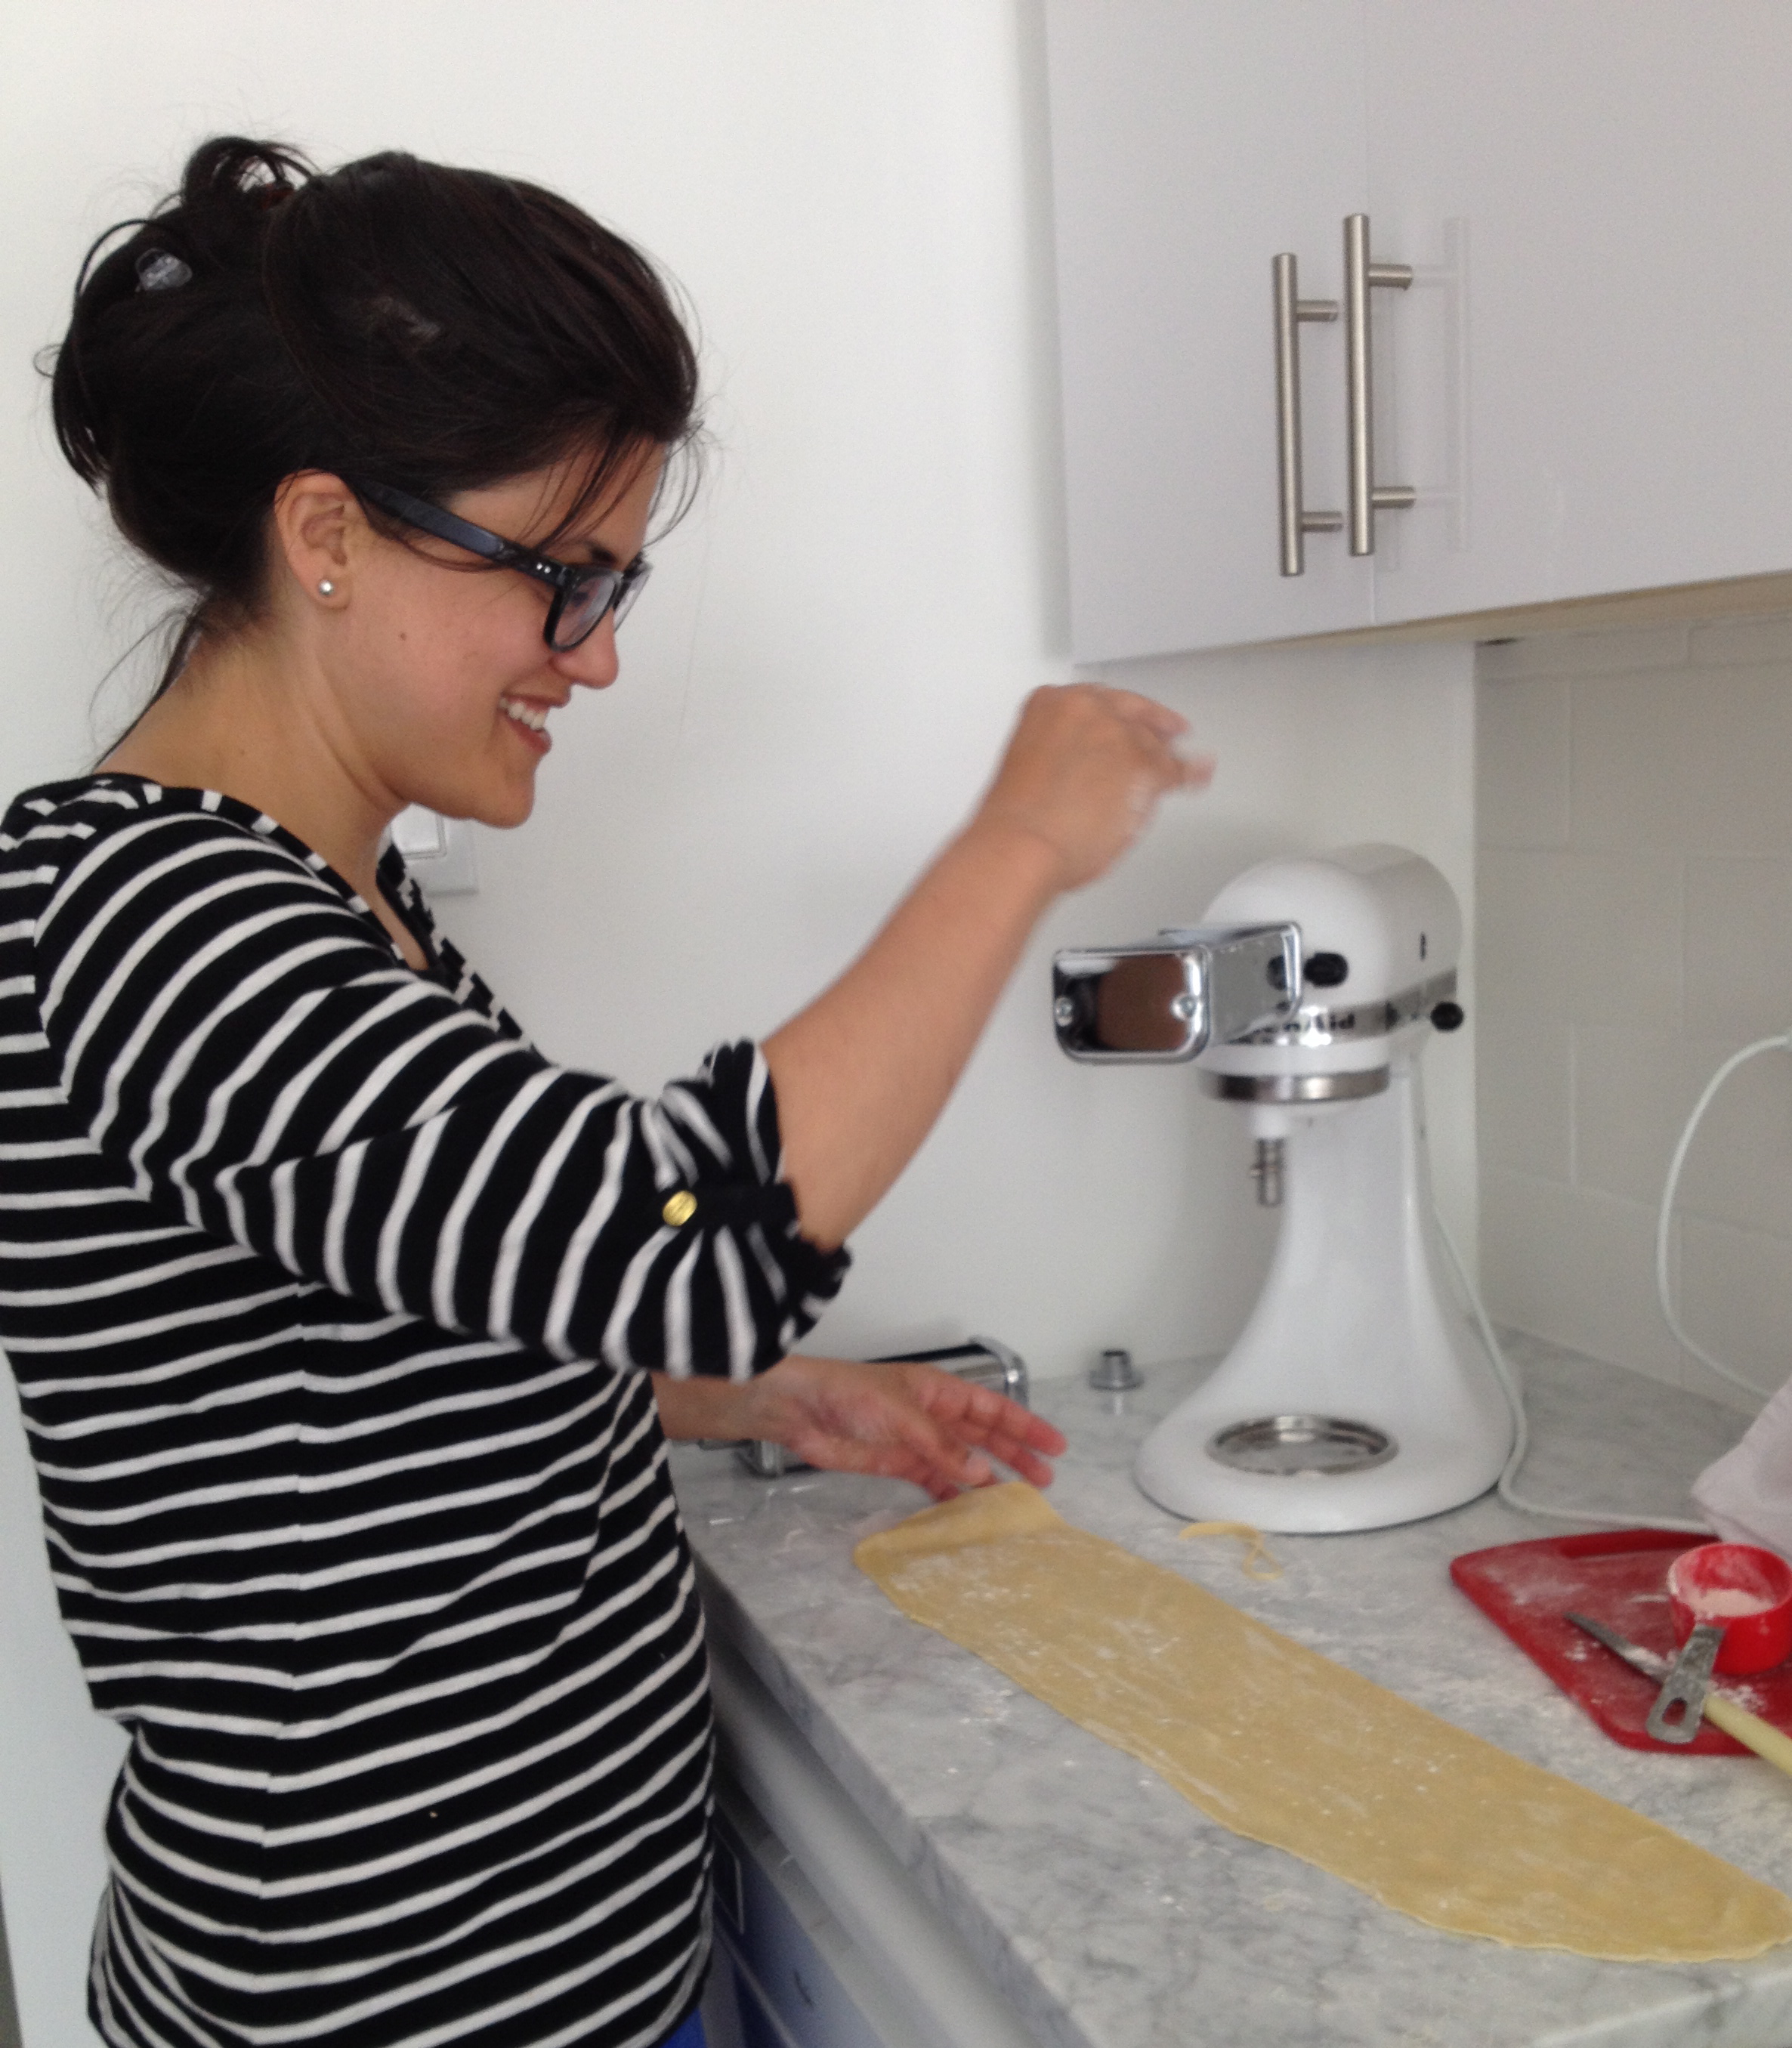
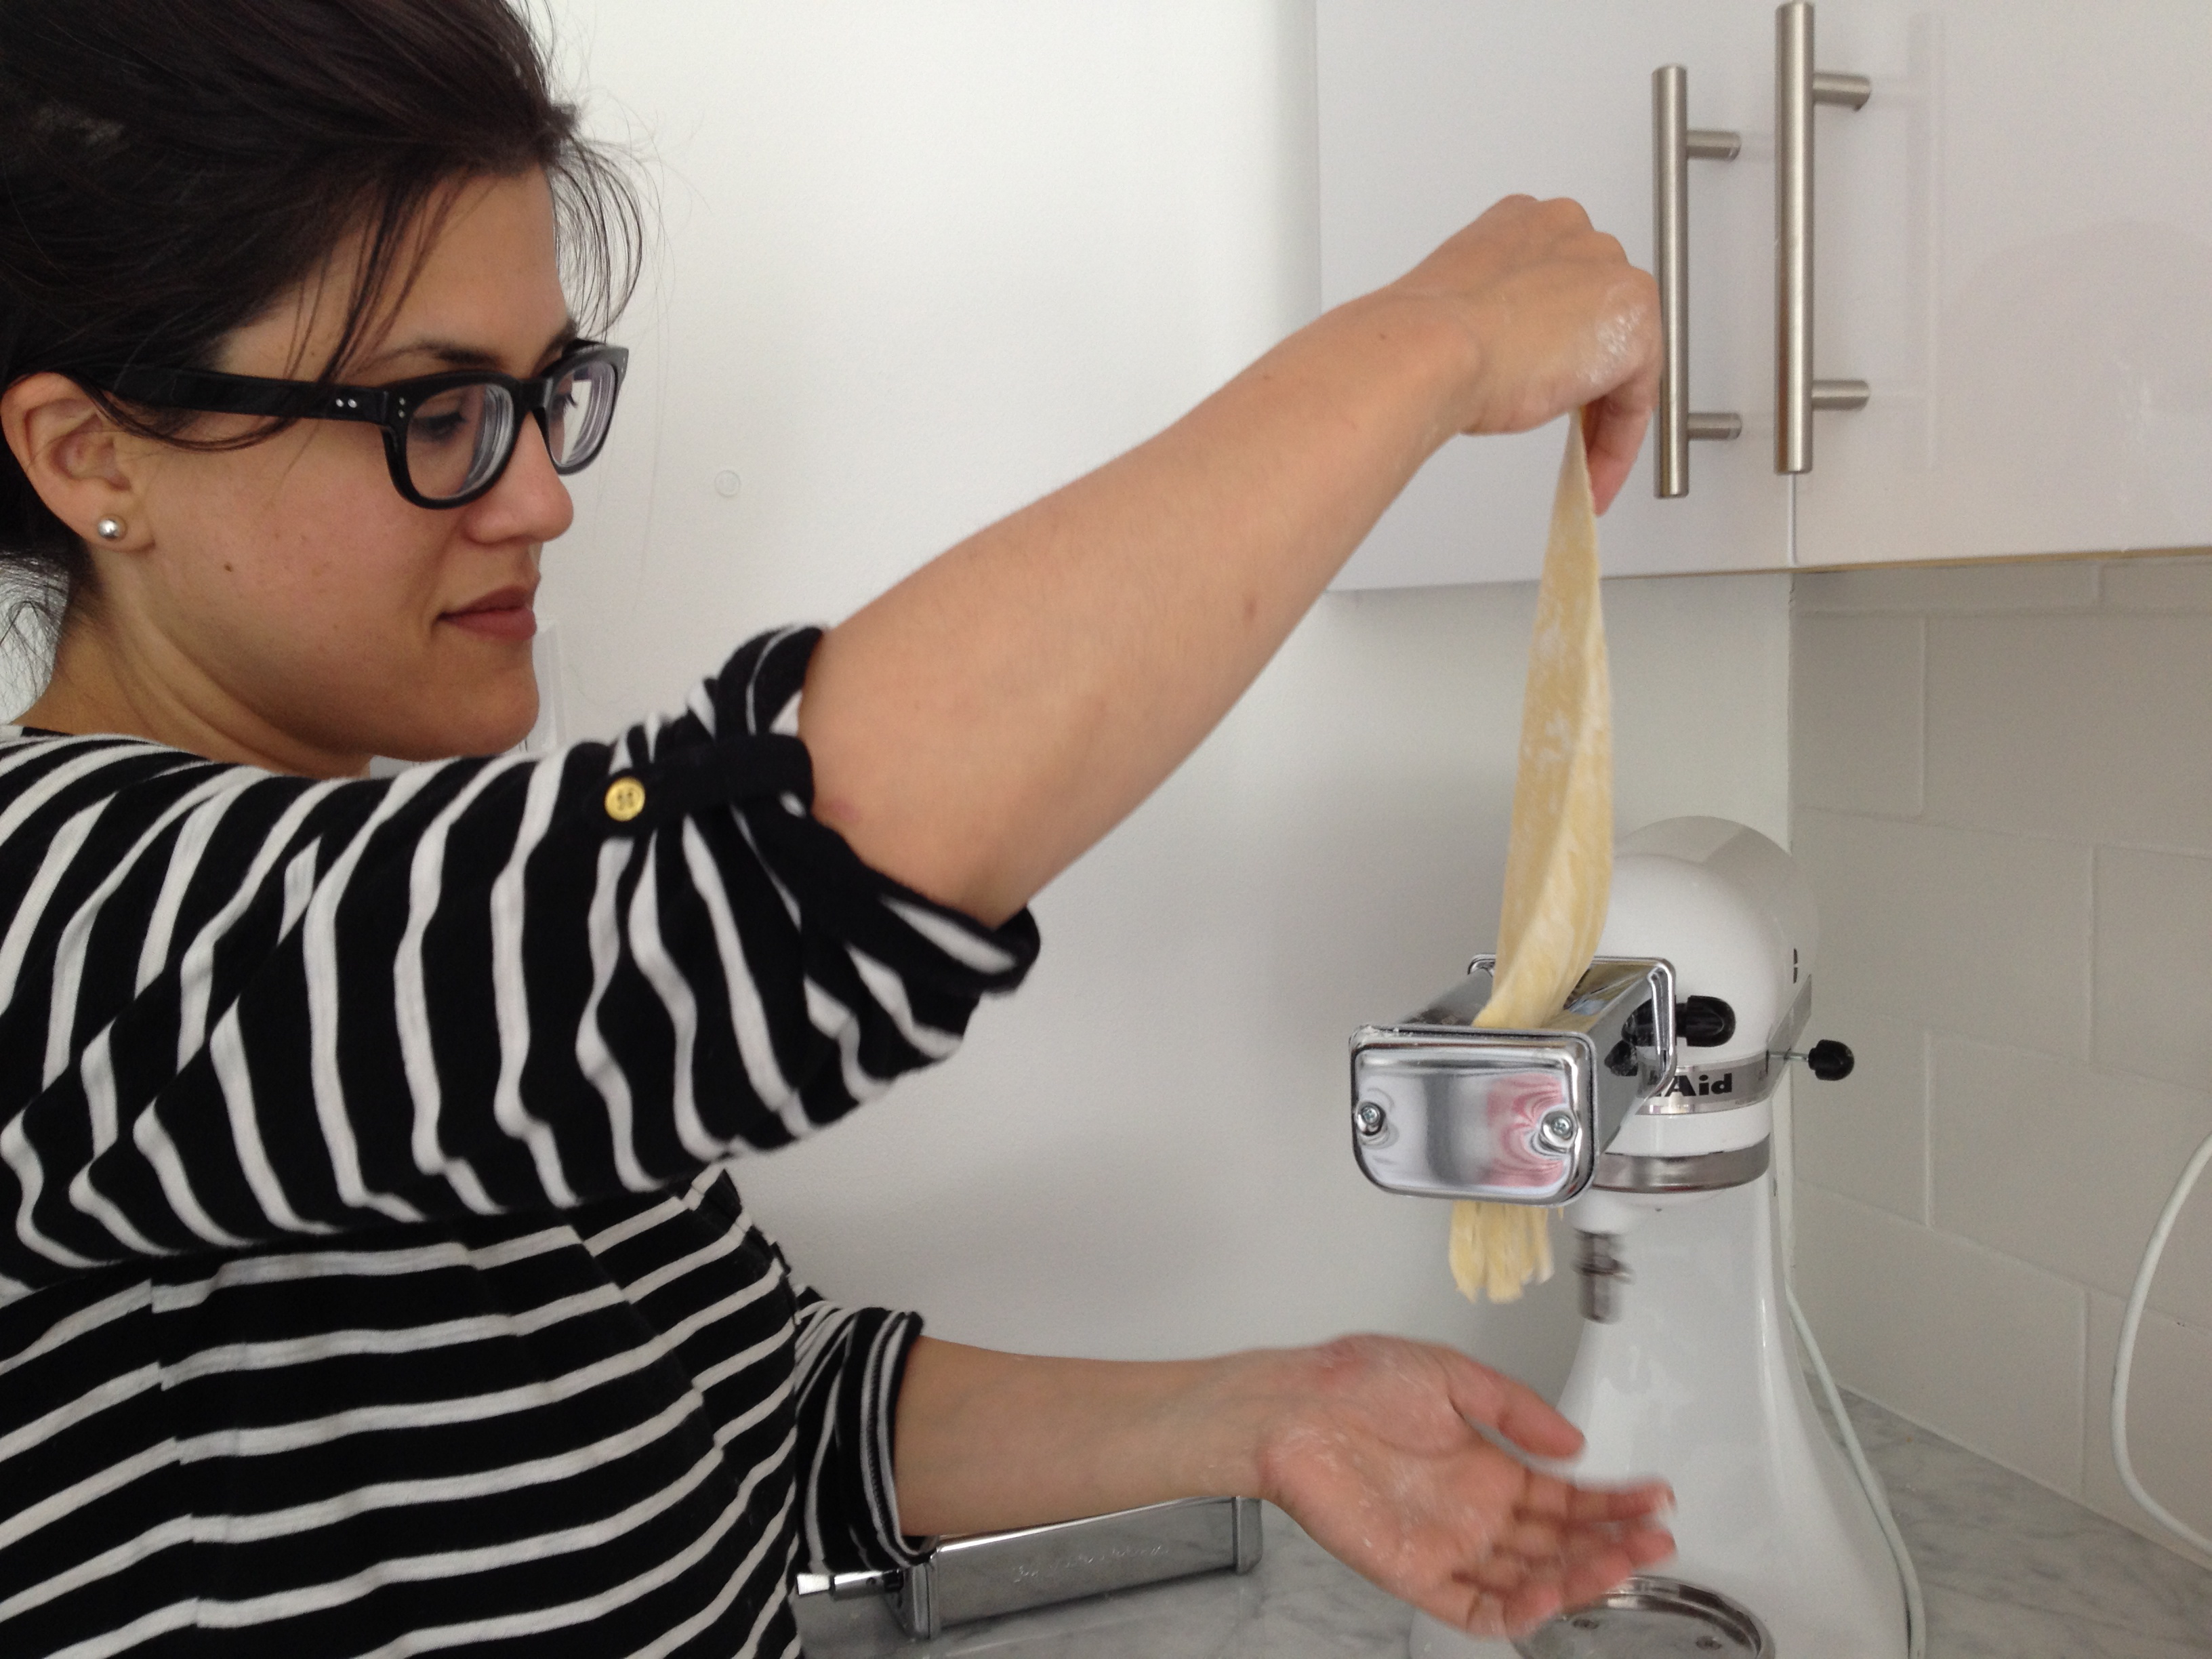
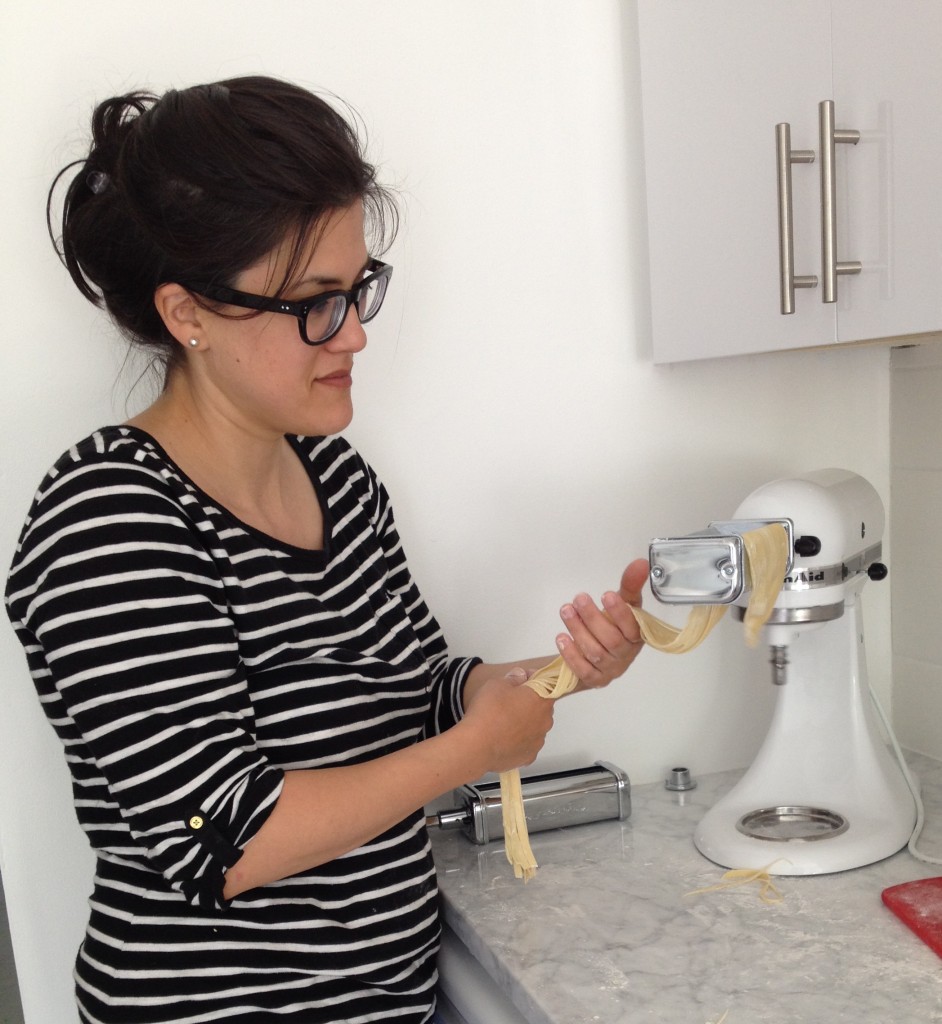
I tried to measure her recipe this time and it’s something like this: – 1 egg per person – 3/4 cup of flour per egg – a bit of water (I think I may have used about 1 tbsp) – a bit of salt (I might have used 1 tsp) Dump all the ingredients into the bowl with the paddle attachment. Mix for 2 minutes. Dump the dough out onto the counter and knead for 1 minute. After Mom finally got the first version of dough to the right texture, I got to work with the pasta attachments. First, I used the flat one to stretch out long flat pieces of pasta. I set the knob on the cutter to position 1 and then worked my way to number 5. I set the mixer speed to 3 or 4 and the whole process was quick and easy. white-cabana-pasta-6white-cabana-pasta-7white-cabana-pasta-1 
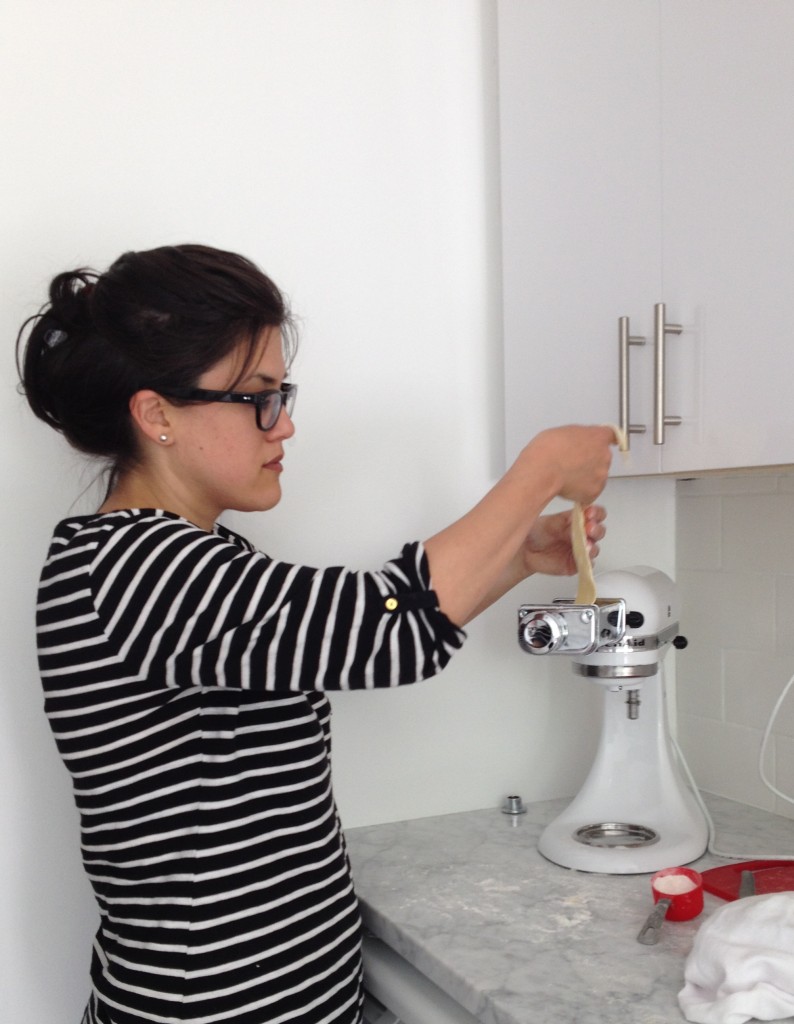
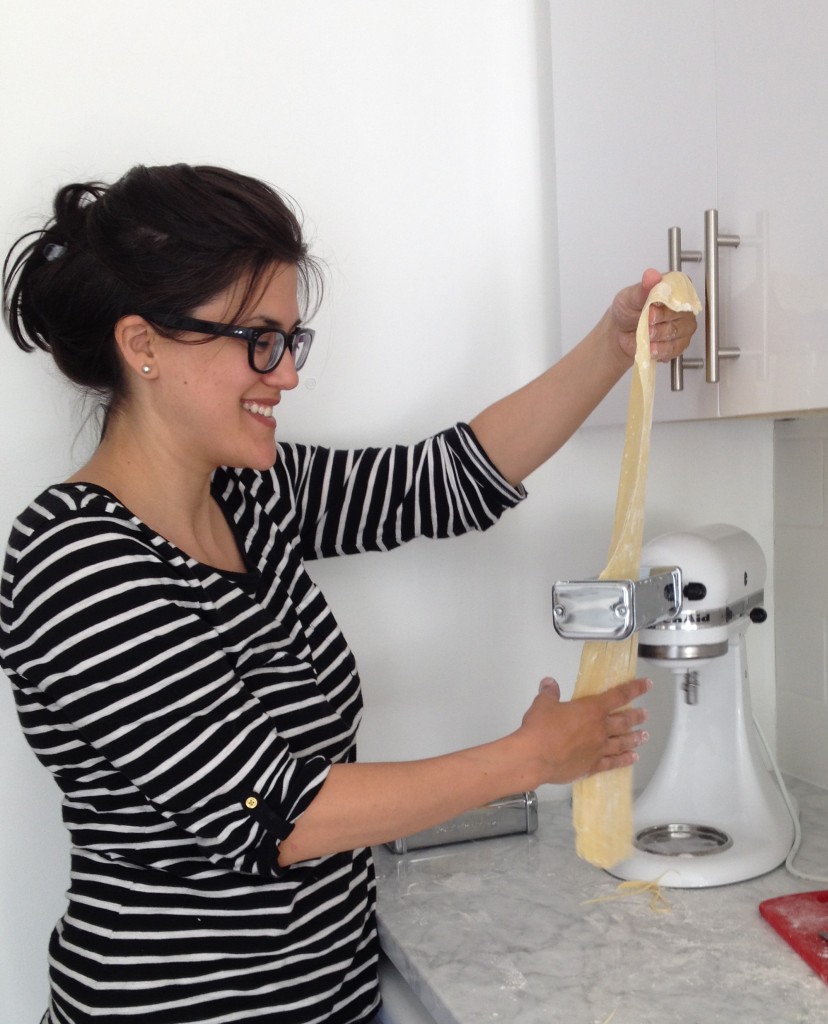
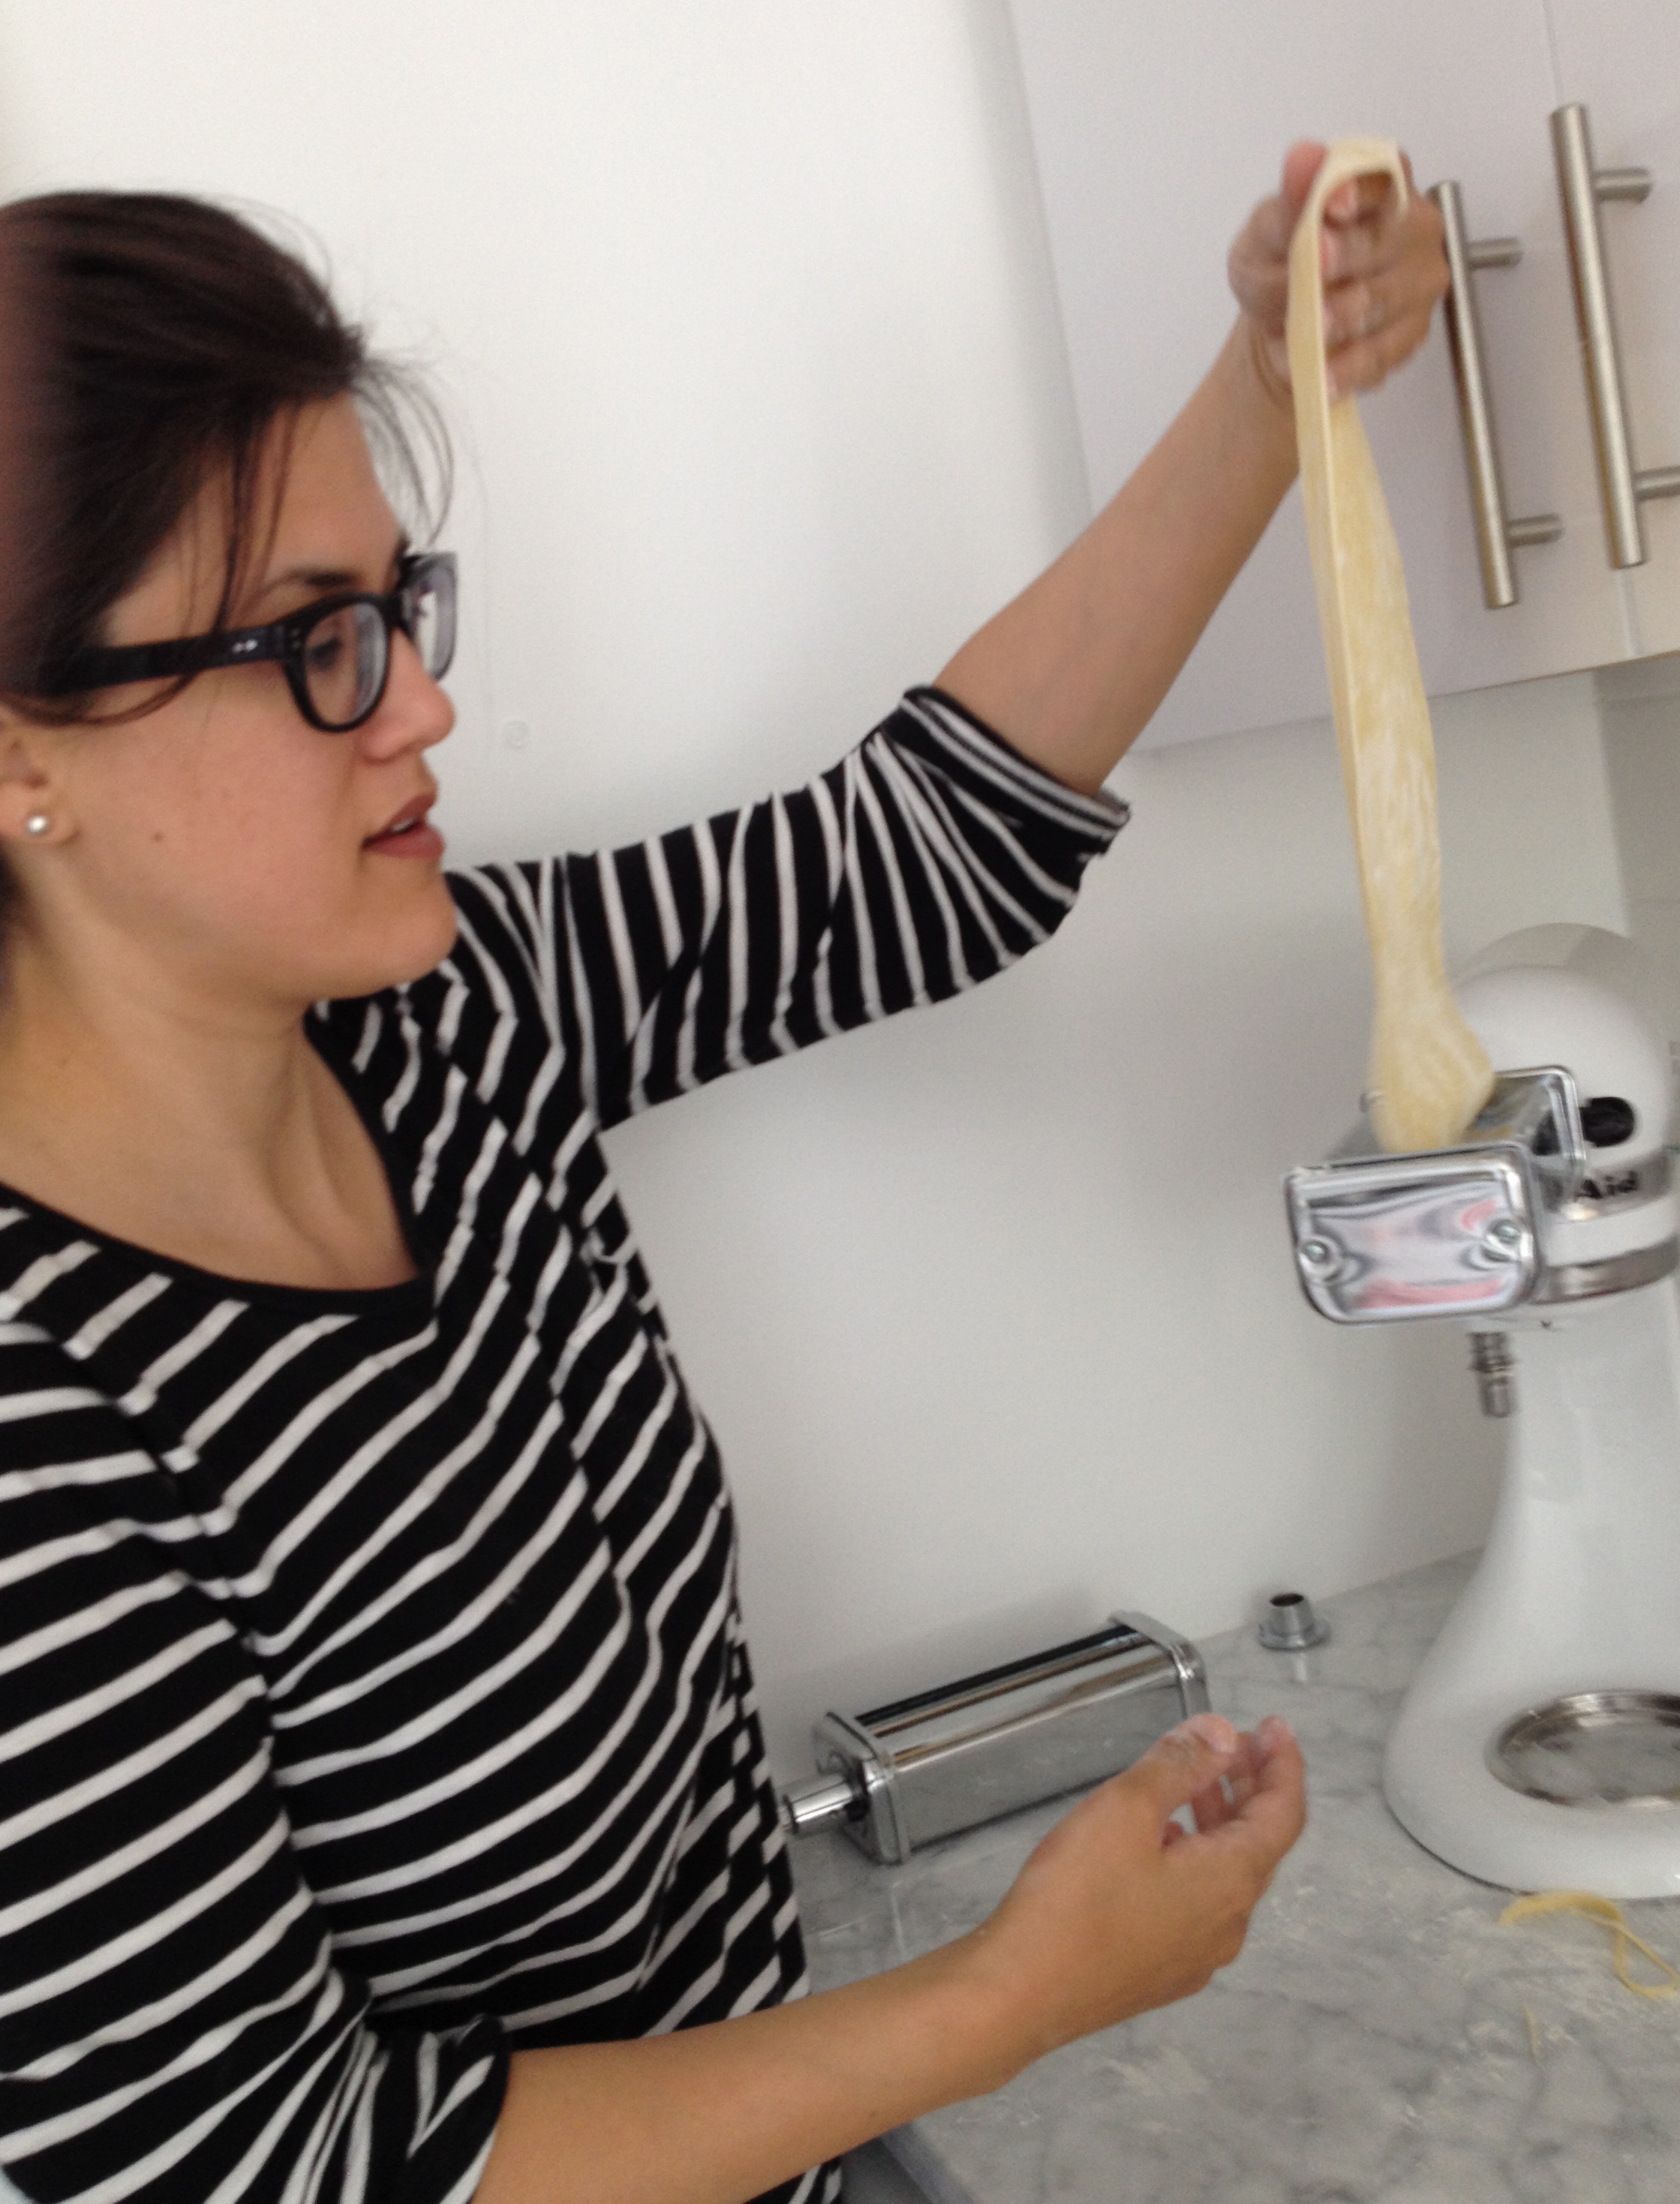
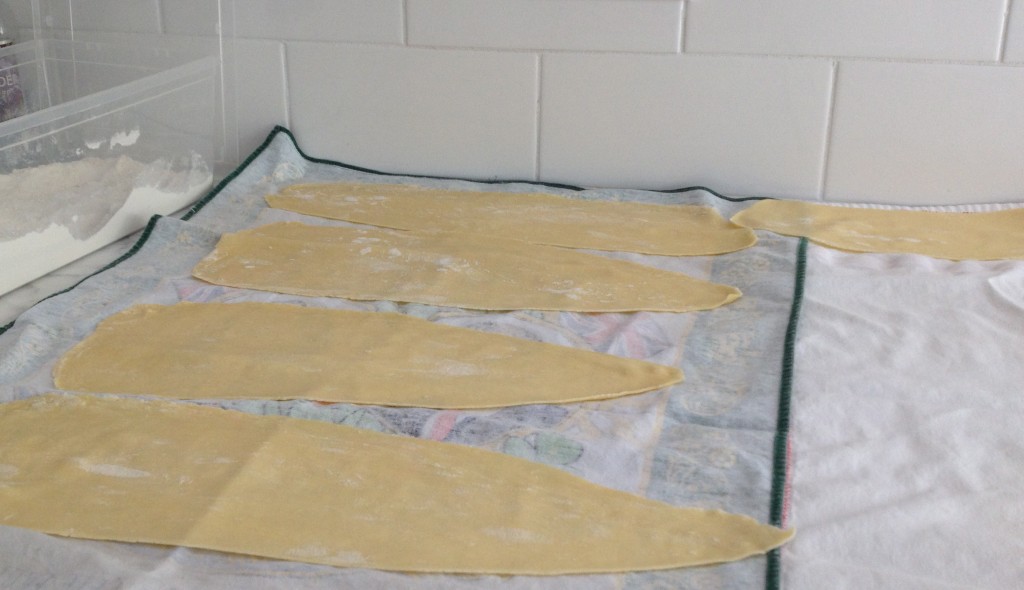
When all the dough had been passed through the smooth stretcher attachment, I attached the fettucini (and then the spaghetti) cutter to the mixer (quick and easy) so that I could pass the long sheets of pasta through to make the noodles. I floured the pasta sheets before passing them through the cutter. white-cabana-pasta-5white-cabana-pasta-10white-cabana-pasta-3white-cabana-pasta-4white-cabana-pasta-9 white-cabana-pasta-11 
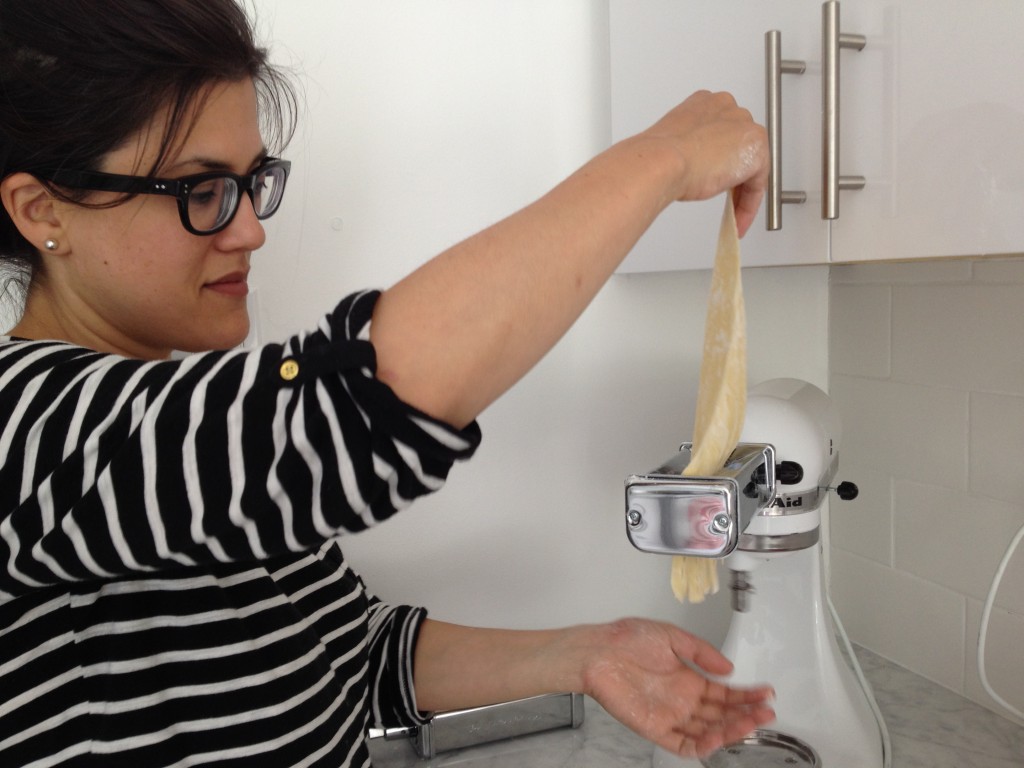
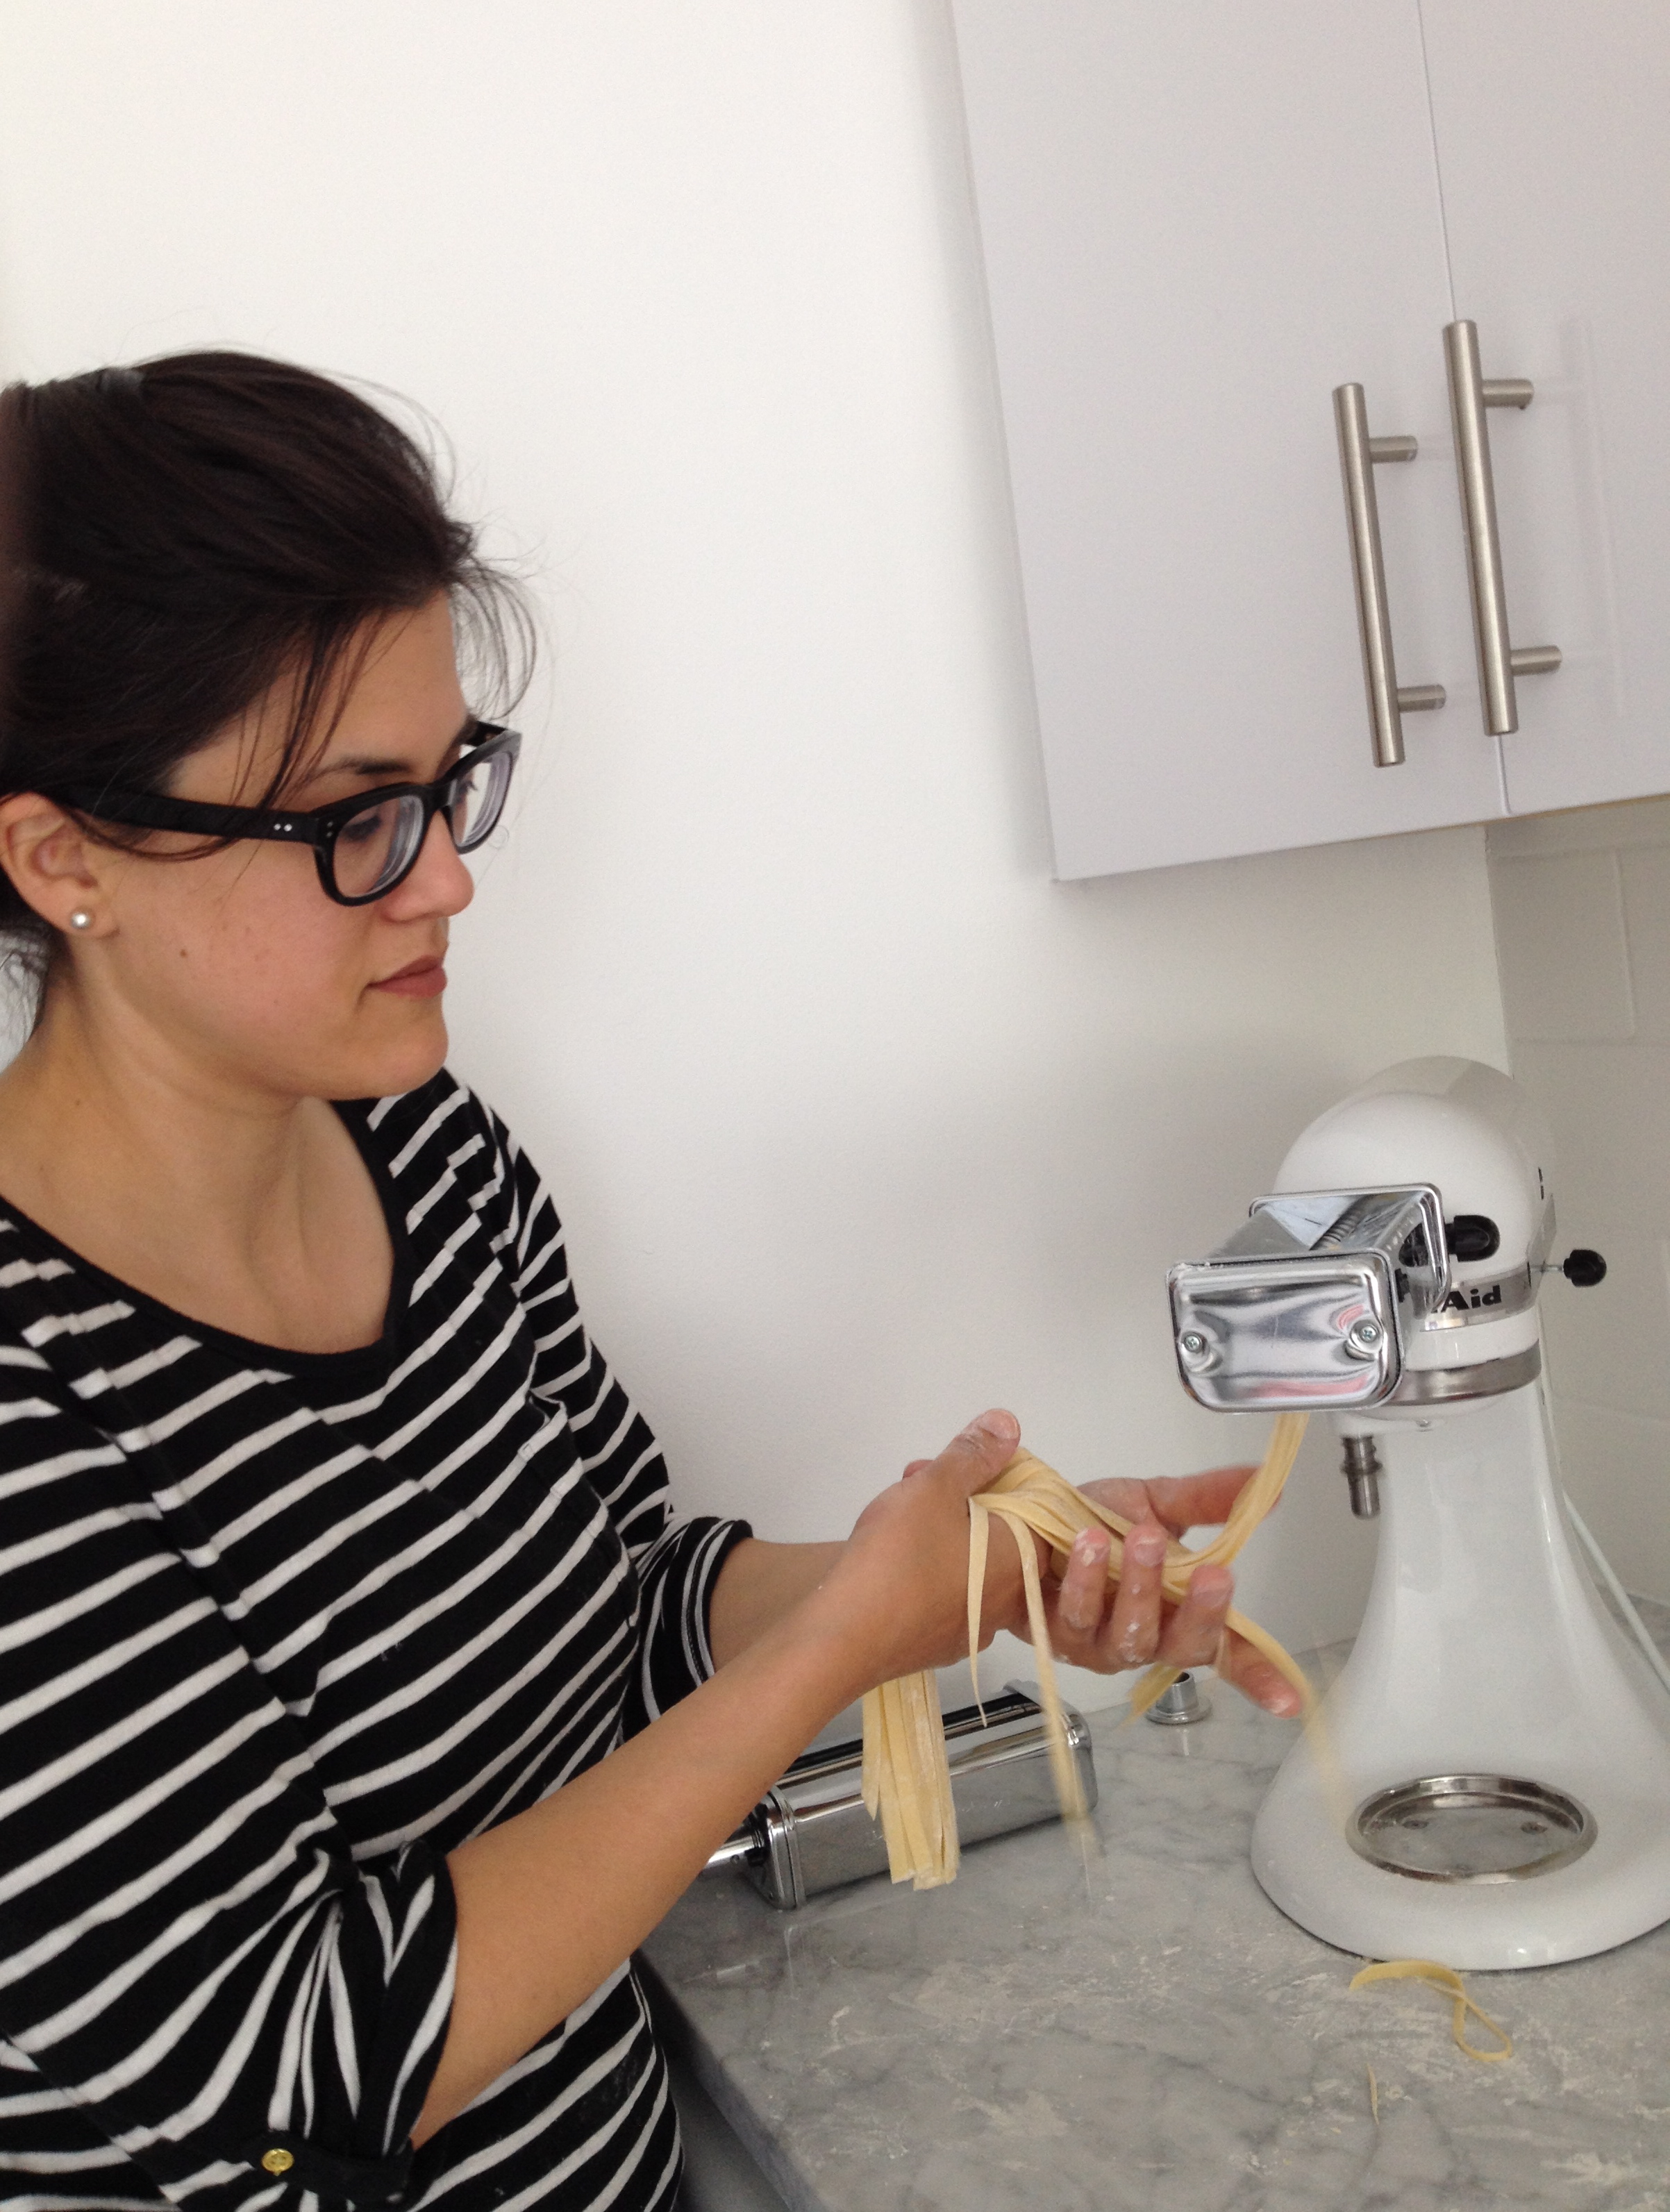
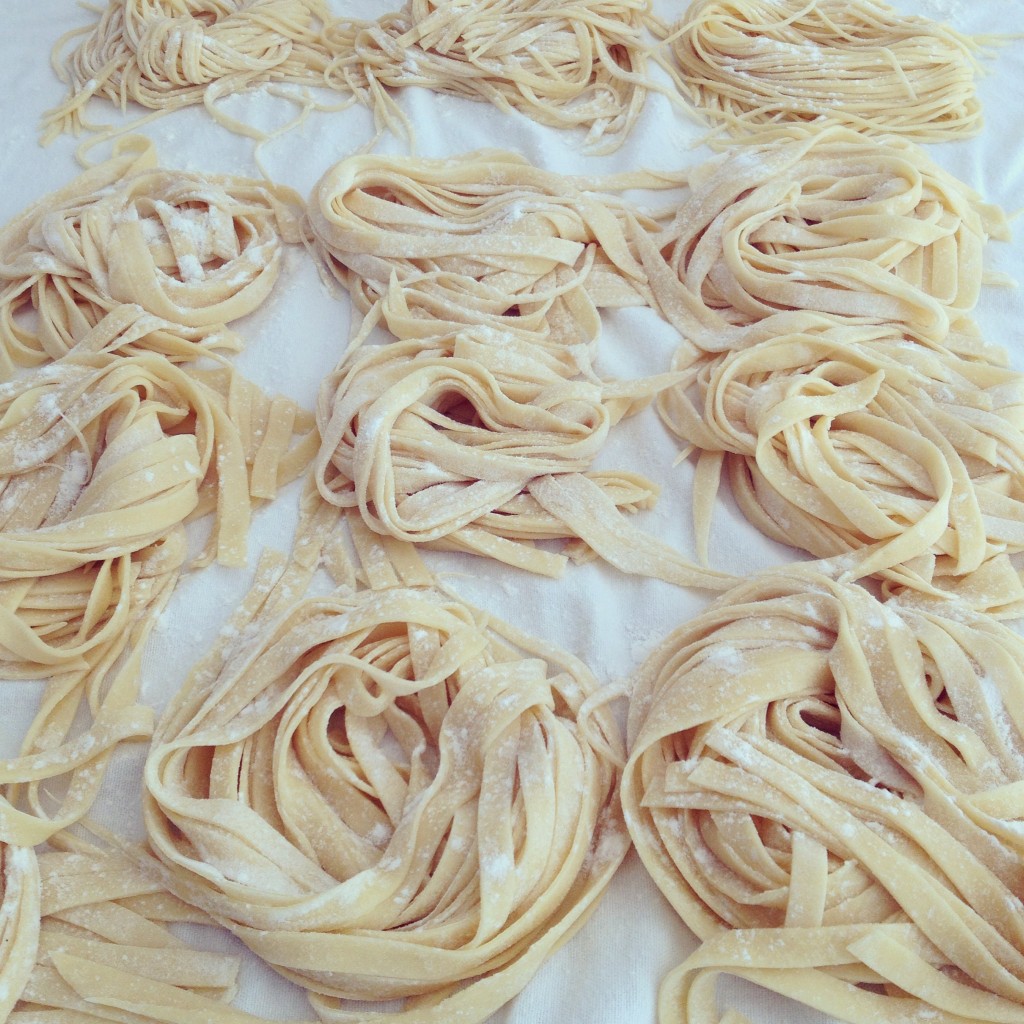
I like twisting the pasta into round spirals, but I flour the heck out of them before doing this to avoid sticky strips. The pasta (both versions) turned out very well, and it was delicious paired with fresh tomato sauce (I tried my mom’s sauce recipe, which she thought was almost as good as hers…tough crowd). In the end, neither of us are sure of the amount of ingredients that my mom used to adjust the KitchenAid dough, but if I try the recipe again, I’ll start with 2 cups of flour and add more as needed. KitchenAid sent over another version of the recipe when they heard I was in pasta-making distress (via Twitter, naturally), so I may give that one a try too.

Thanks, Mom, for your help and for snapping some great photos!

20 Below: Style at Home and House & Home Magazines

Here are 2 magazine issues that I think everyone should own:

style-at-home-white-issue

Style at Home – The White Issue, $5.99

decorating-with-white-HR

House & Home – Decorating with White, $11.95

Thanks to all friends, family members, and readers who have been sending me emails, tweets, and texts letting me know that they bought them/thought of me when they saw the magazine/think these issues were made for me/etc. It’s been really fun to hear people’s responses to these two issues!

FYI: I own the Style at Home magazine (and it’s great), but I haven’t yet bought the House & Home special issue. Shocking, I know!

Design: Manhattan Home on Style Me Pretty Living

I’m thrilled to announce that my sister and brother-in-law’s Manhattan condo was featured on Style Me Pretty Living yesterday! Can you believe it? SMPLiving is such a well-curated, well-respected online blog and it is ridiculously cool that the SMP team decided to feature my family’s city condo. Crazy cool, in fact! Even though I knew the post was coming, I was still kind of surprised to see it online yesterday afternoon. Just. Too. Much. Fun.

Here are a few photos of their place, but I encourage you to read the full story and flip through all the photos. I’m so impressed with my sister and brother-in-law’s approach to art and design (and, yes, they like white too).

Corie-NYC-apartment-Caroline Frost photo Corie-NYC-2-apartment-Caroline Frost photo Corie-NYC-condo-Caroline-Frost-photographyCorie-SMP-Caroline Frost

Thanks to Caroline Frost for taking such lovely photos and to Jacquelyn Clark for putting this all into motion.

In the Kitchen: Lemon Poppy Seed Cake

I hosted my parents this past weekend and I just had to show off my KitchenAid stand mixer. (I’m a Leo. We like attention.) I decided to test out this lemon poppy seed cake recipe that Joanna Goddard featured earlier last week. To everyone who is reading – this cake was super easy. If you like lemons and cake and poppy seeds, you should make it.

My KA stand mixer worked brilliantly and made the whole cake baking process go really quick and smoothly. For beautifully styled food photos, have a look at Joanna’s post. For photos of my version, keep reading…

photo 1 copy

photo 2 copy

sugar, flour, and poppy seeds are measured out

photo 3 copy

butter and sugar are creamed together with the KitchenAid paddle attachment

photo 4 copy

flour is added once the sugar and butter are creamyphoto 1

photo 5 copy

eggs, milk, poppy seeds & lemon zest are added at the end

photo 2

photo 3the dough is poured into a buttered & parchment lined loaf tin

photo 4

after about 40minutes in the oven, the cake is ready

photo 5

a sugary lemony icing is poured and poppy seeds are sprinkled on top

Here’s the complete recipe – from April Carter of Rhubarb and Rose (via Cup of Jo):

Recipe: Lemon Poppy Seed Loaf Cake

For the cake:
¾ cup unsalted butter, at room temperature 
¾ cup sugar
1 ¼ cup all purpose flour
2 tsp. baking powder
pinch of salt
2 eggs
¼ cup milk
¼ cup poppy seeds
Zest of 2 lemons

For the glaze:
1 cup powdered sugar
Juice of ½ lemon
Poppy seeds, for sprinkling

Heat the oven to 350F and butter and line a one pound (4½ x 2½ x 8½ inch) loaf tin with baking parchment. Place the butter and sugar in a bowl and beat with an electric mixer until pale and creamy. Sift in the flour, baking powder and salt. Add the eggs, milk, poppy seeds and lemon zest and beat until just combined, scraping down the sides of the bowl with a rubber spatula as you go.

Spoon the mixture into the prepared loaf tin and bake for 40 to 45 minutes or until a skewer inserted into the center of the cake comes out clean. Allow the cake to cool in the tin for 10 minutes, then turn out onto a wire rack and remove the baking parchment.

While the cake is cooling, make the glaze. Use a spoon to beat the powdered sugar with enough lemon juice to form a runny but opaque glaze. Set the cooled cake on a wire rack and drizzle over the glaze. Sprinkle over the poppy seeds and allow the glaze to set for a few minutes before packaging up. 

Let me know if you give this recipe a try. I would love to know how it turned out for you.

Marketplace: Father’s Day Gift Ideas

This Sunday is Father’s Day. Does this mean that you’ll be spoiling your dad with a crafty tie greeting card or golf accessories? I’ve given my dad a variety of gifts over the years, some of which I rounded up in this post (just in case you’re looking for a last-minute gift idea). I’ve been a student forever, so naturally my Dad has a collection of university t-shirts, sweatshirts, and mugs from a variety of Ontario universities. It’s been a really convenient gift to buy since I could shop in between classes. Luckily, dad loves them (or pretends to) and wears them all the time.

university-t-shirtsLaurier Western Queen’s

My dad seems to like anything that has the letter “B” on it (to match his first name, of course). Because of this, I’ve given him loads of “B” presents like the ones below (though not necessarily in white – my dad likes colour).

b-mug-chapters

B mug

wine stopper C Wonder

wine stopper

b_black_font_cap

B hat

Another go-to gift idea for the B-man is wine. Red. Any brand, price point, and country of origin will do.

wine-LCBO

13th Street Red Palette Alfredo Roca Chateau Bel Air Albert Bichot Alion Les Terrasses

A final successful go-to gift for my dad has been anything and everything related to the BBQ.

14987582_201311181415

BBQ grilling tray

img79o

BBQ tool set

I know my dad is reading this post, so I can’t reveal what he’s going to get this year. Hint – it’s something from the list above! Why ruin a good thing, right?

Have a wonderful weekend and Happy Father’s Day to those who celebrate!