You may recall that in the spring, I had new doors installed in my home. My Metrie Masonite Lincoln Park doors are gorgeous, and I’m so glad I invested in them. My hall closet was an especially good transformation as I said #byebyebifold with the help of Metrie.
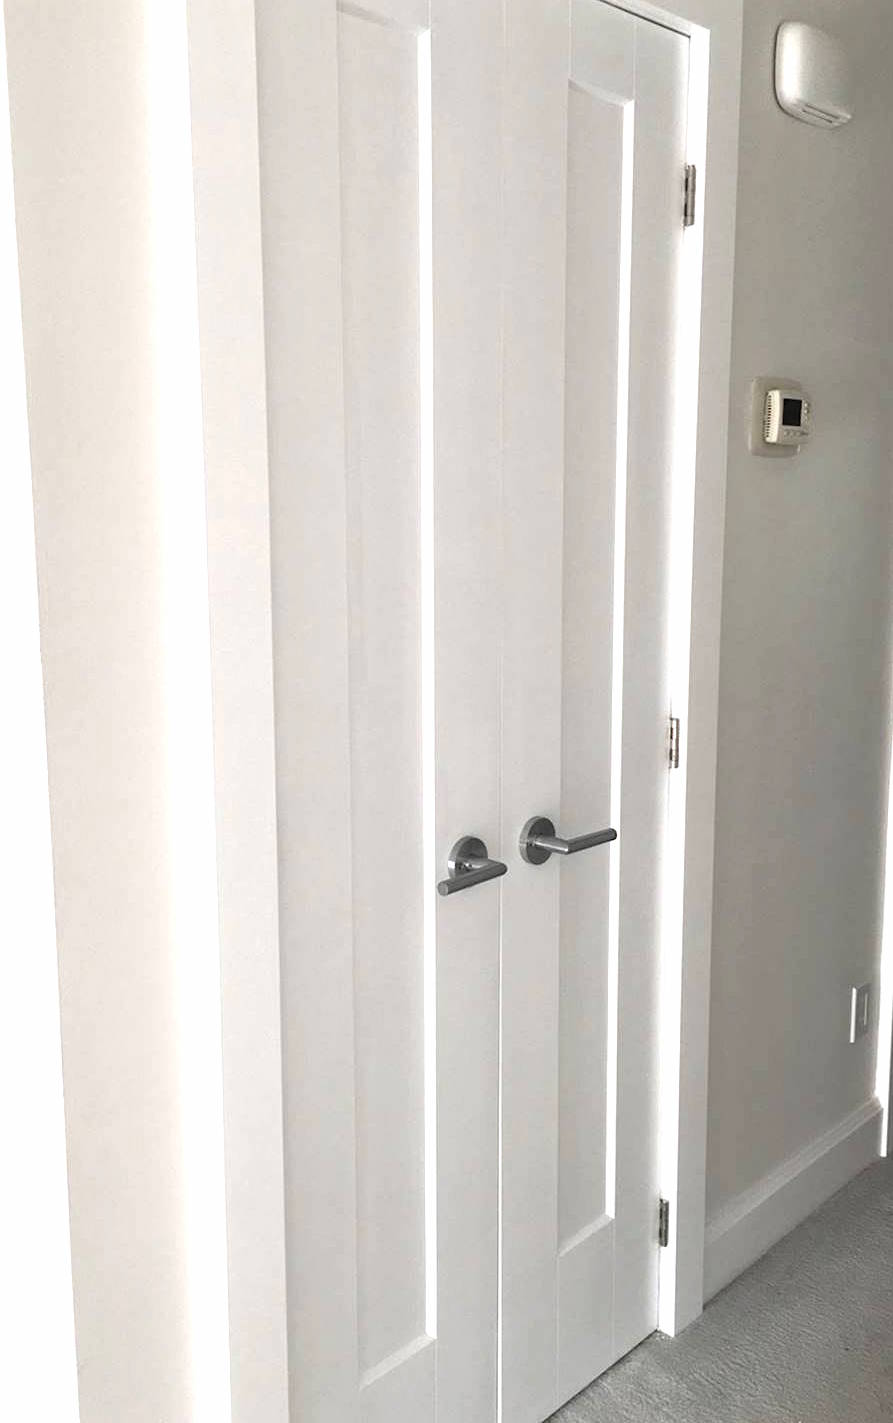
While the closet looked great on the outside, the inside was pretty disastrous.
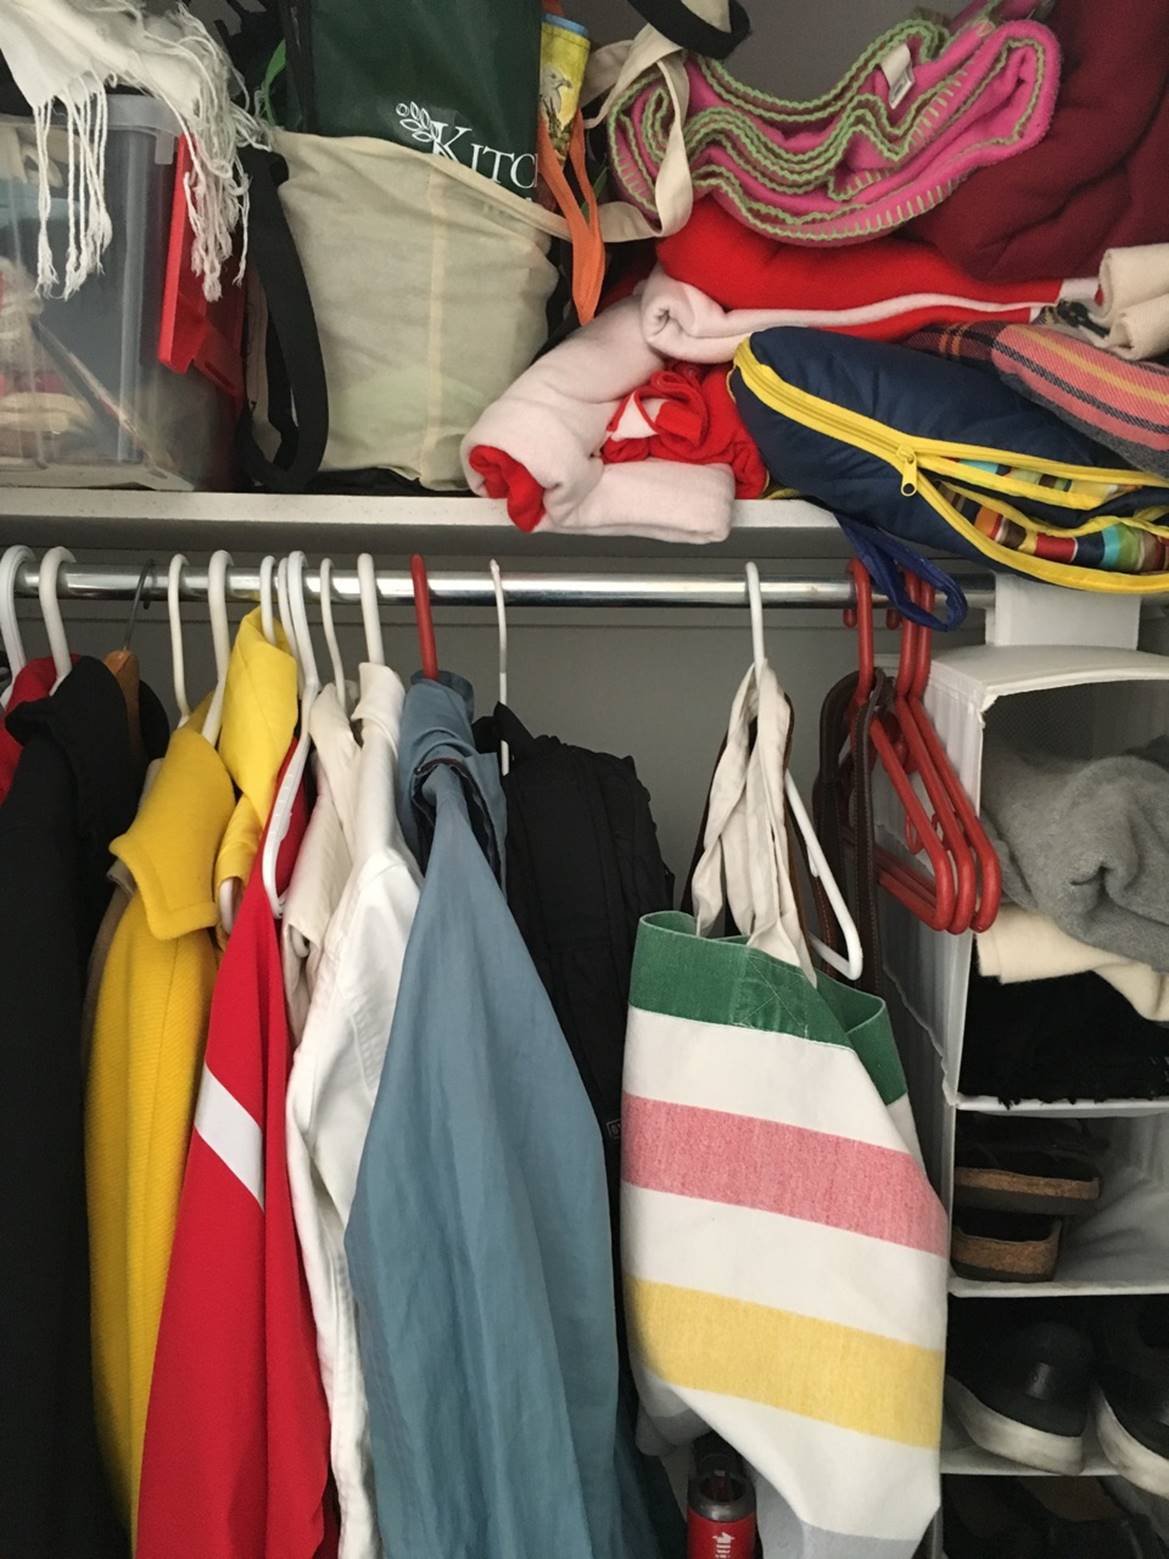
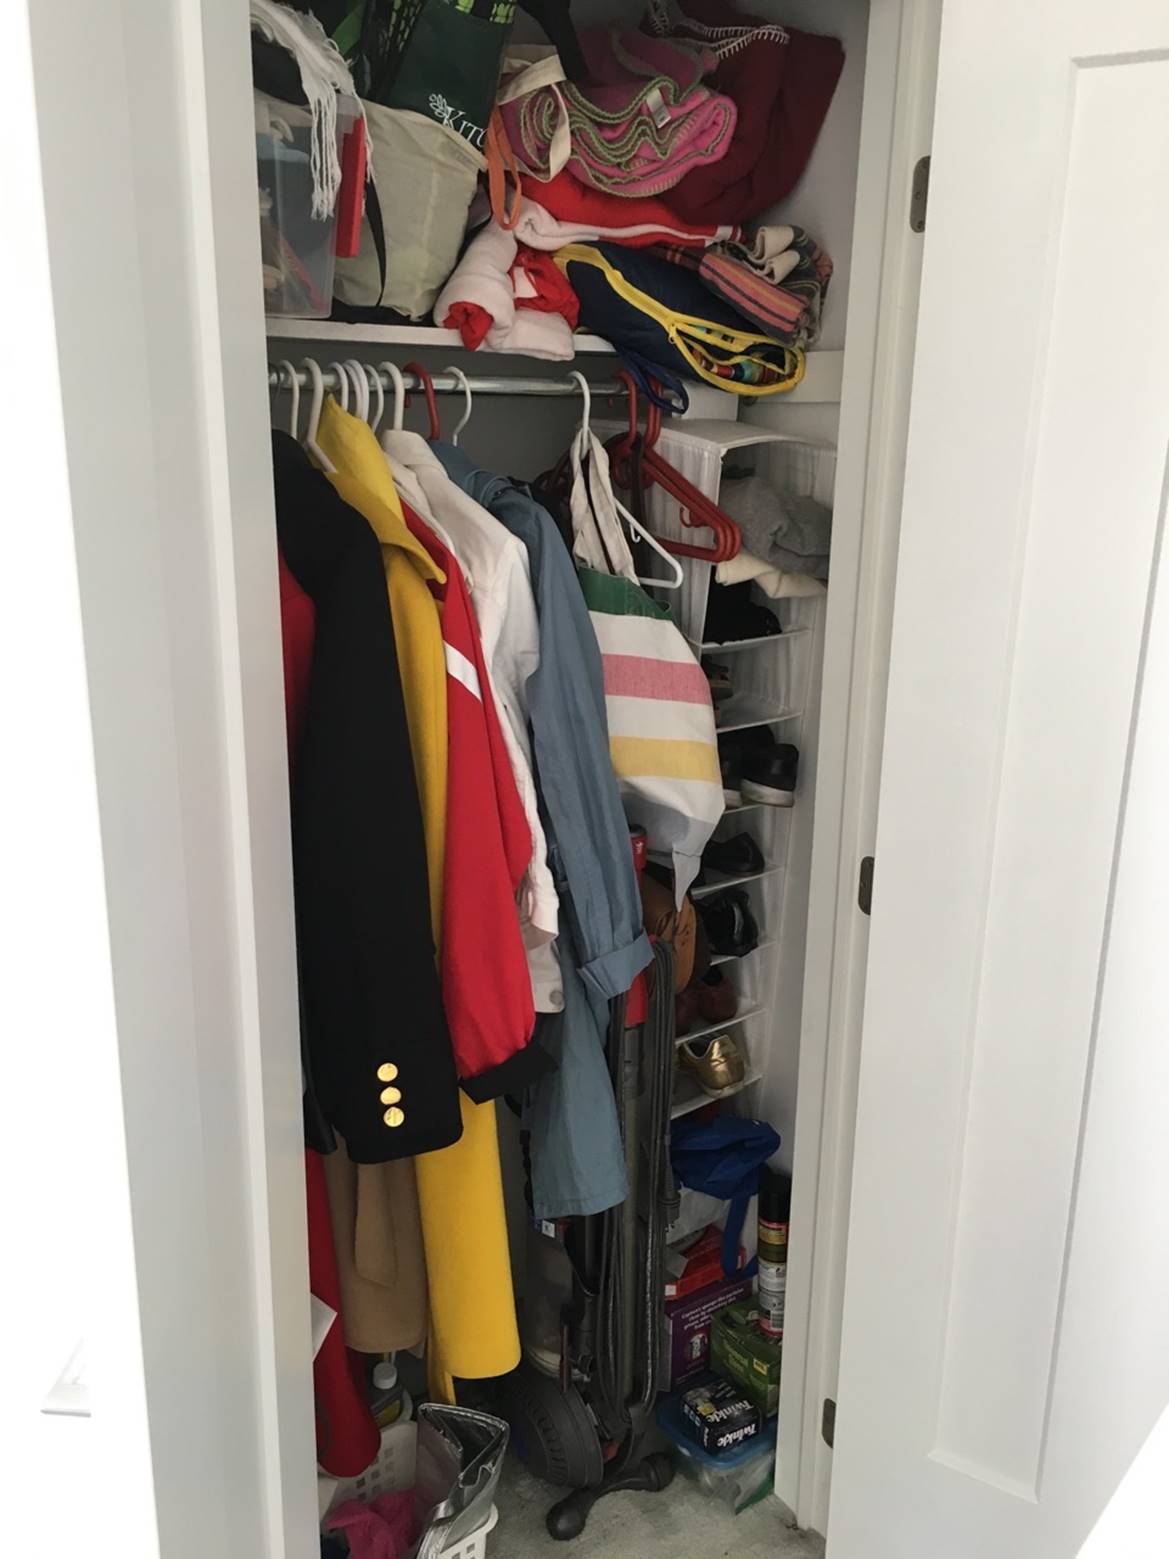
Gosh, it’s just such a mess! It hurts my eyes!
Since this is my only closet on my main floor, it must be effective. In addition to jackets, coats, and winter wear, this closet must house my vacuum, too. The closet is narrow – at only 43″ wide – so I didn’t have much room to play around with. I needed a section for long coats, a section for short coats, space for boots and my vacuum, and shelves for my winter accessories and purses.
Since I worked with the Home Depot Canada on this project, I headed over one night after work to pick up the ClosetMaid narrow closet organizer kit (in white, of course). There are several options for organizer systems, but I knew I wanted one with solid – rather than wire – shelves. I also wanted an organizer that would be affixed to the wall – rather than one that hangs from the rod. I had previously installed closet organizers, so I was already familiar with the general installation procedure.
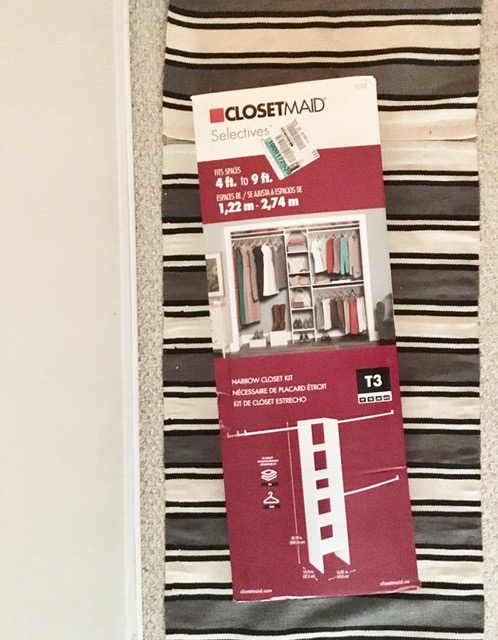
When I knew I’d have a weekend free, I got to work! I first emptied out the closet, removed the support bars, and painted everything a fresh coat of white.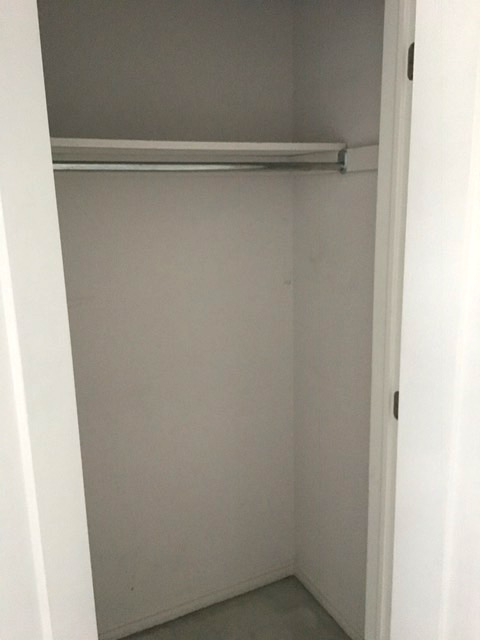
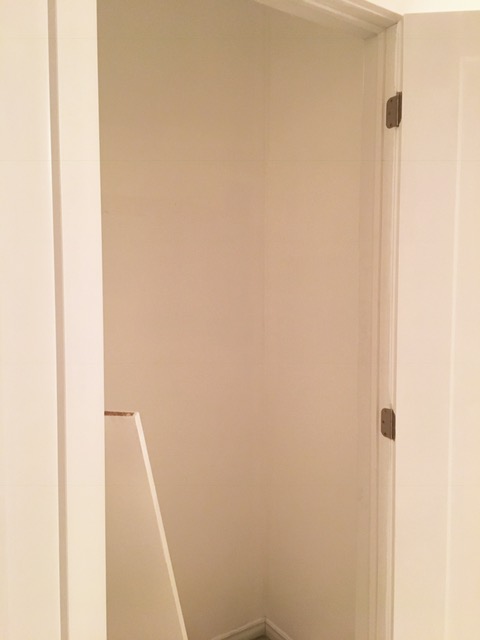
After I waited a day for the paint to dry, I unpacked the pieces and familiarized myself with the ClosetMaid instructions to ensure that I had all the right tools.
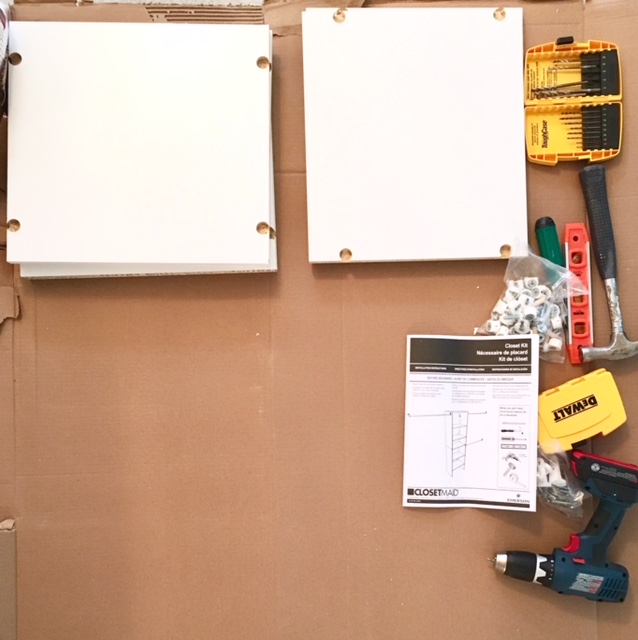
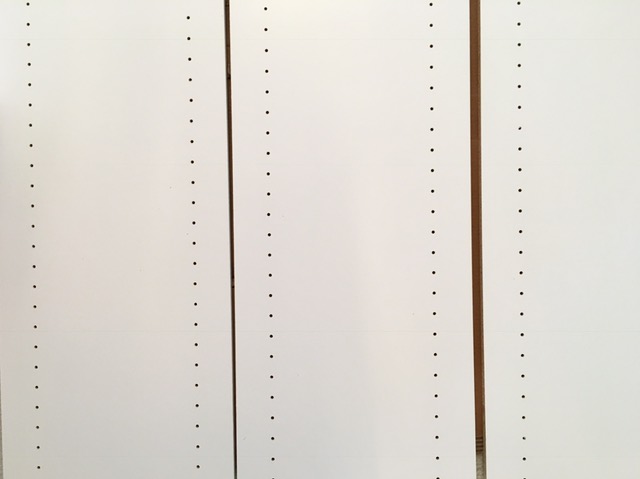
The installation process took me a couple of hours. The instructions were easy to follow, and I didn’t run into any issues. I got to use my power drill/screwdriver on this project, so I was happy. Who else loves tools?
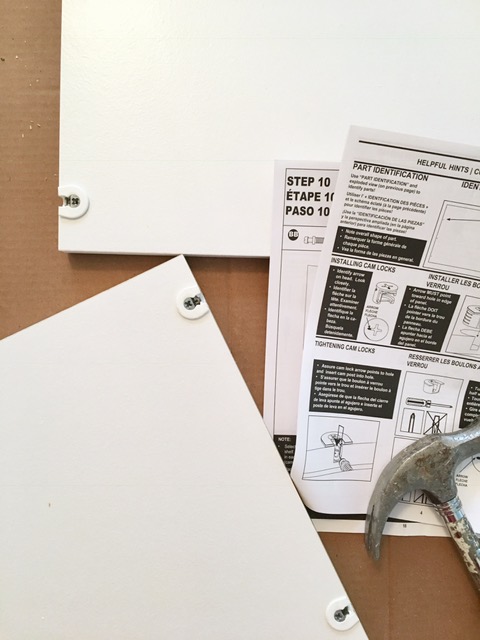
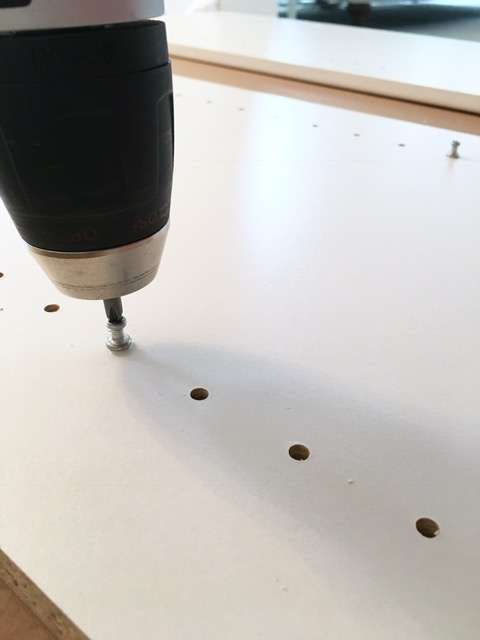
This ClosetMaid organizer has corner support pieces as well as adjustable feet. Once the base piece was in place in the closet, I used my trusty level to make sure the piece was straight.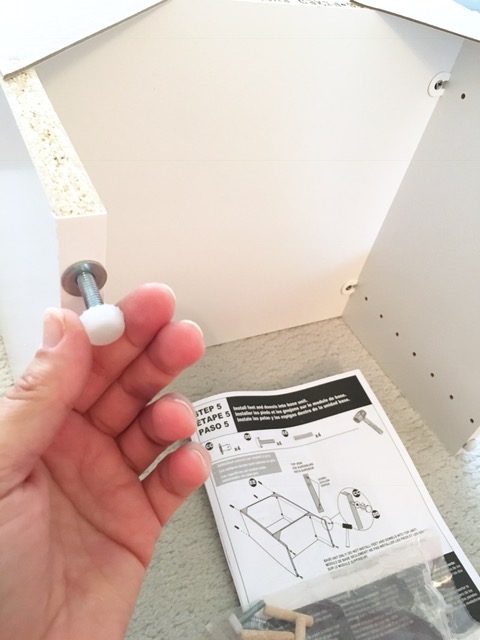
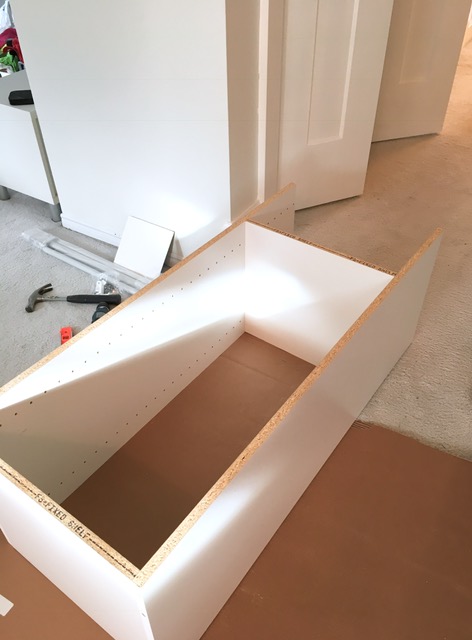
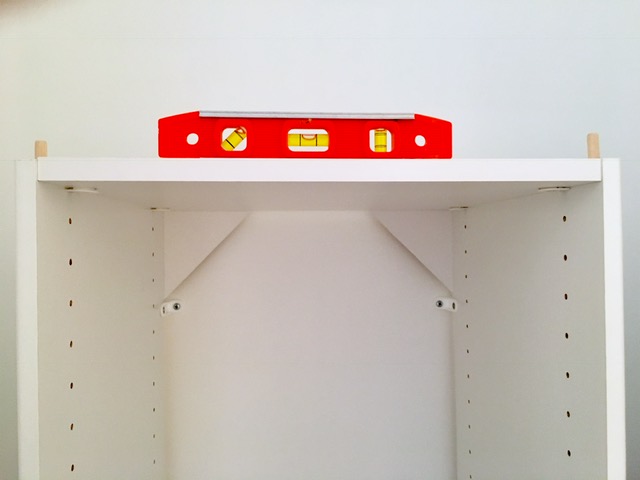
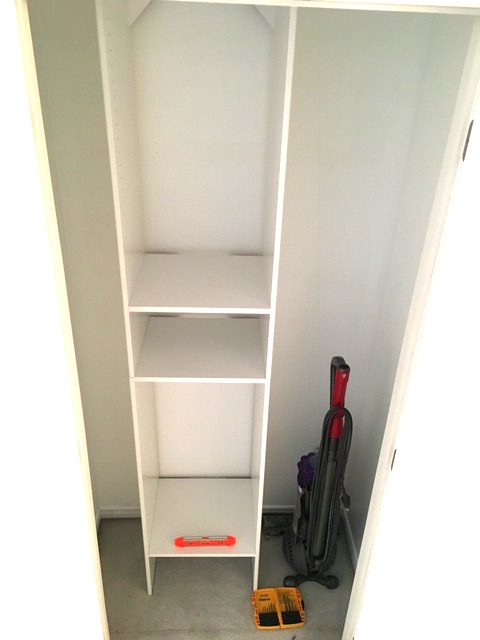
Once the base was in place and affixed to the wall with the support brackets (you can see them right under the corner pieces), I lifted the top piece and placed it on the bottom. I made sure this piece was level, too. And of course I had to make sure that my spacing measurements were right, so my vacuum would easily fit in place.
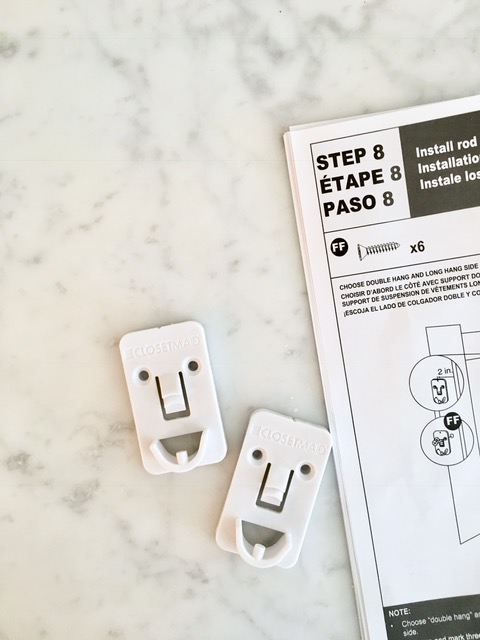
The last pieces to install were the rod holders. These are installed both on the wall and the side of the shelf unit. These ClosetMaid pieces were smiling at me!
Since my closet is so narrow, I knew the rods provided in the kit were going to be too long. The instruction guide advises to “cut the rods” if necessary. This is where I was a bit stuck because I didn’t have anything to cut the metal rods. So, rods in hand, I went off to the Home Depot Canada to buy a saw. The man who helped me told me that I could cut them myself at the cutting station. What? A cutting station? He brought me over to the aisle and showed me what to do. He was kind enough to cut the first rod for me (I had measured them and taped the cut line at home). In a few minutes, I cut the other three rods (one goes in another, so I had a few cuts to make). Easy!
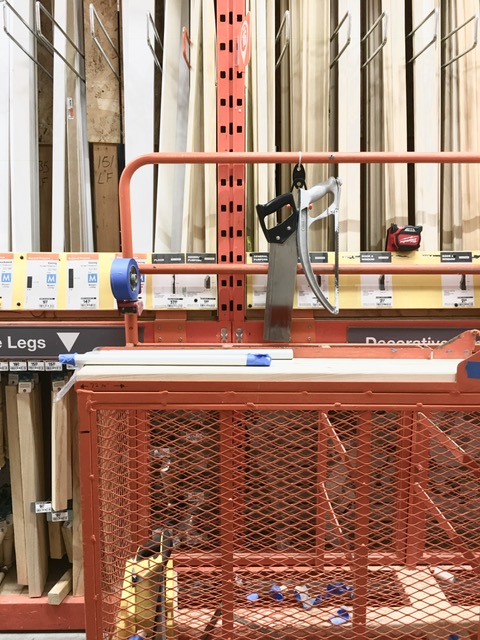
The cutting station has a few saws to choose from. I went with the hack saw on the advice of the Home Depot Canada associate.
Back home, I installed the rods (yay, they fit perfectly), and put all my stuff back in the closet. 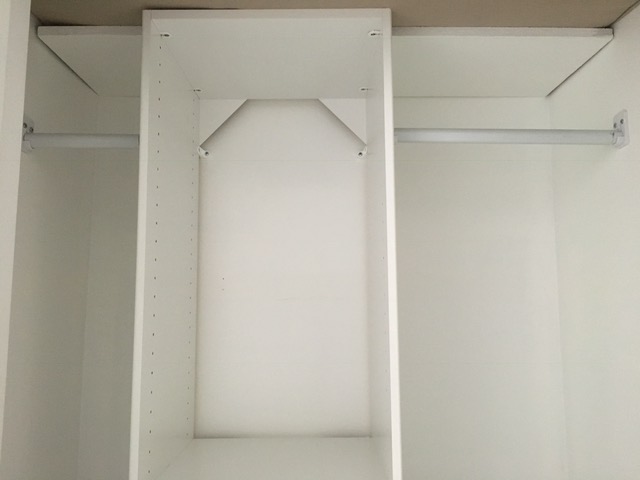
And here’s the after:
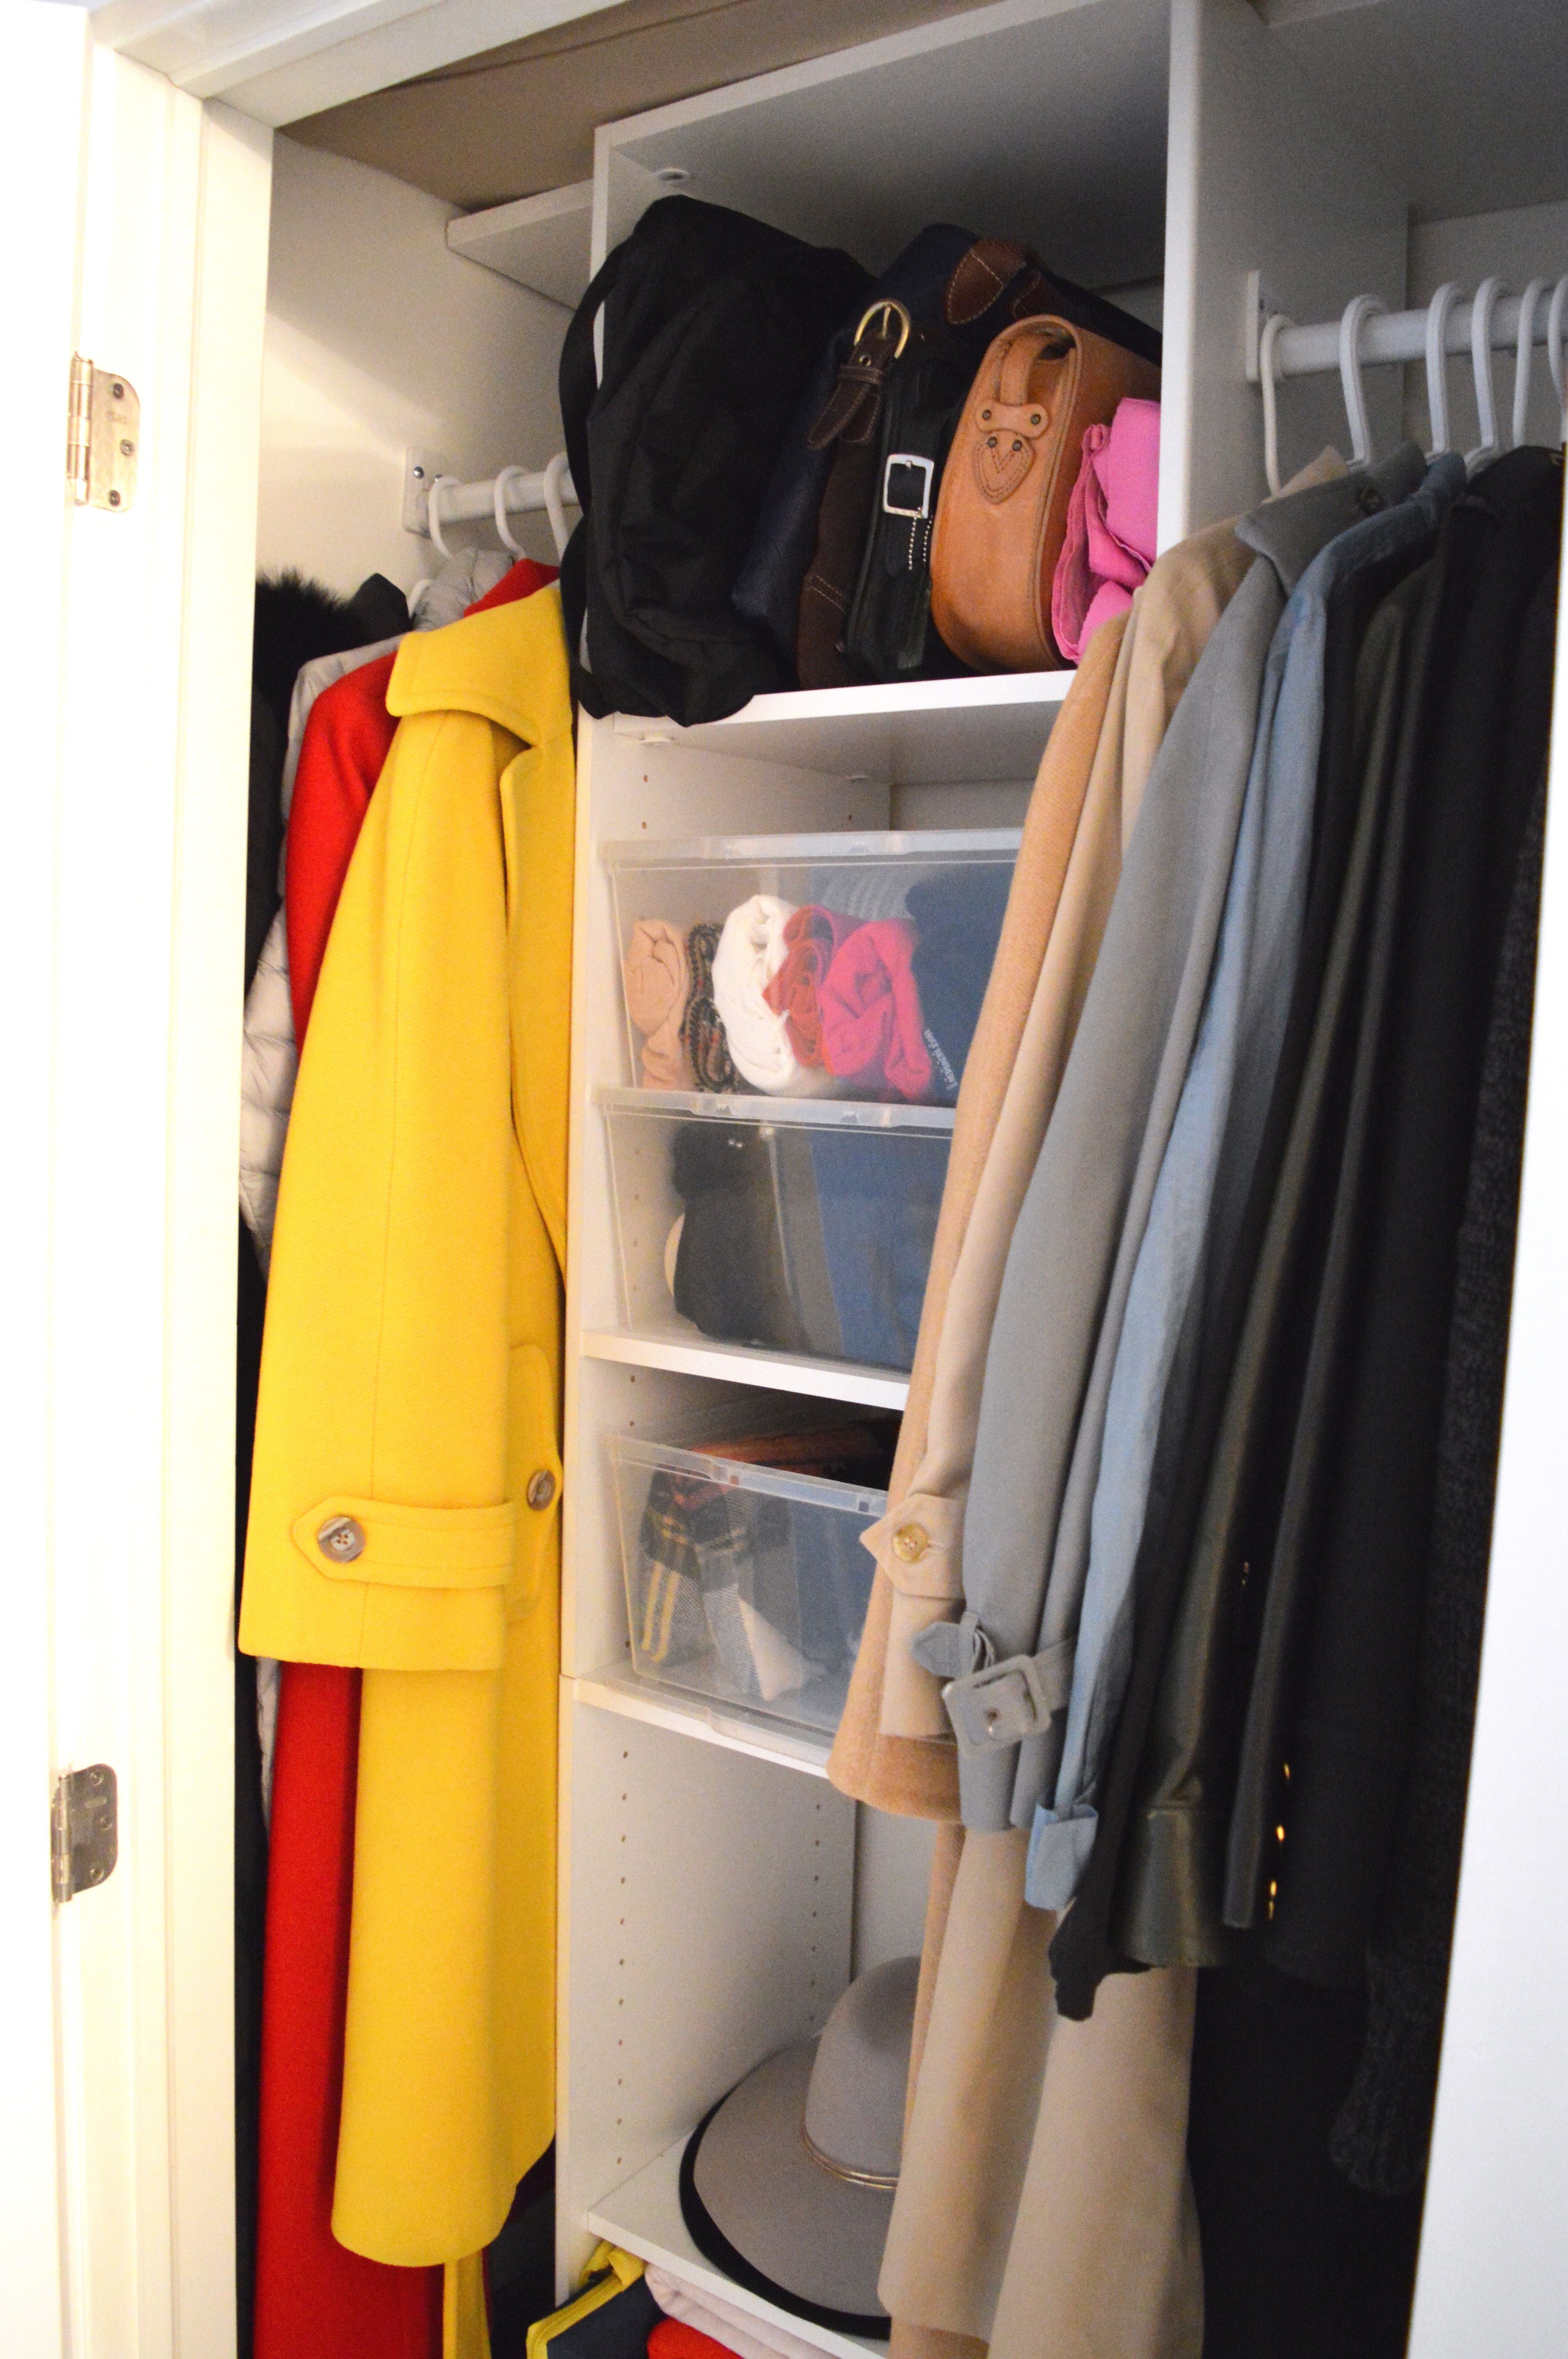
My long coats are on the left side of the shelving unit. At the moment, there is room for four large winter coats. On the right side, you’ll notice my shorter coats that take me through spring and fall. I have other coats stored away in another closet, but that has always been the case. The ones in regular rotation have always been in this hallway closet.
The shelves hold my every day as well as my only-in-certain-seasons items. On the top shelf are purses I regularly rotate. Under those, I have winter accessories (scarves, hats, mittens) in clear storage boxes. Then I have a fairly empty shelf that houses two hats. The bottom shelf has my grocery/shopping bags and my blankets for my patio. Oh – and something you can’t really see in these photos – my patio cushions are on the very top shelf about the full unit. They fit perfectly, which was a pleasant surprise! I have really maximized the function of this little closet!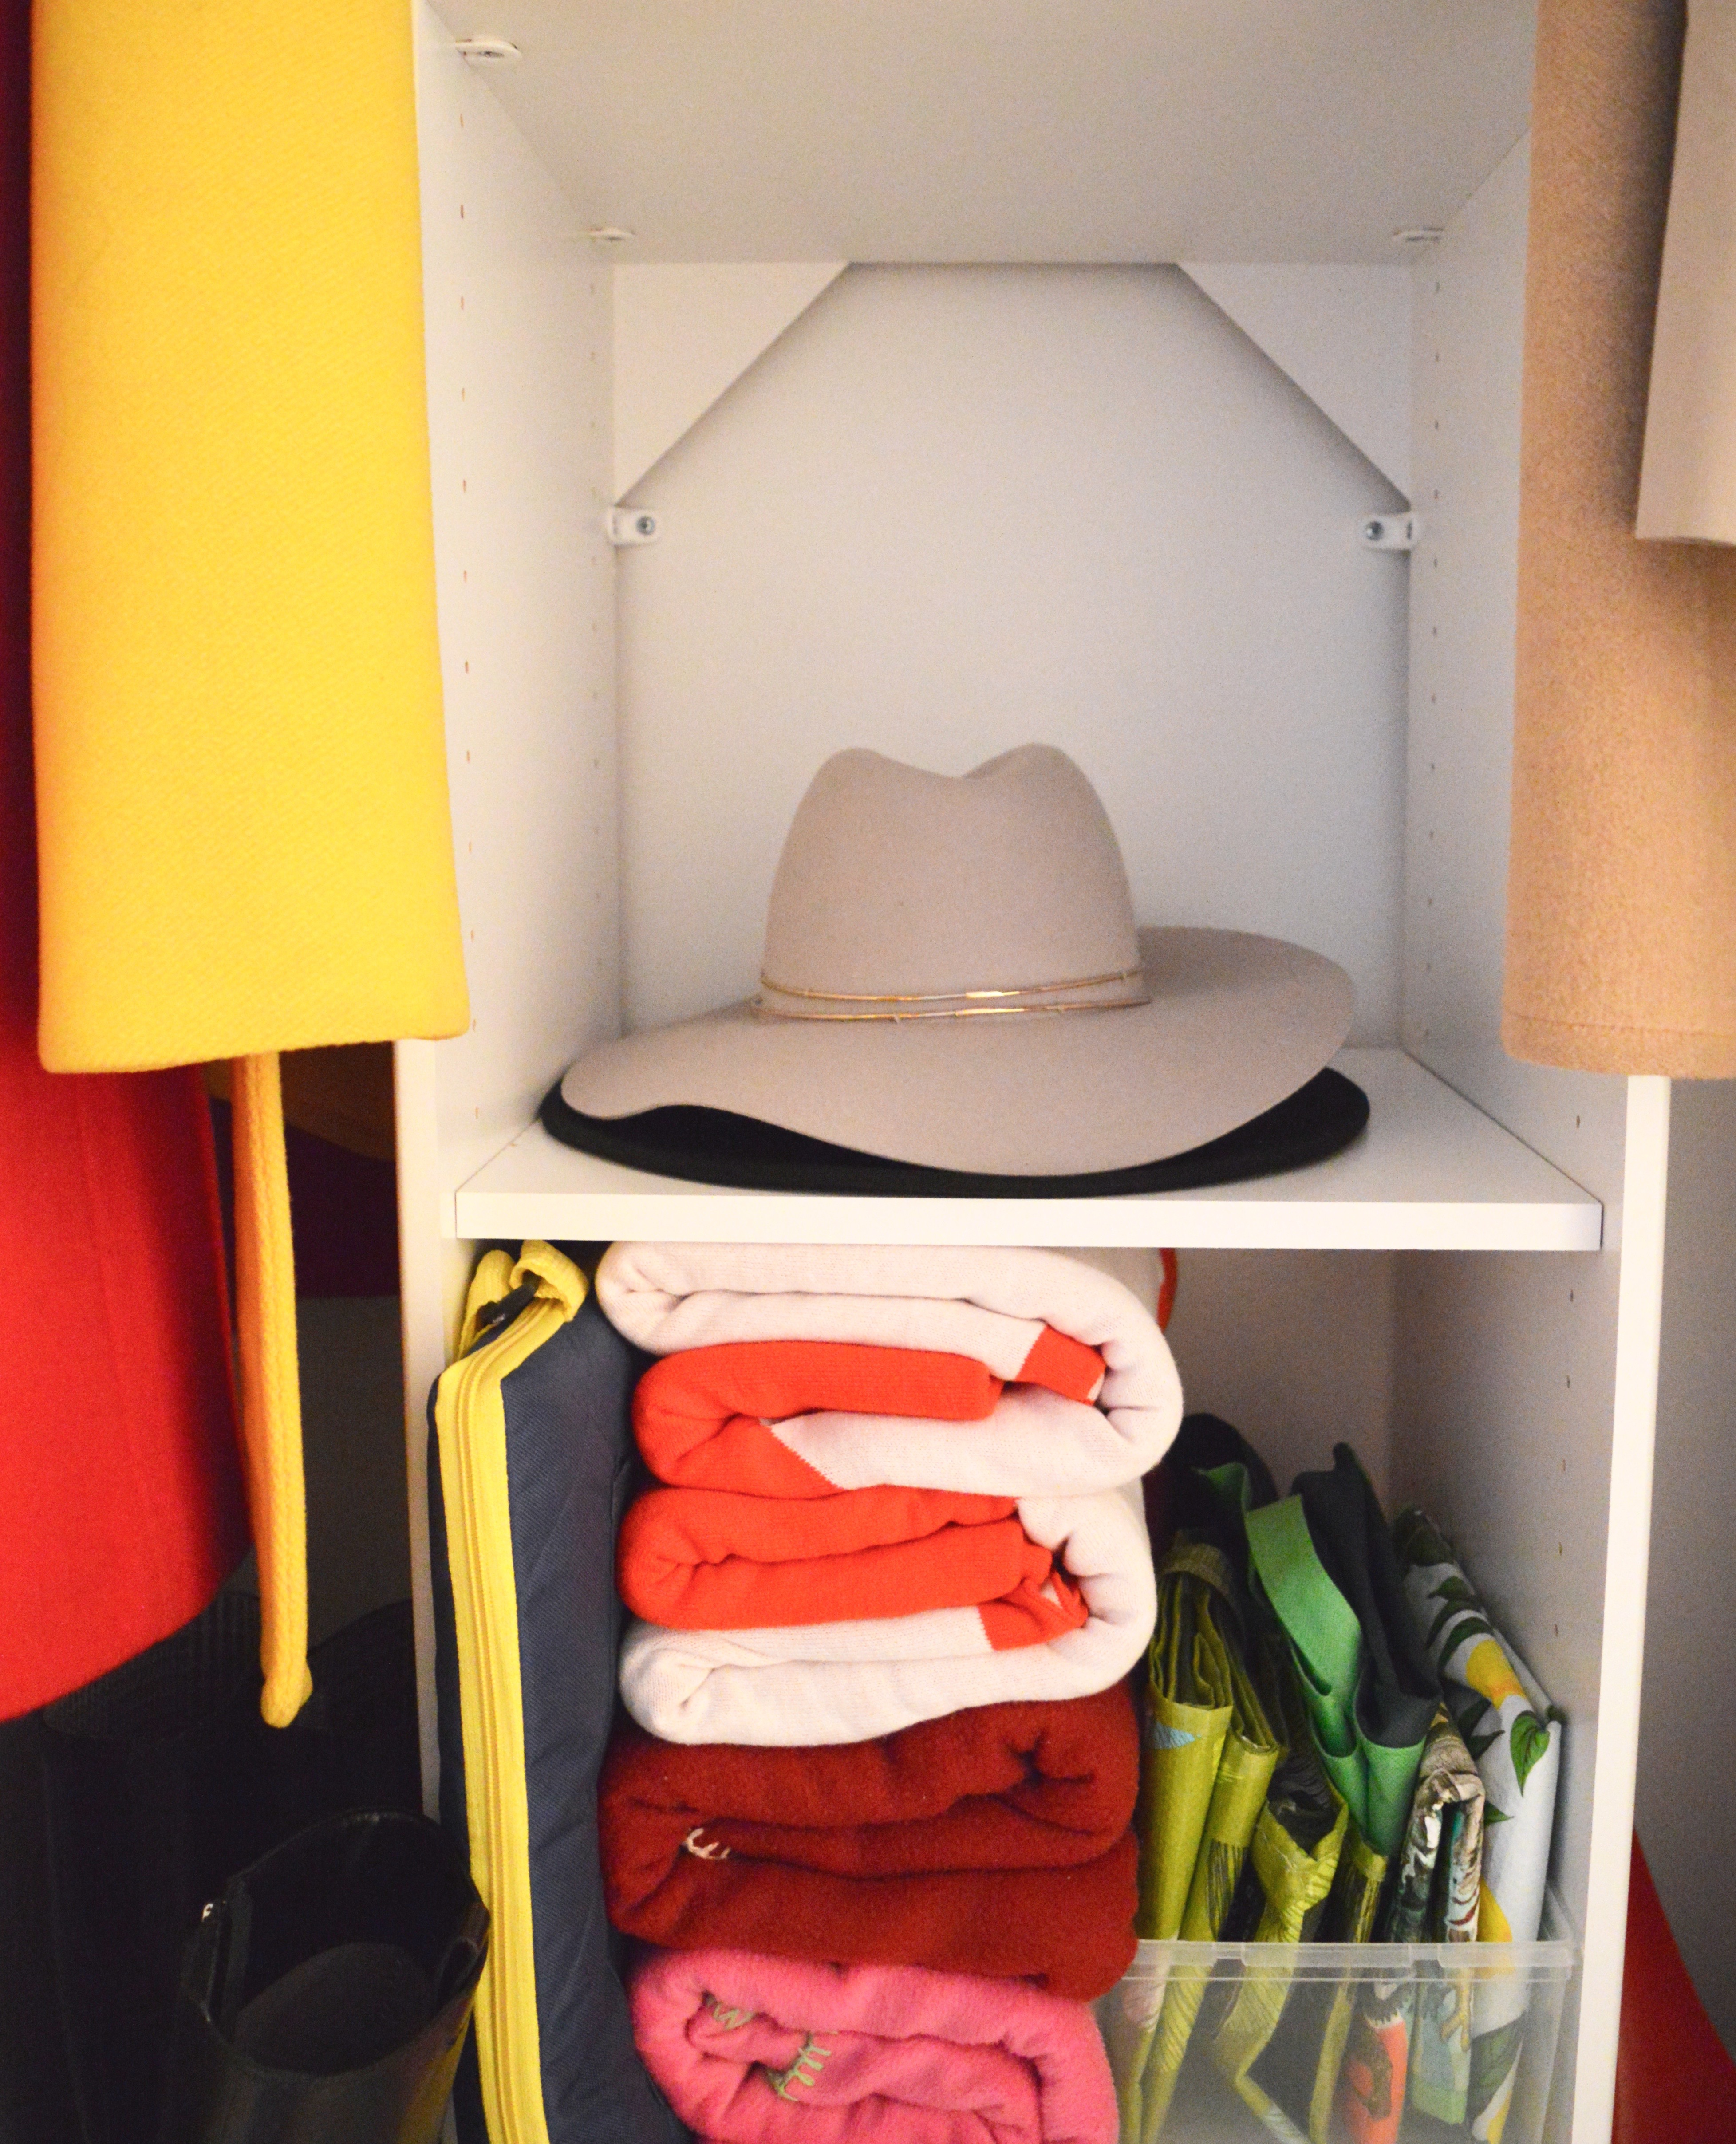
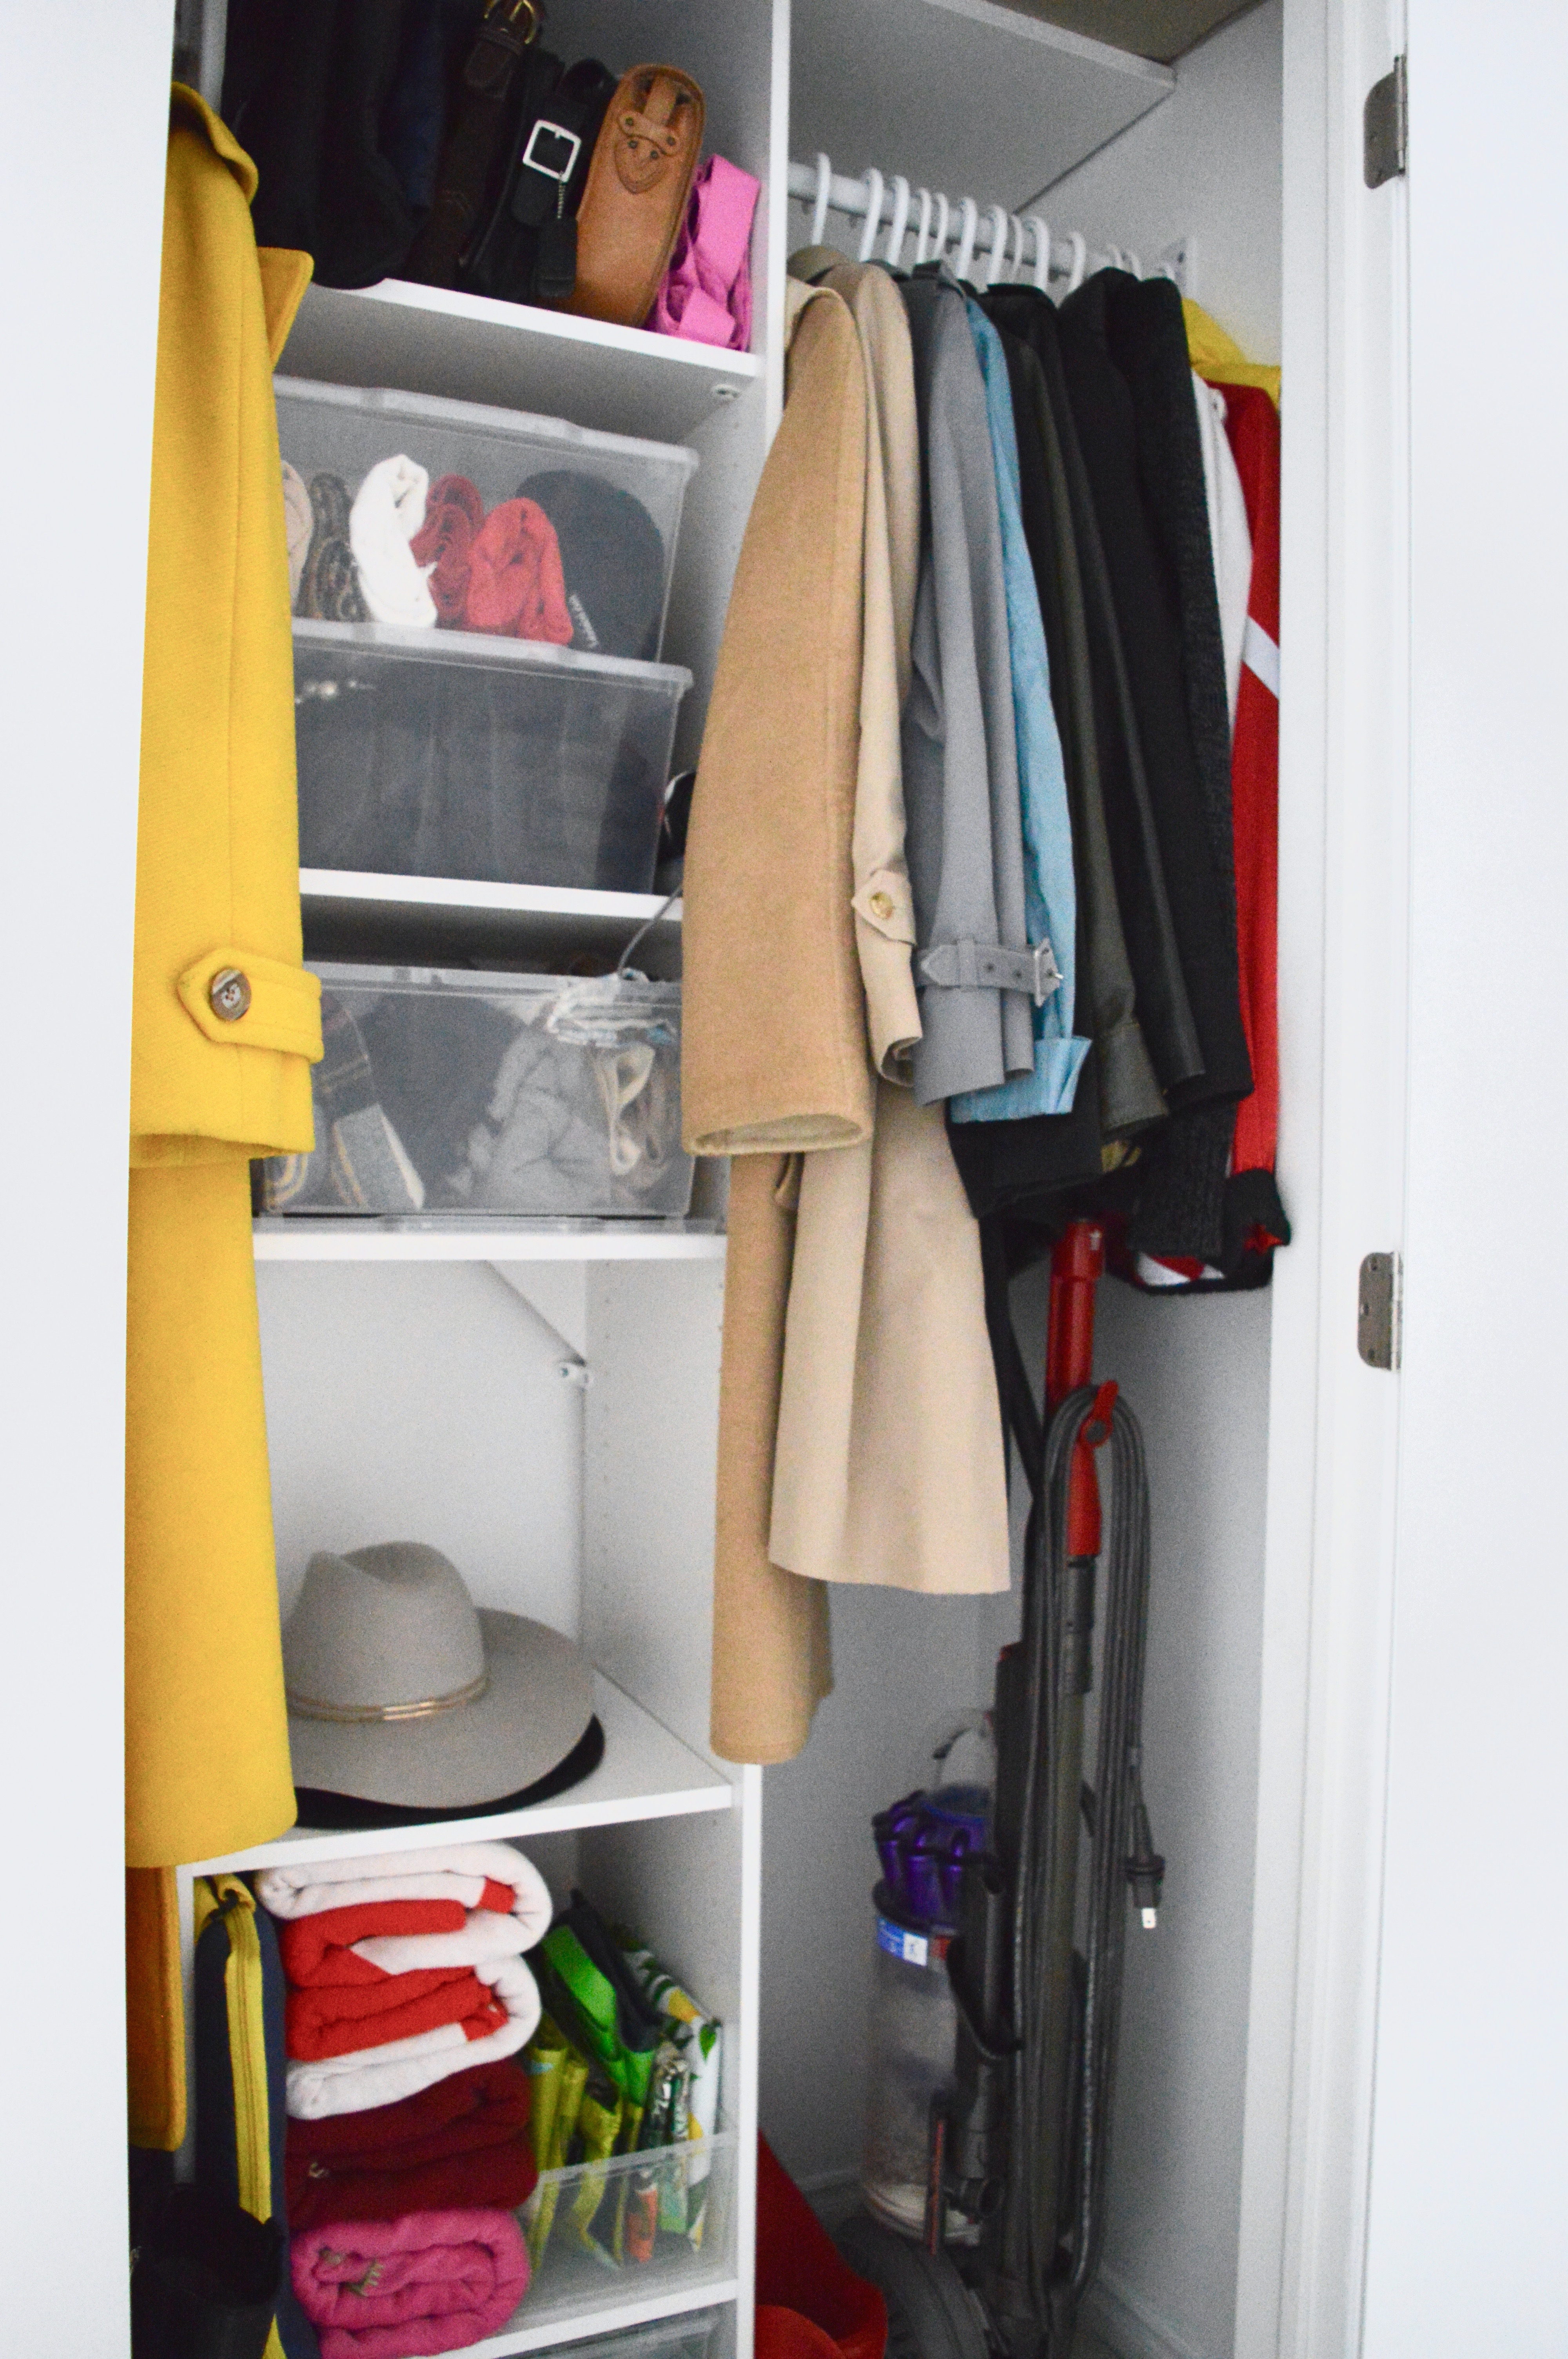
I considered styling this closet, so the photos would be ridiculously pretty, but then it wouldn’t be a representation of real life, so I opted for realness. The items that you see in this closet were in the before photos. These are things that I use daily, and I didn’t want a “just for show” closet to share with you. In true Jordana style, I did arrange my coats by colour. 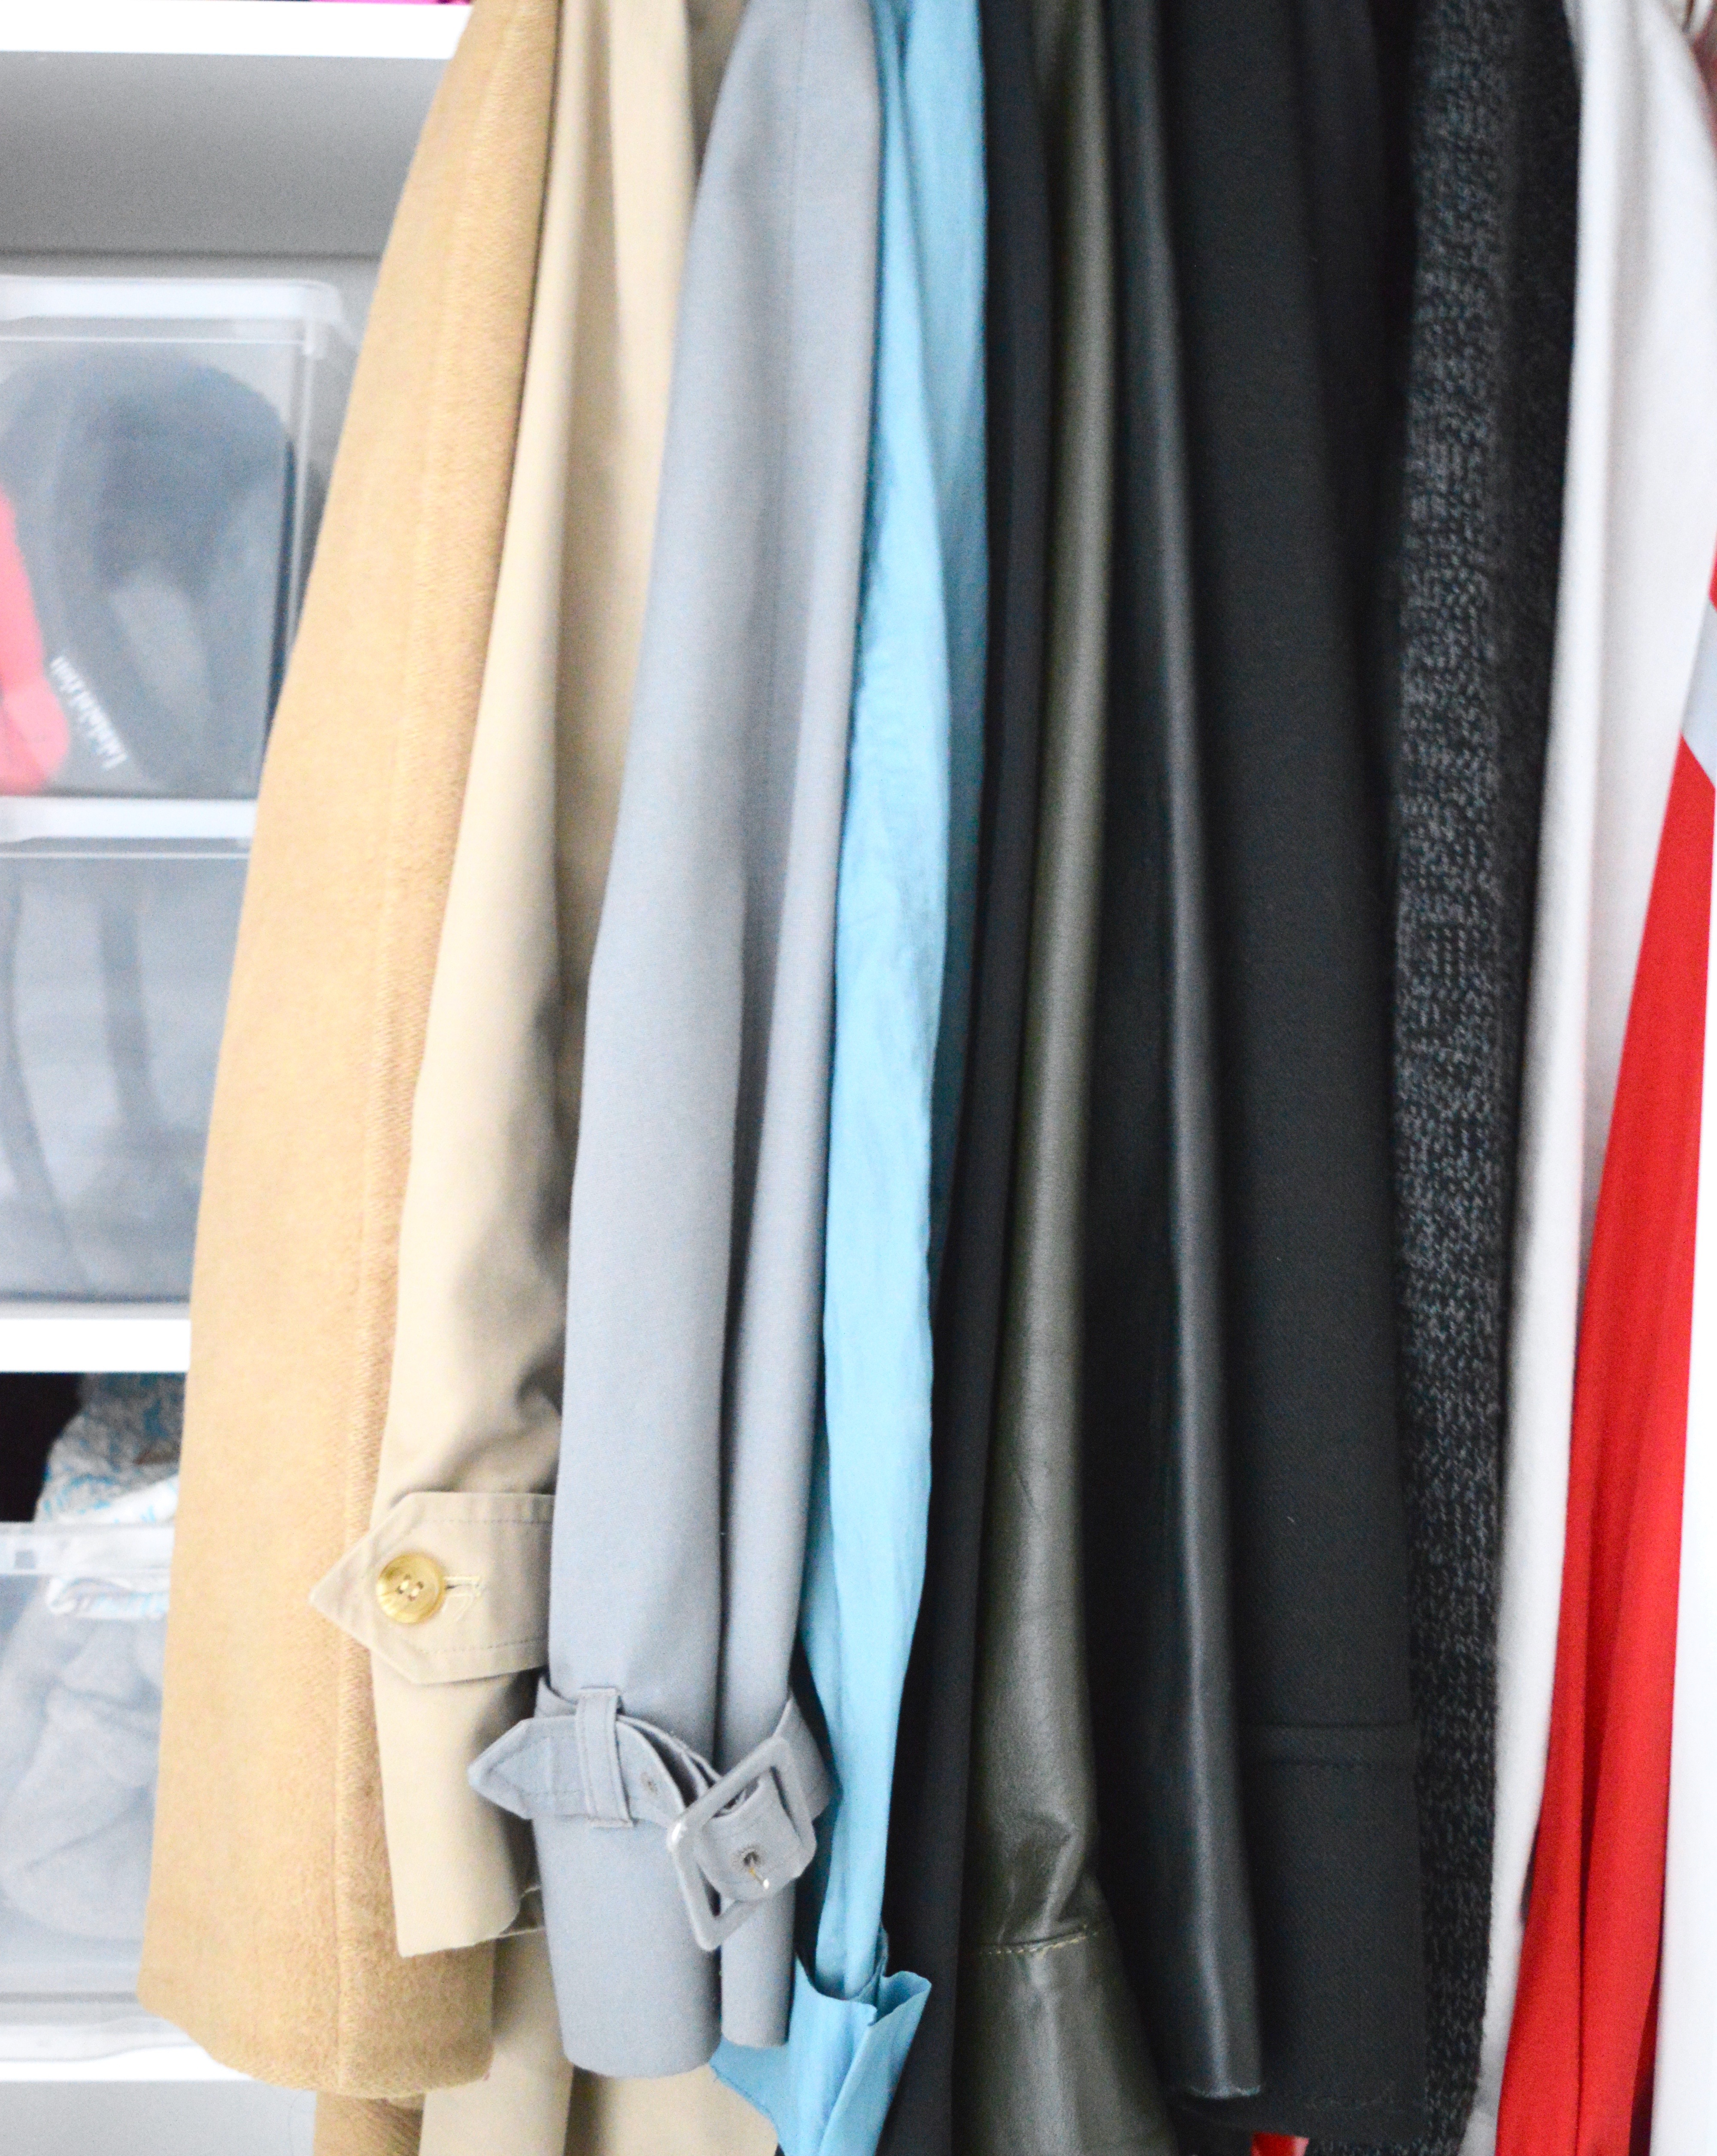
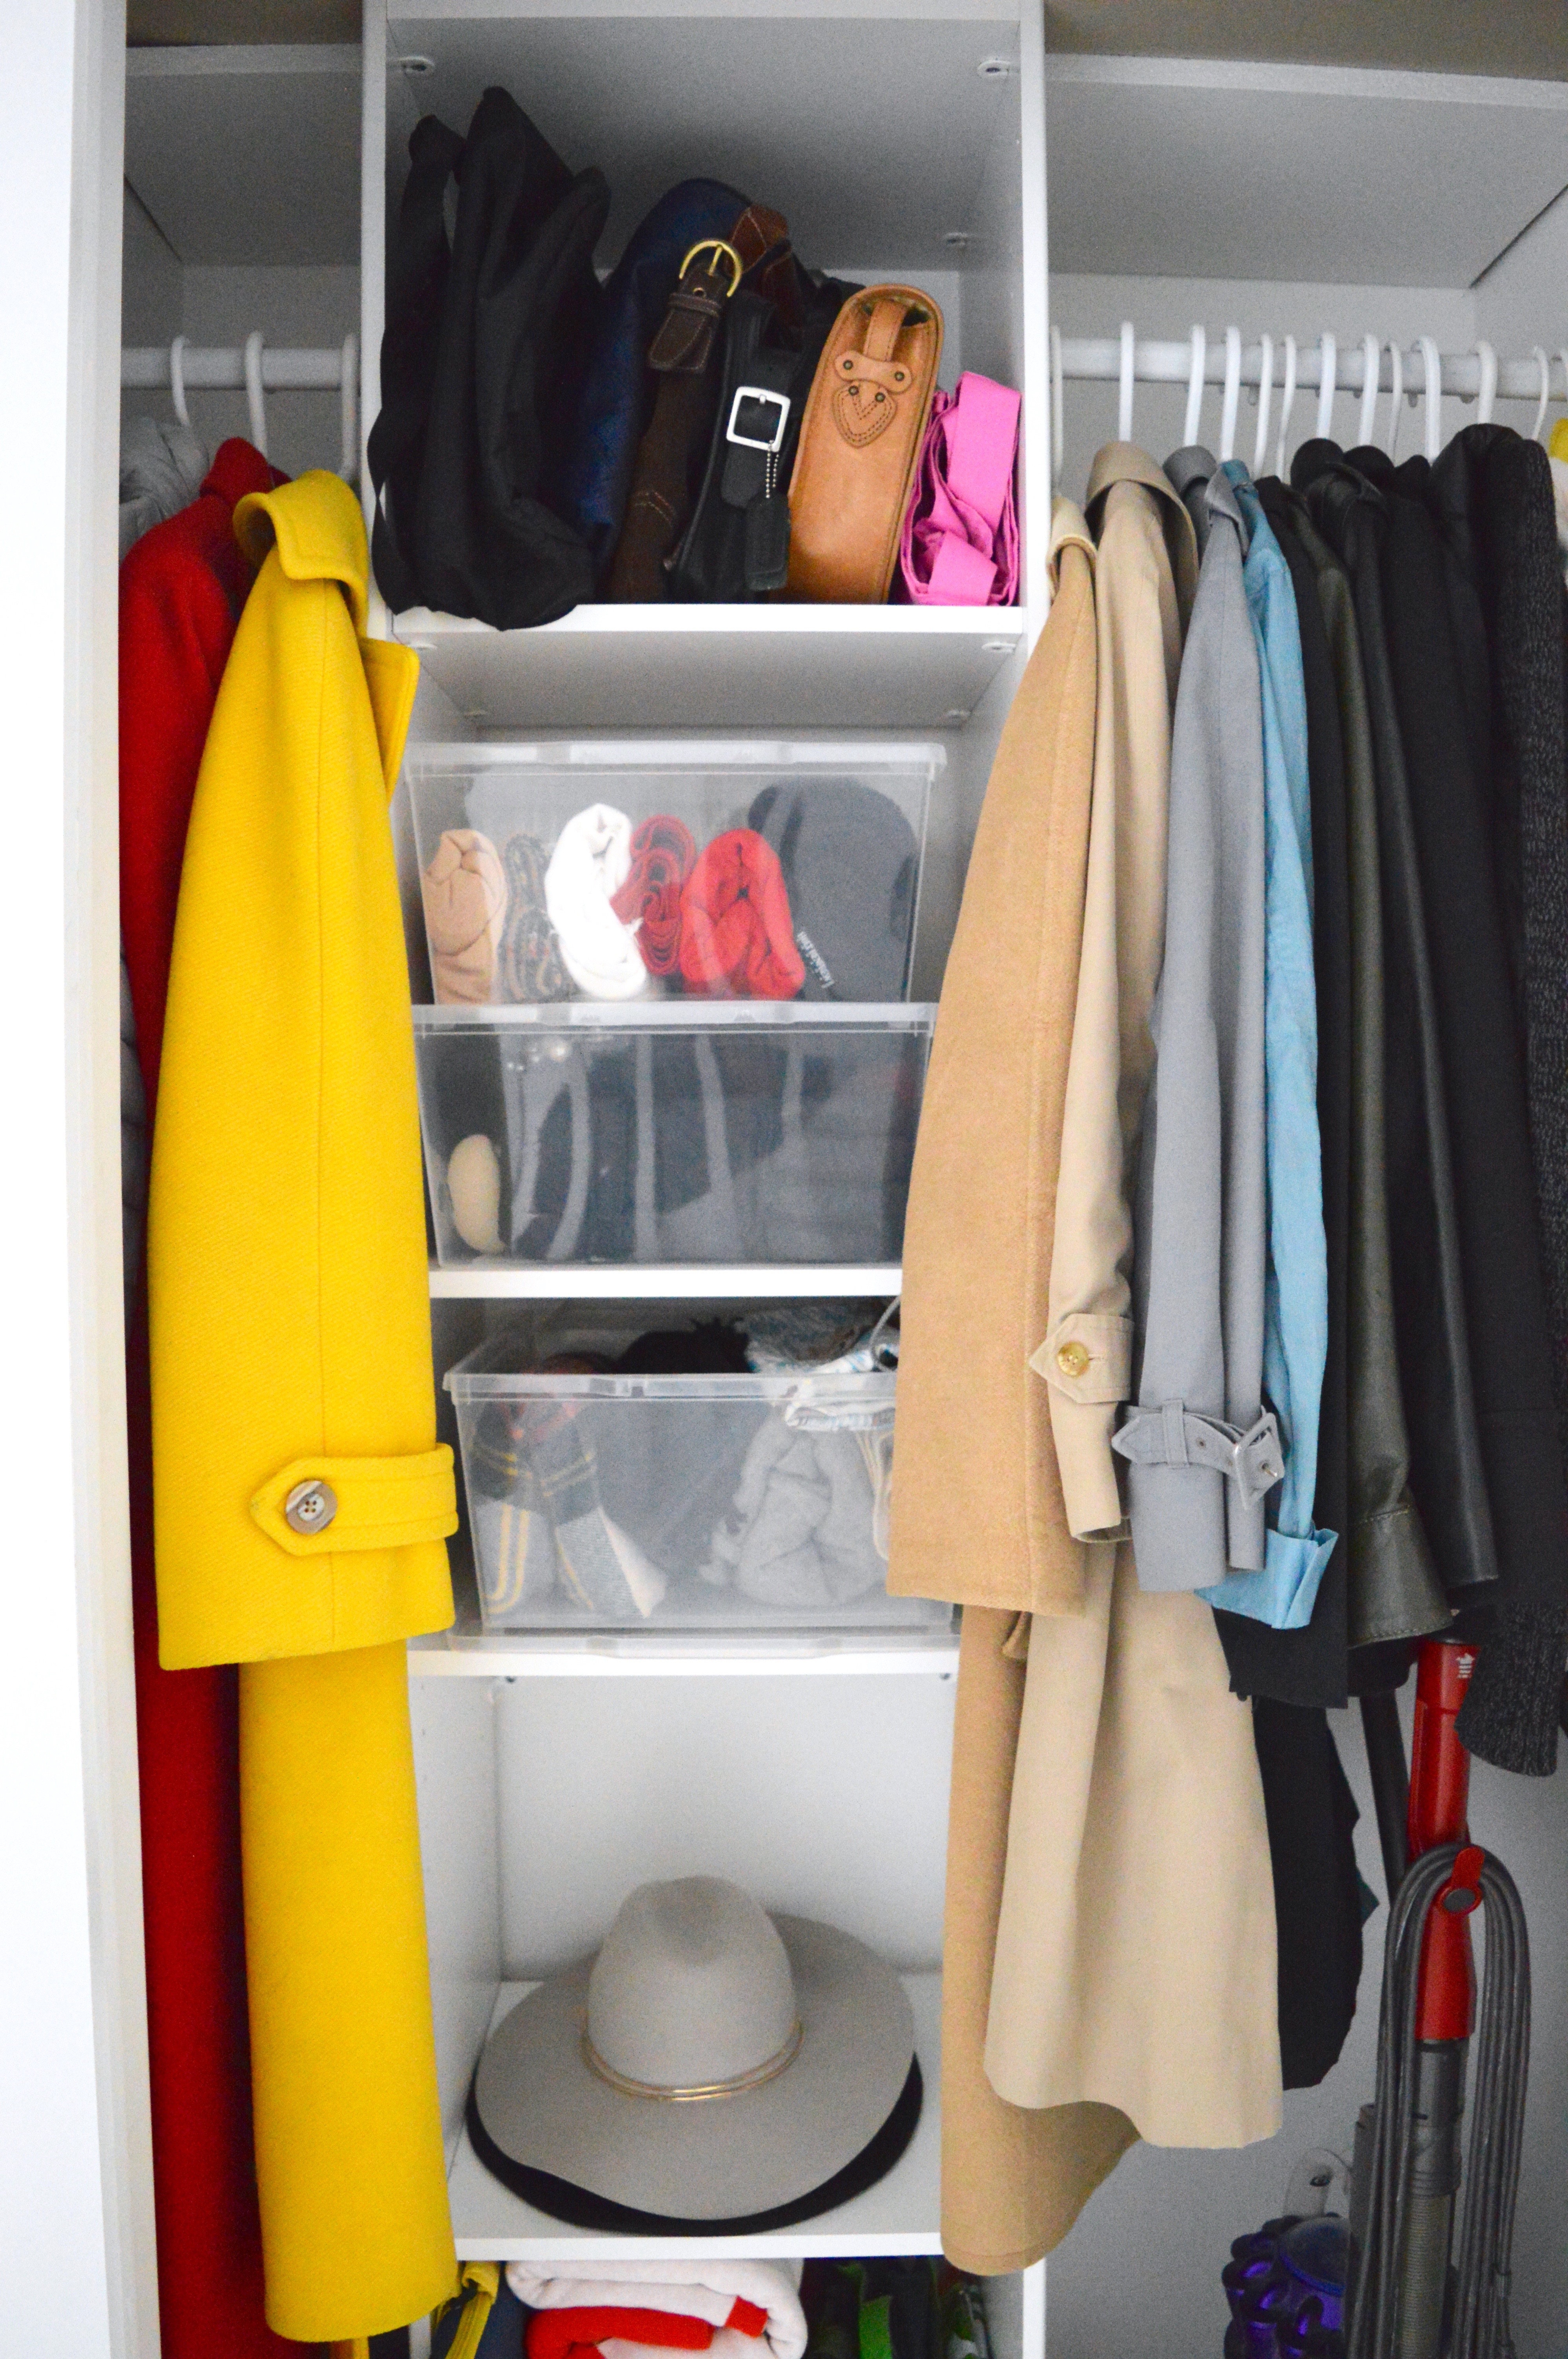
There’s room for everything in here now, and even a bit of room to grow. The clear storage containers (clear shoe box and clear utility box) will keep my winter accessories clean and organized when not in use.
Believe it or not – just about all of the items that were falling out of the closet in this post and in the before picture made their way into the after closet. I did remove two bags of bags (useless) and a couple of pairs of shoes, but I did add in two knee-high boots. It’s been great to experience the difference an organizer has made to the look and function of this closet! I’m glad the lovely outside makes way for the tidy inside!
Thanks to Home Depot Canada for sponsoring this post. All opinions and photos are my own.
 Â
 