I “met” Deborah of Green Light District on Twitter many months ago and we instantly bonded over fiddle leaf fig trees. She gave me suggestions about how to take care of my tree, and our online conversations continue to revolve around design, plants, and food. Recently, I made a trip out to #Roncy (i.e., Roncesvalles area in Toronto) to have dinner with friends (at the Westerly, on the recommendation of Deborah). Since I was in the neighbourhood, and Toronto traffic cooperated, I had the chance to make a quick stop in to Green Light District to say hi to Deborah in person.
Owners Deborah and David Peets took my friend and I around the shop sharing news of the furniture and designers that fill up their store. I quickly picked out a few favourite pieces: the acapulco chair in the courtyard, the large wood dining tables, and the beautifully designed chairs. Oh, and the ceramics, the tree stump side tables/stools, the benches, and the mini bar also caught my eye.
Here are a few photos I quickly snapped during my visit:
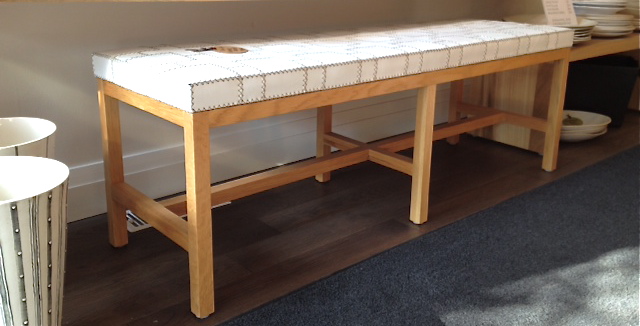
hand stitched leather and oak bench
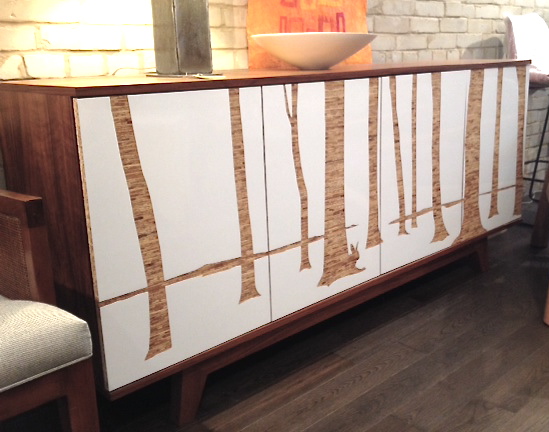
acrylic and kirel trees console

soho chair
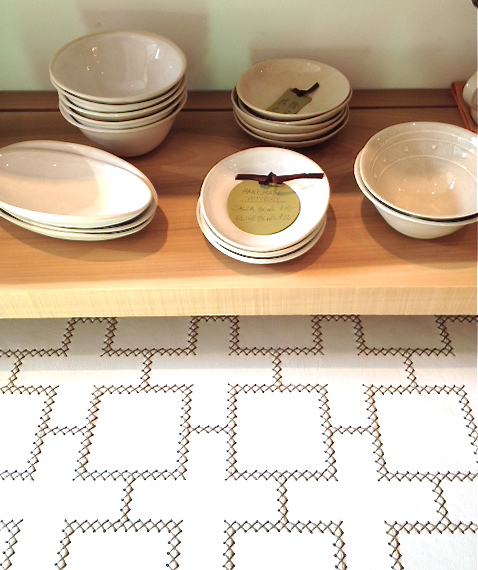
hand stitched leather and oak bench + hand made pottery
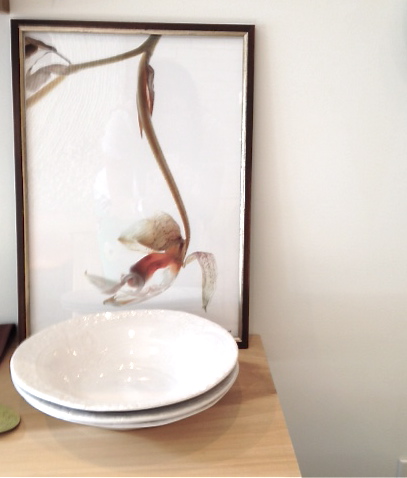
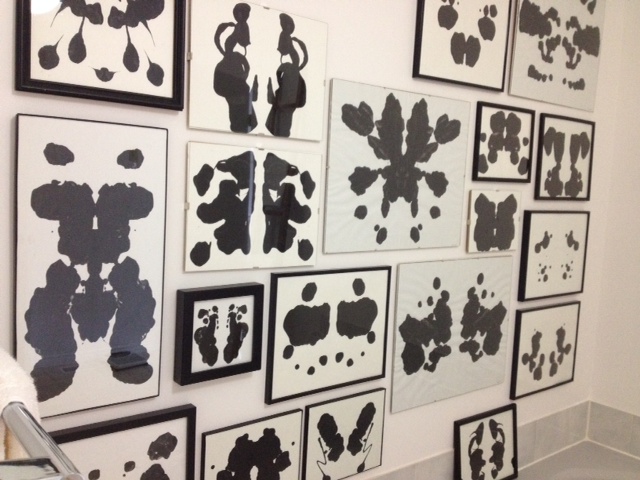
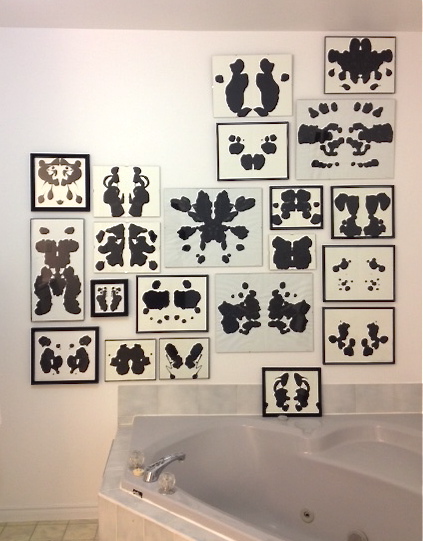
wonki ware + botanical print
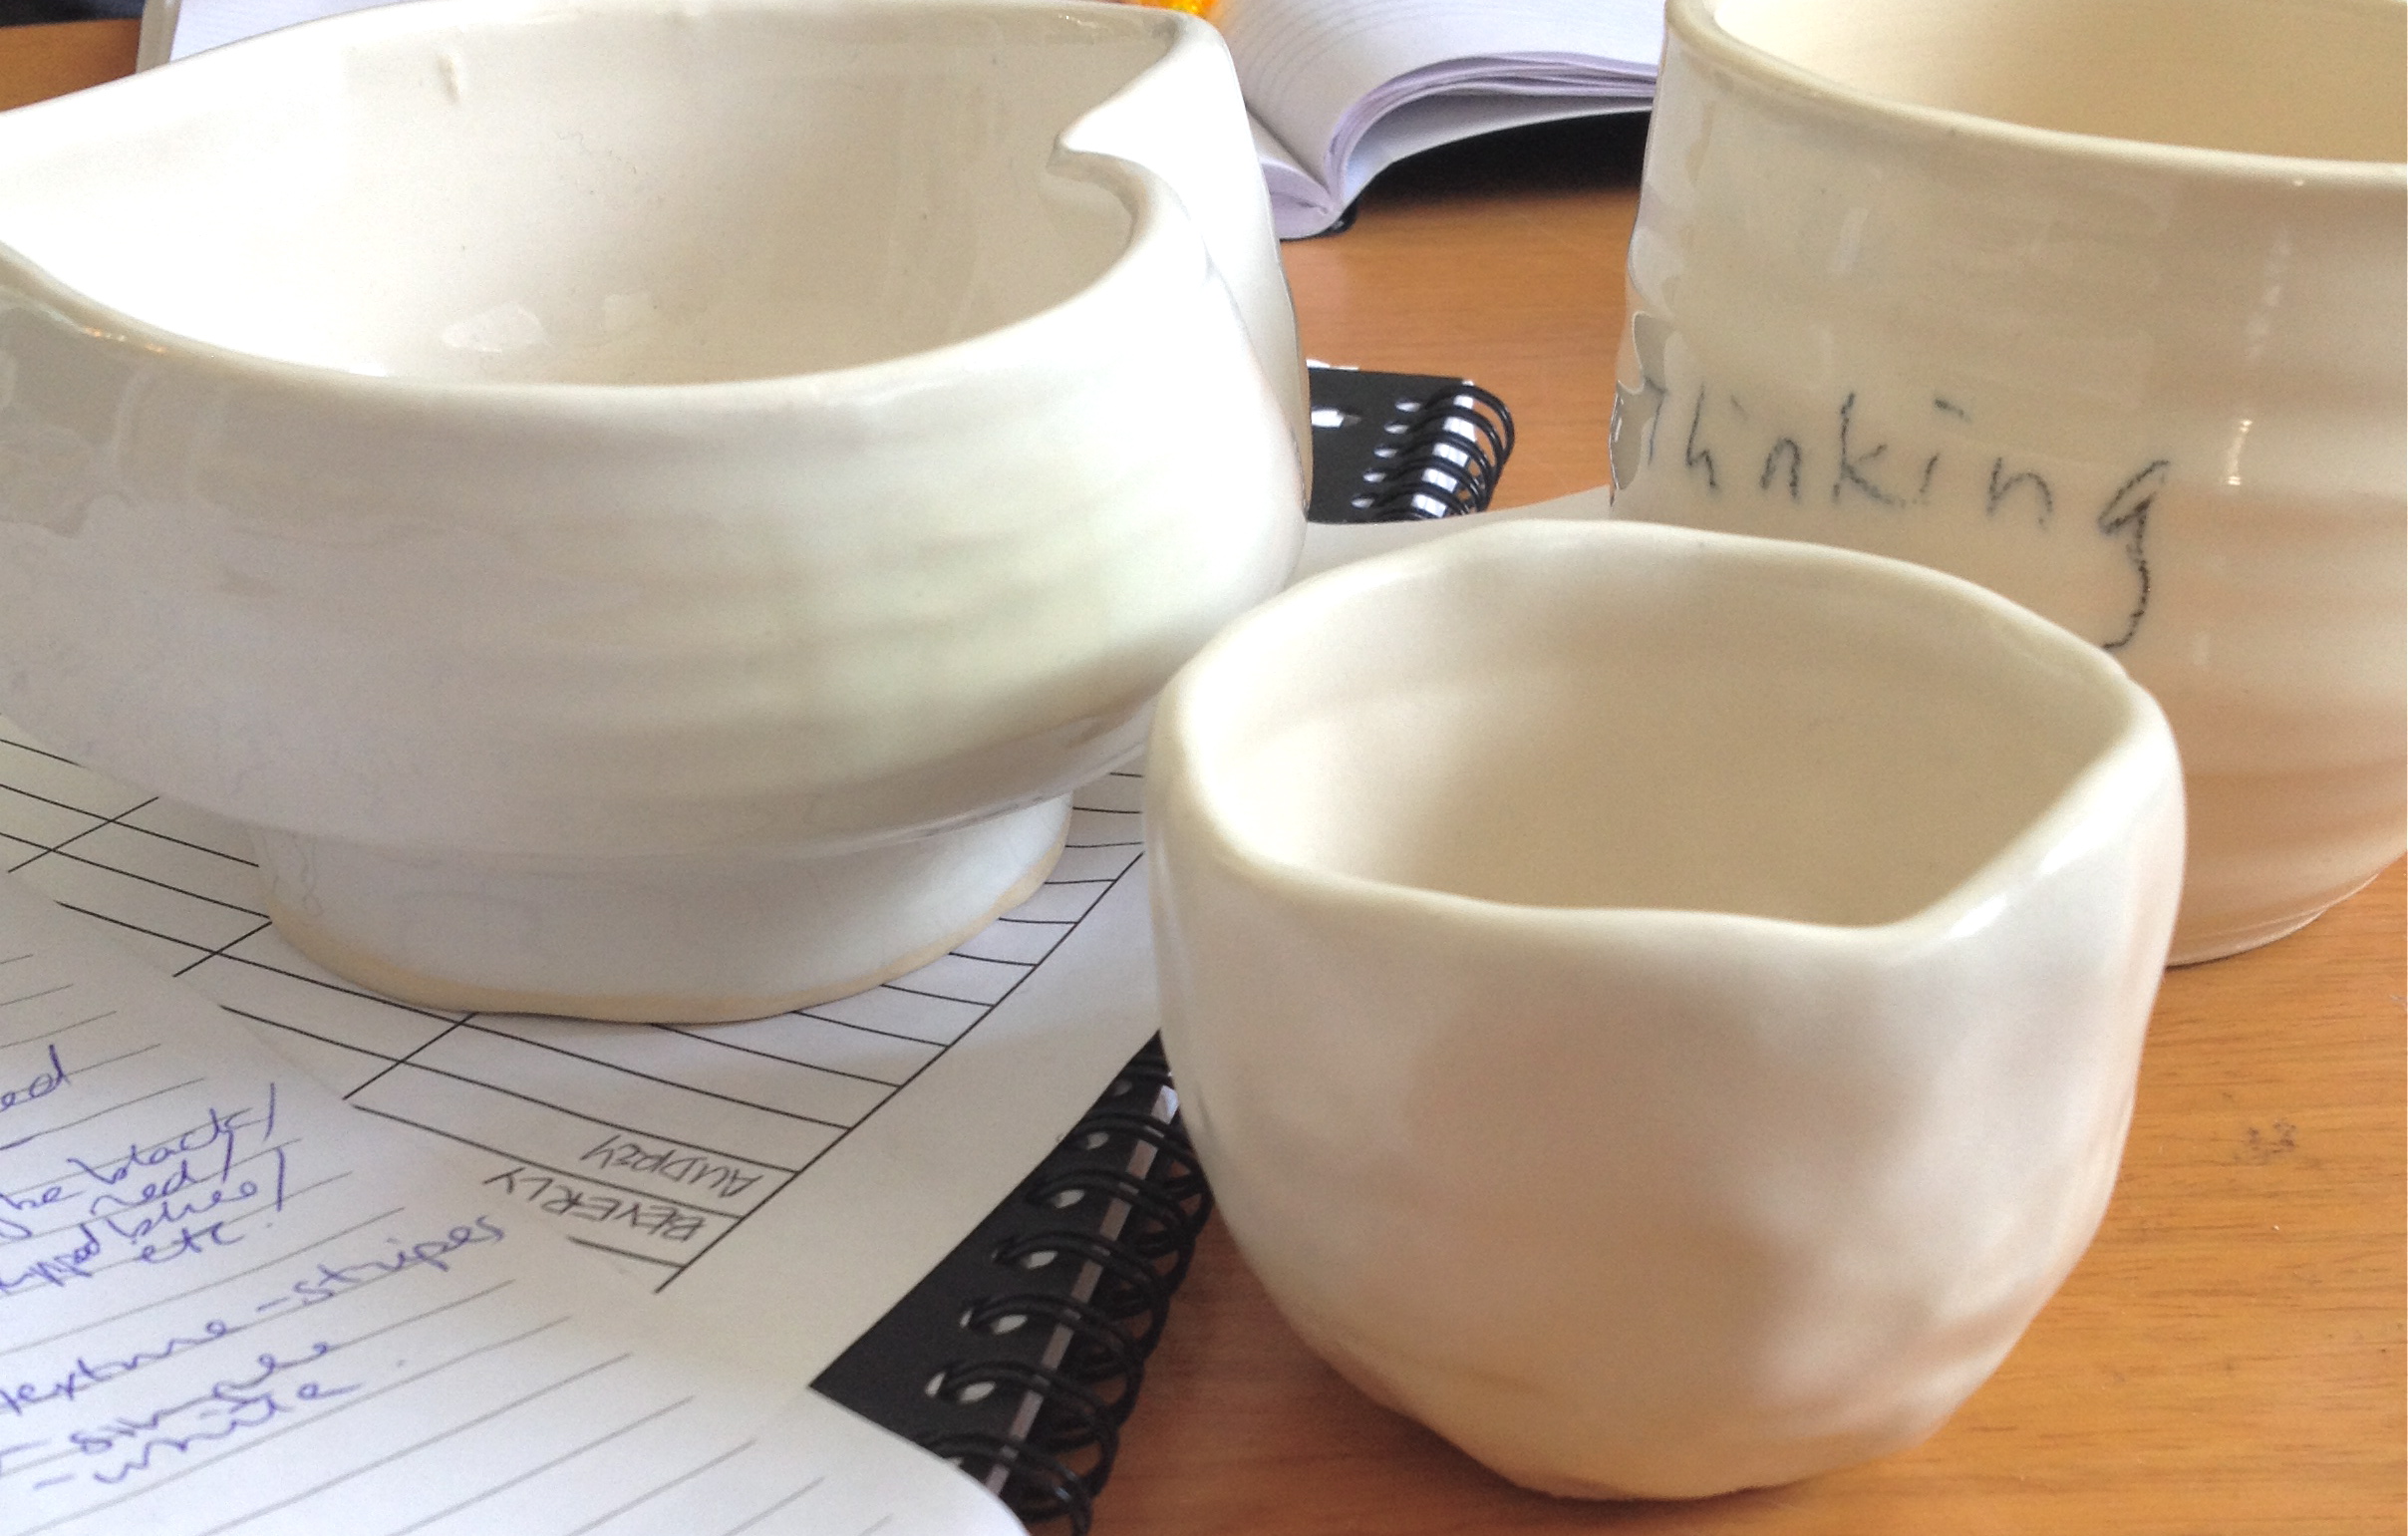
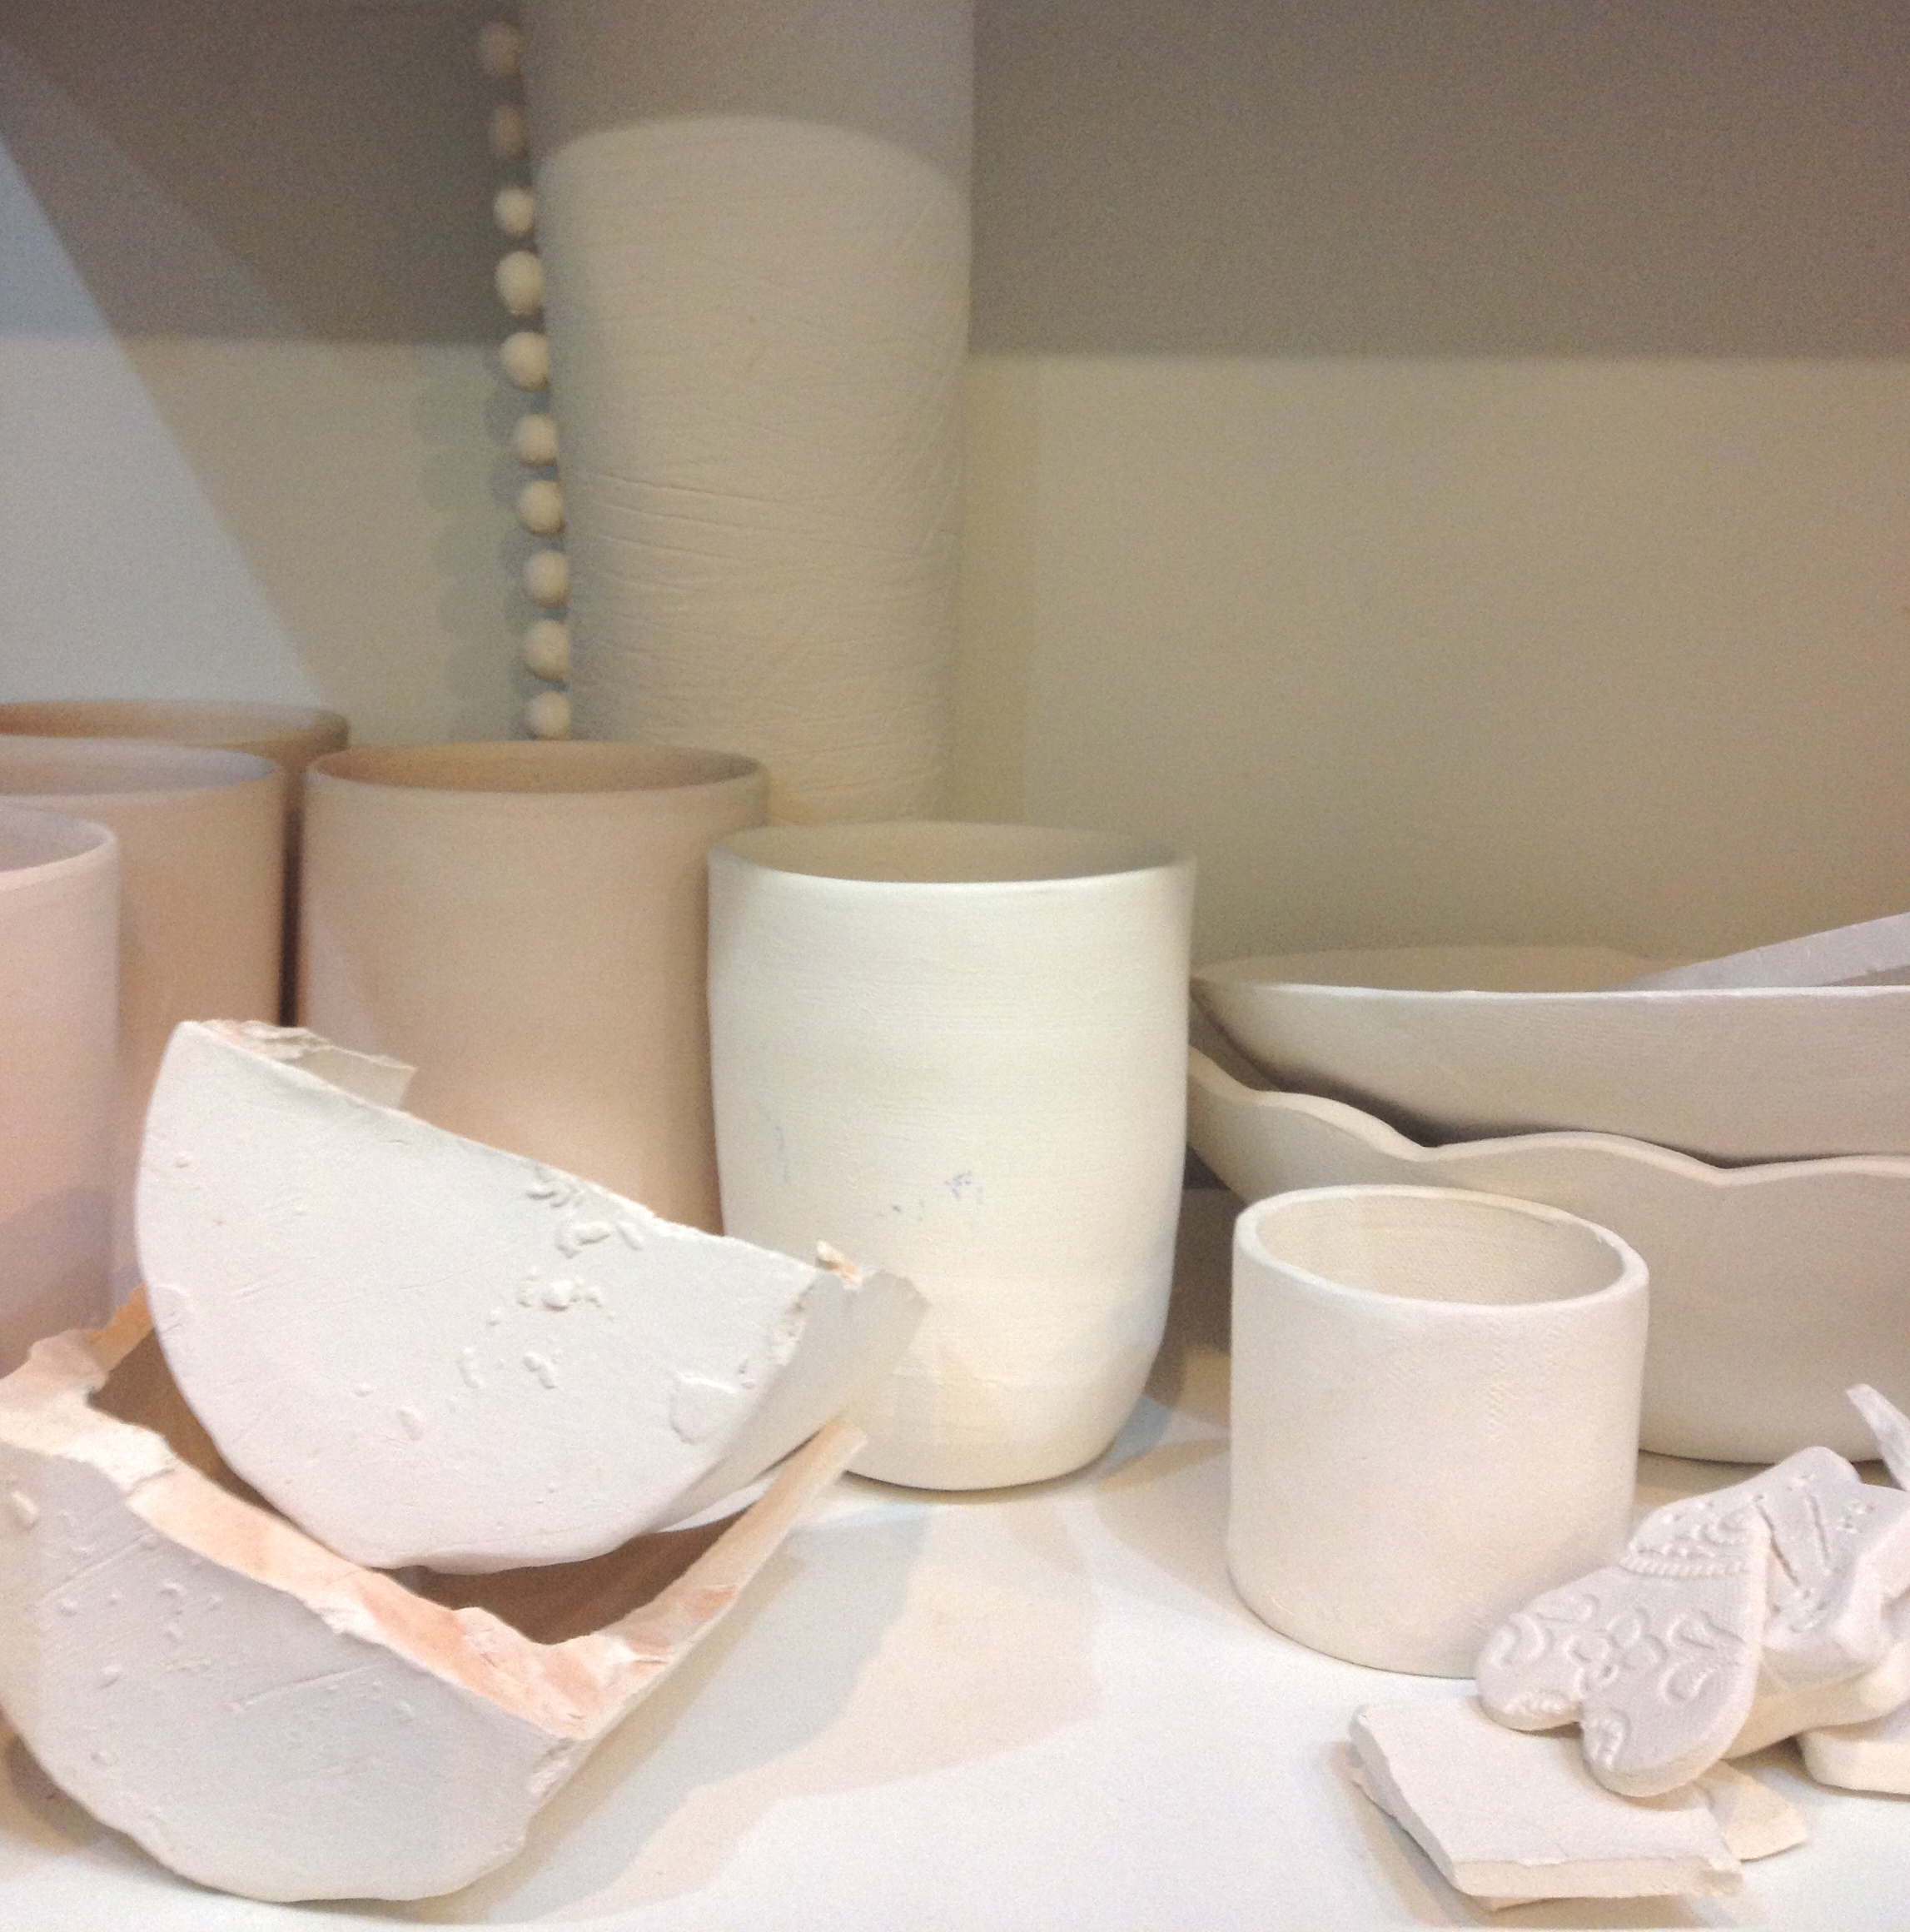
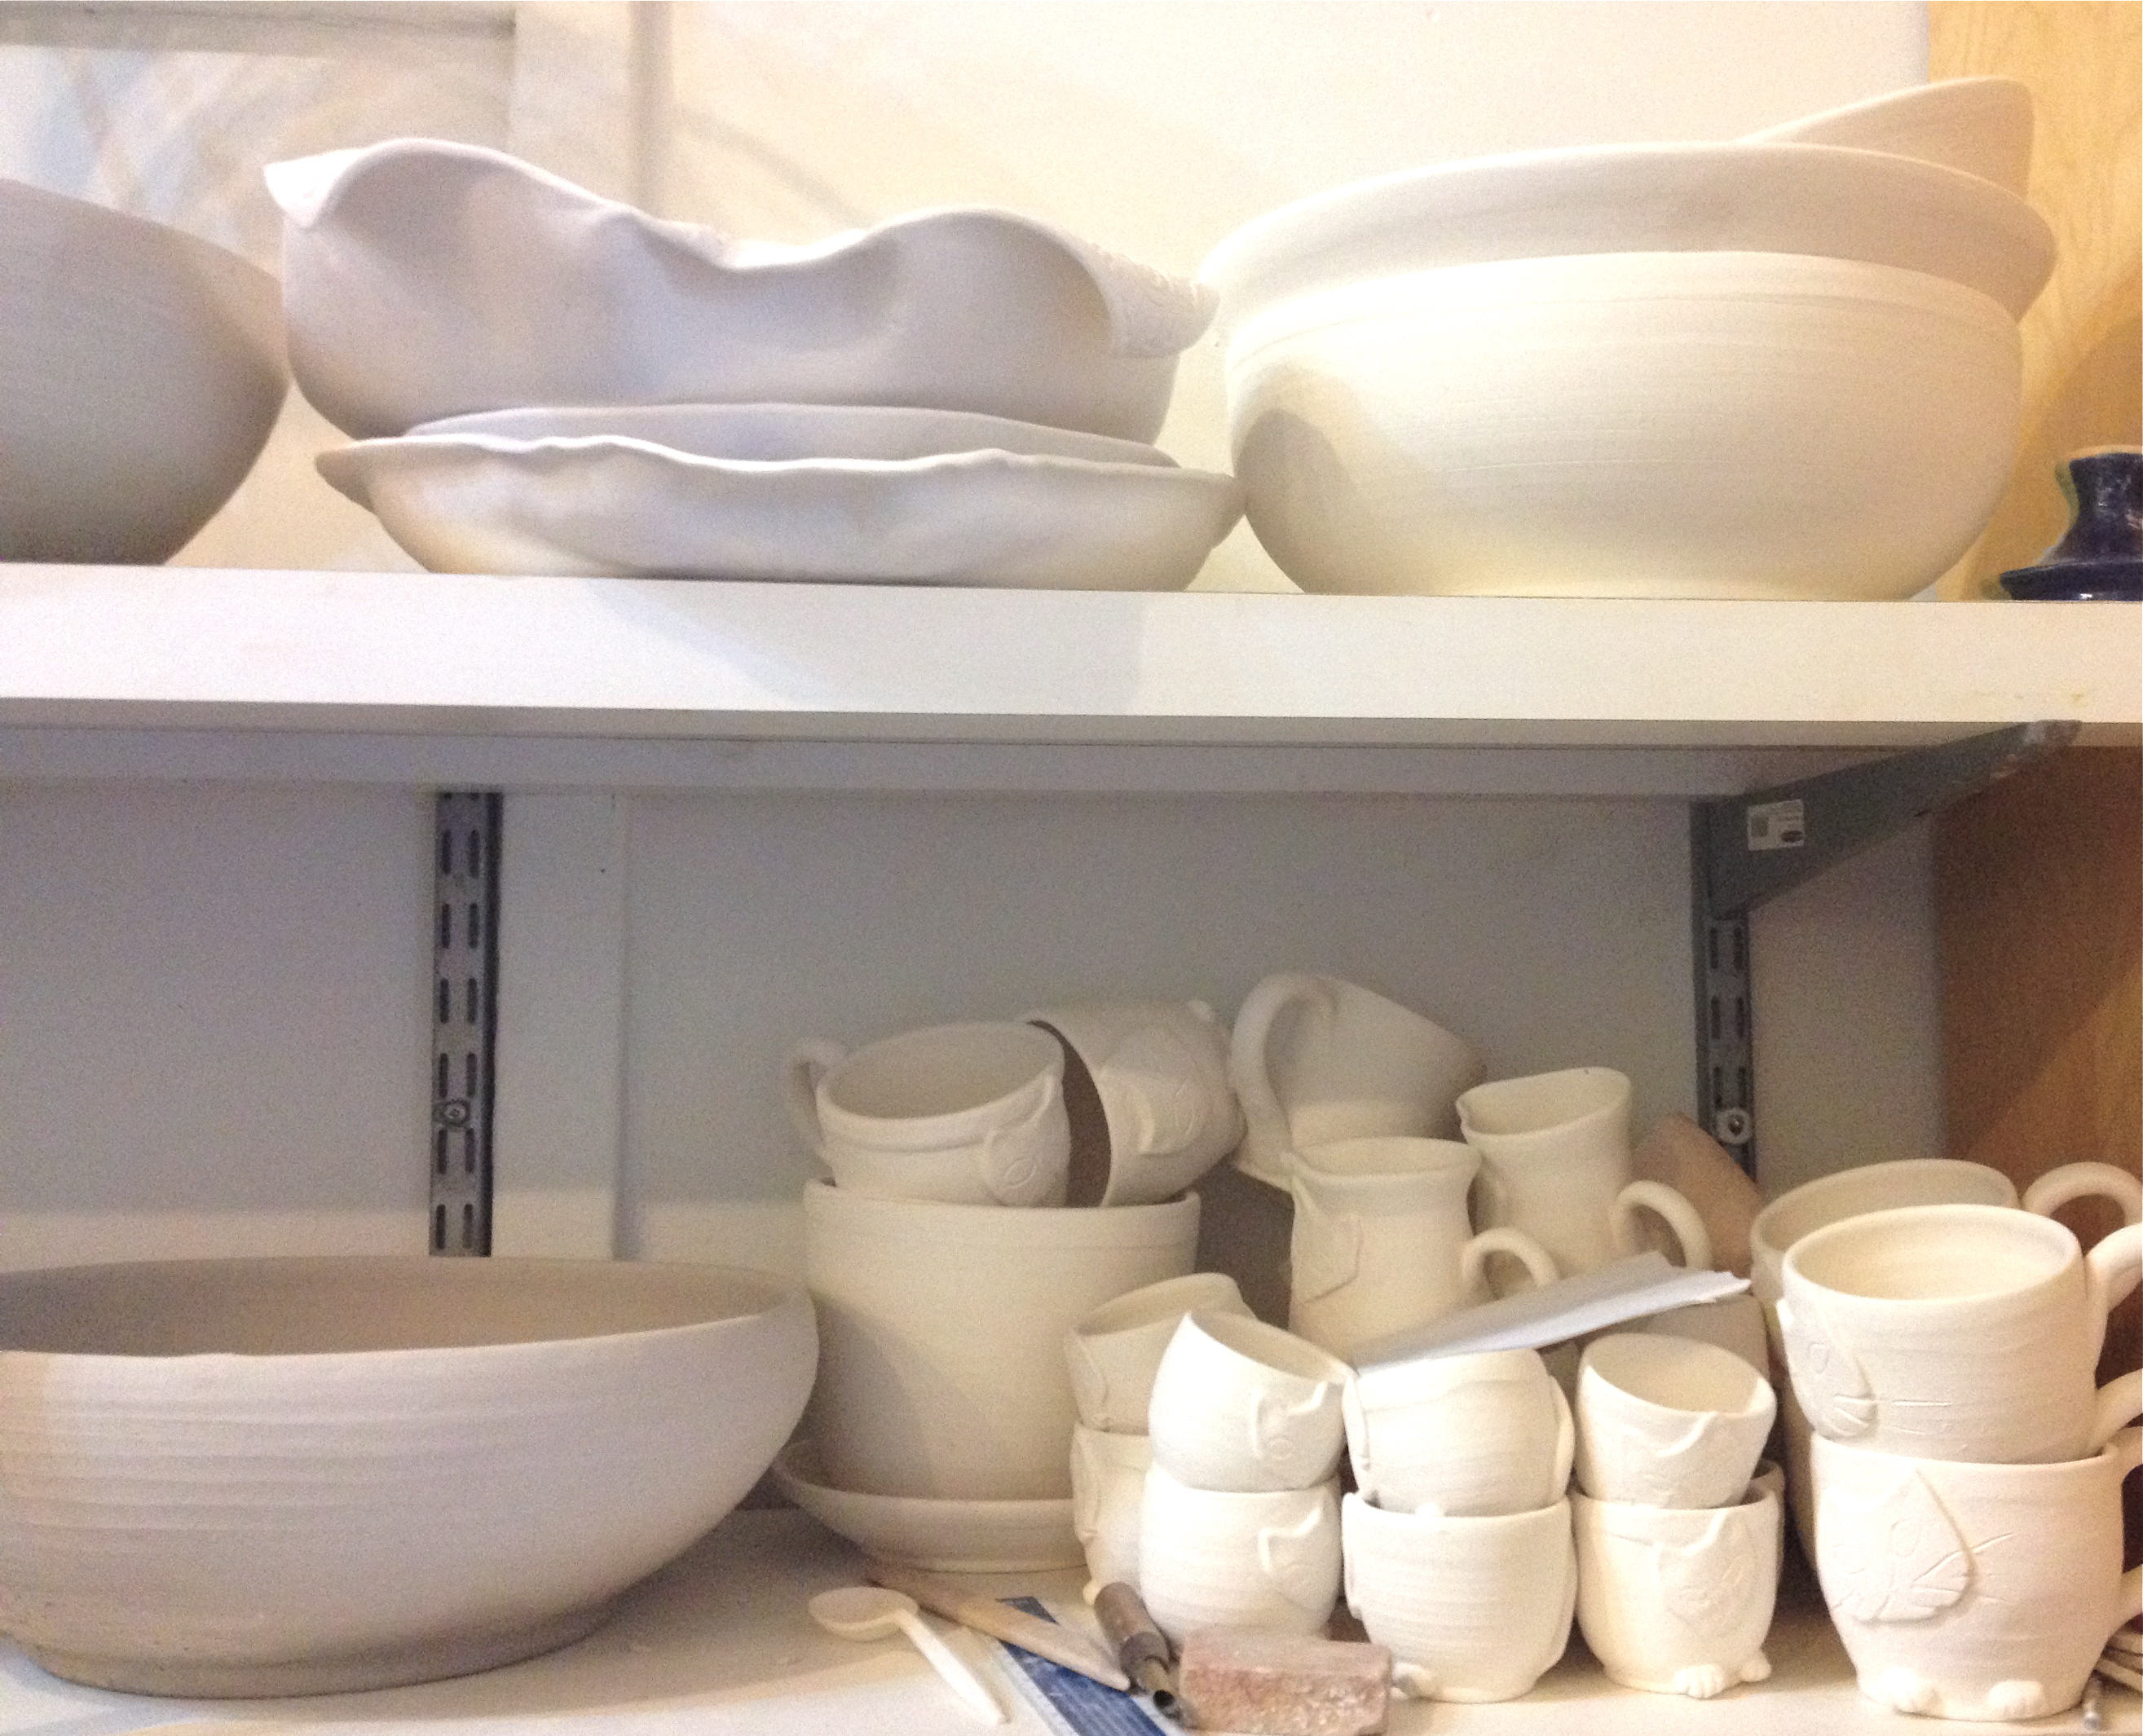
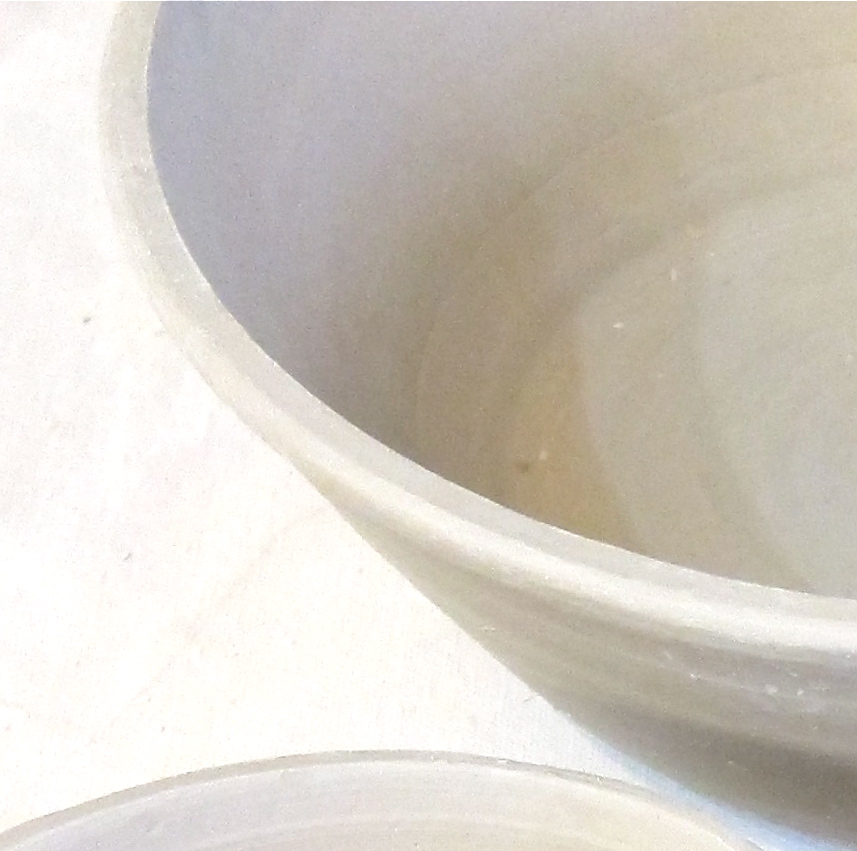
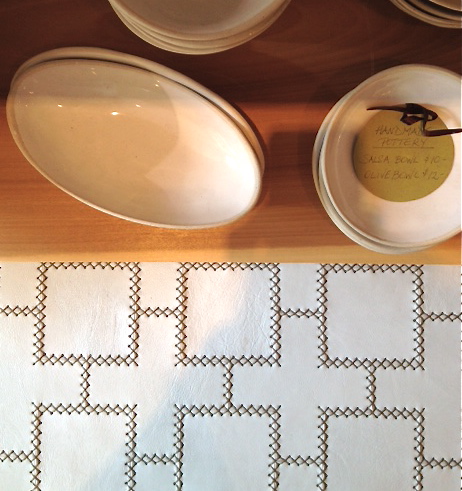
handmade pottery

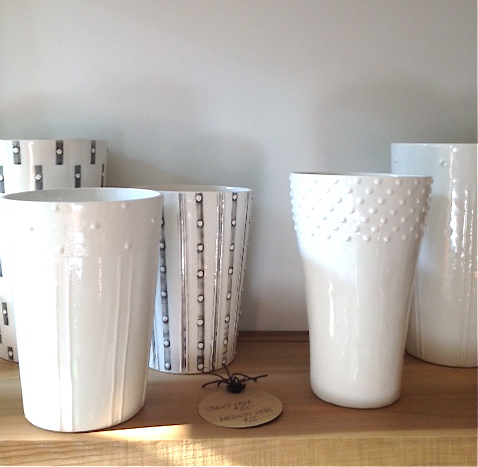
wonki ware
handmade pottery + stitched leather and oak bench
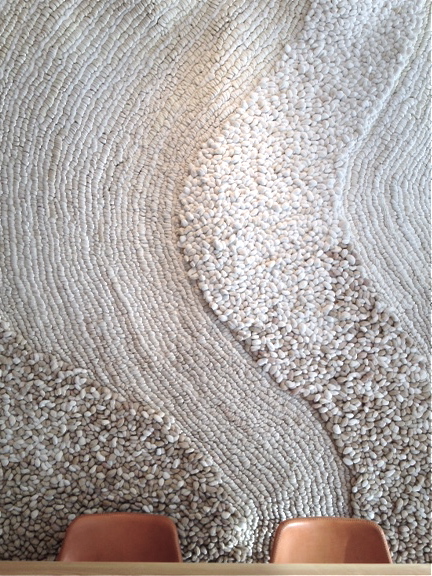
hand hooked rug + saddle leather chairs

Jordana and Deborah (thanks for the photo, David)
The Peets source furnishings from around the world; Canada, South Africa, and Argentina were mentioned several times as I touched almost every item in the store.
Emma Reddington and Kim Johnson have always had good things to say about Green Light District, and the shop and furnishings have previously been featured in Chatelaine, Style at Home, Toronto Life, The Toronto Star, and BlogTO. I can totally understand why. The furniture is beautiful, and Deborah and David are such warm and welcoming owners.
If you’re in the area, be sure to stop in and say hello to Deborah and David, and when you do, be sure to tell them that you know me…you’ll likely get a chuckle out of them*.
*Apparently some of my friends from other Canadian cities (Hi Nora!) have gone around Toronto (well, not the whole city, but I have to exaggerate the story so it’s more amusing) asking people if they know me. “Hey, do you know Jordana?” Ha. I love my friends!