20 Below: Dap Caulking

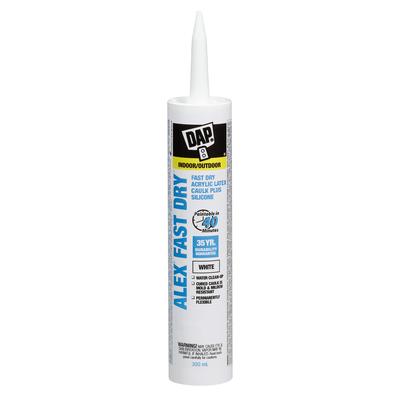
Little did I know that a few months after taking this photo of rows of DAP caulking I’d be loading up my shopping cart with it. That’s what a reno will do – it’ll force you to learn about things like caulking.

DAP

DAP Caulking, $2.88

I am looking forward to meeting the DAP at BlogPodium this upcoming weekend. Thanks in advance to DAP for sponsoring the event.

Uptown: Scenes from My Weekend

Well – the long weekend brought with it a visit from my dad and a whole lot of progress on my home renos. There was a wall that needed to come down, furniture to be moved, plants to be planted, electrical work to be tackled, and a lot of heavy duty cleaning to be done.

IMG_5676

In preparation for the weekend o’ work (and beyond), I made two lists: one for dad and one for me. His list includes a lot of my electrical wishes (and some of his too) and my list includes a lot of “buy major piece of furniture/lighting/vanities/things” and “make a decision about paint/furniture/lighting/vanities/things”. Needless to say, his list now has more crossed off of it than mine.

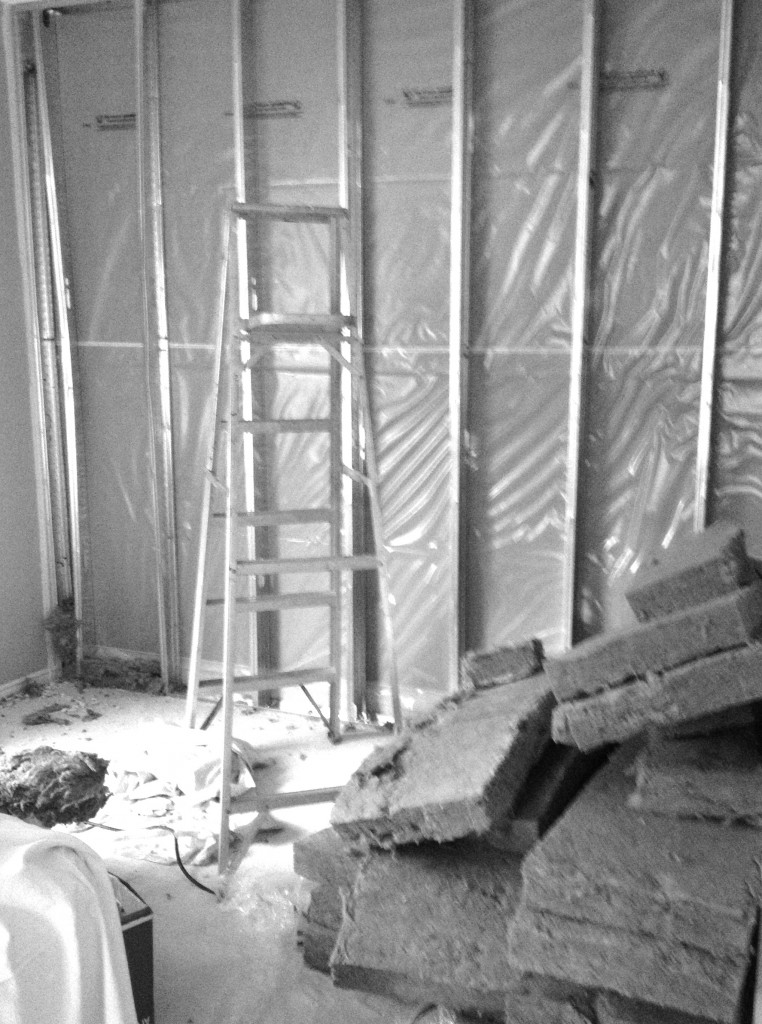
I learned how to remove a wall this weekend. My dad did most of the work but in between scrubbing everything in my kitchen, I watched what he did. What a big job that was. But now it’s done! I have full access to my dining room from living room and kitchen and the flow in the house is so much better. Awesome.

IMG_5707_2

 breaking the wall

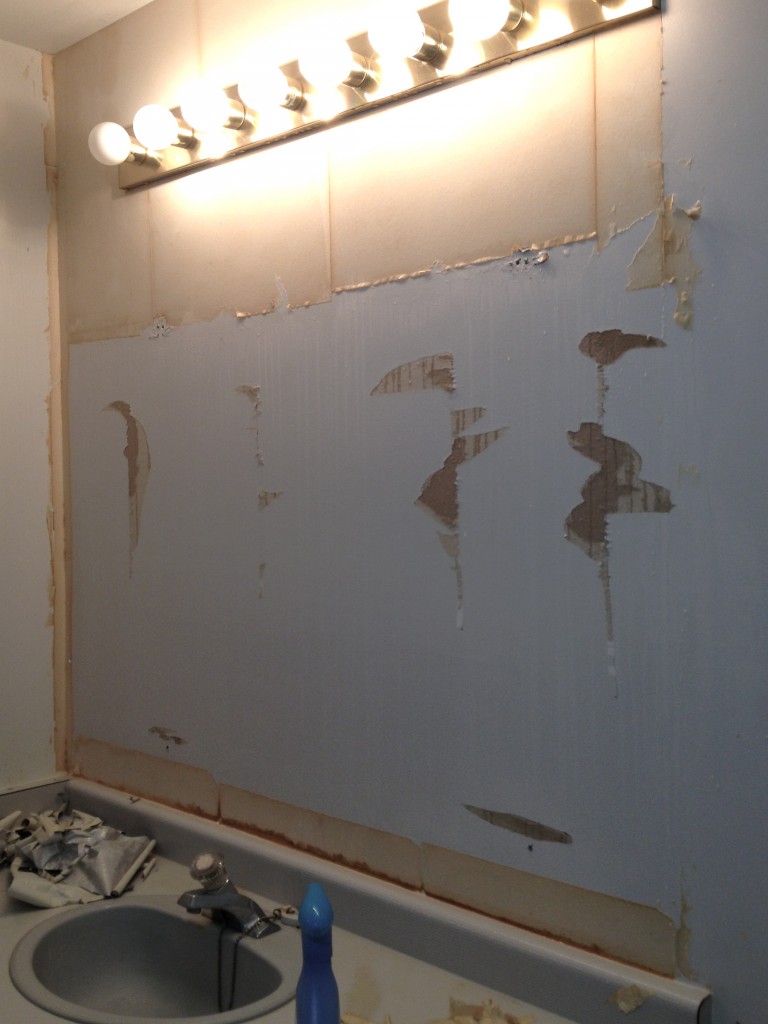
My dad and I took down the two large mirrors that were in the upstairs bath. (Gosh those things were heavy.) Doing this meant that I could take down the last of the wallpaper (hiding behind the mirrors) in this bathroom. I felt like I needed to pop open some champagne to mark the occasion. What a task that was. And, yes, I still hate wallpaper. I will never put wallpaper up. Ever.

IMG_5751

upstairs bath – progress; mirror removed, wallpaper almost removed

IMG_5775

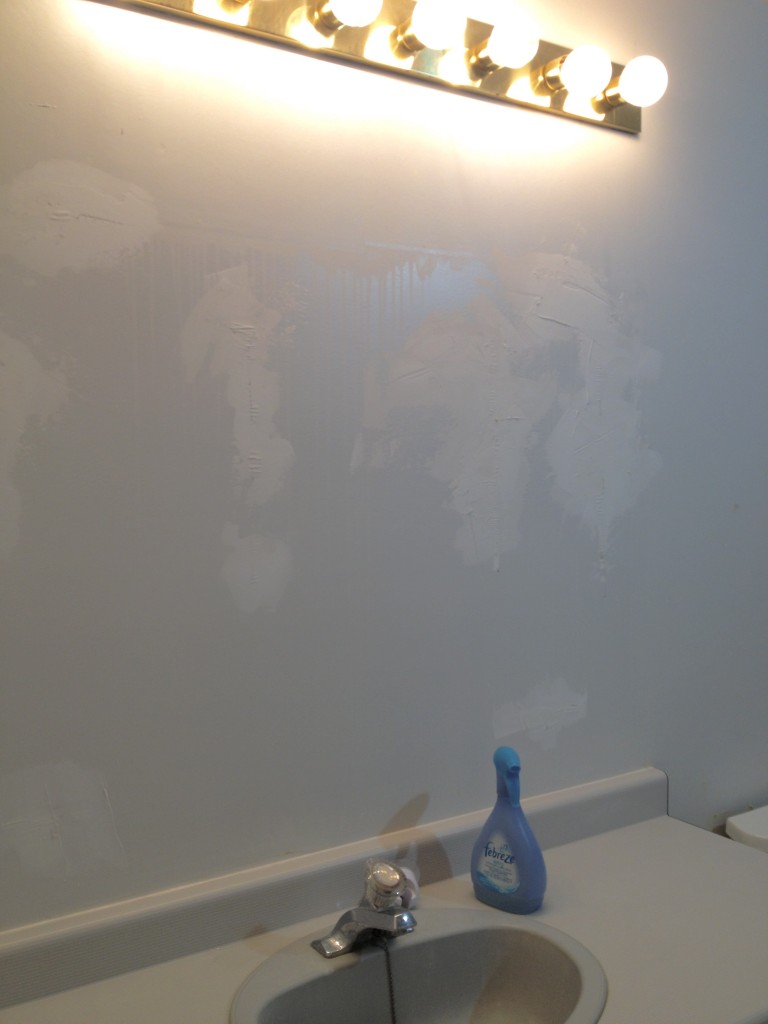
upstairs bath – all patched up; light to be removed soon; vanity to be replaced soon

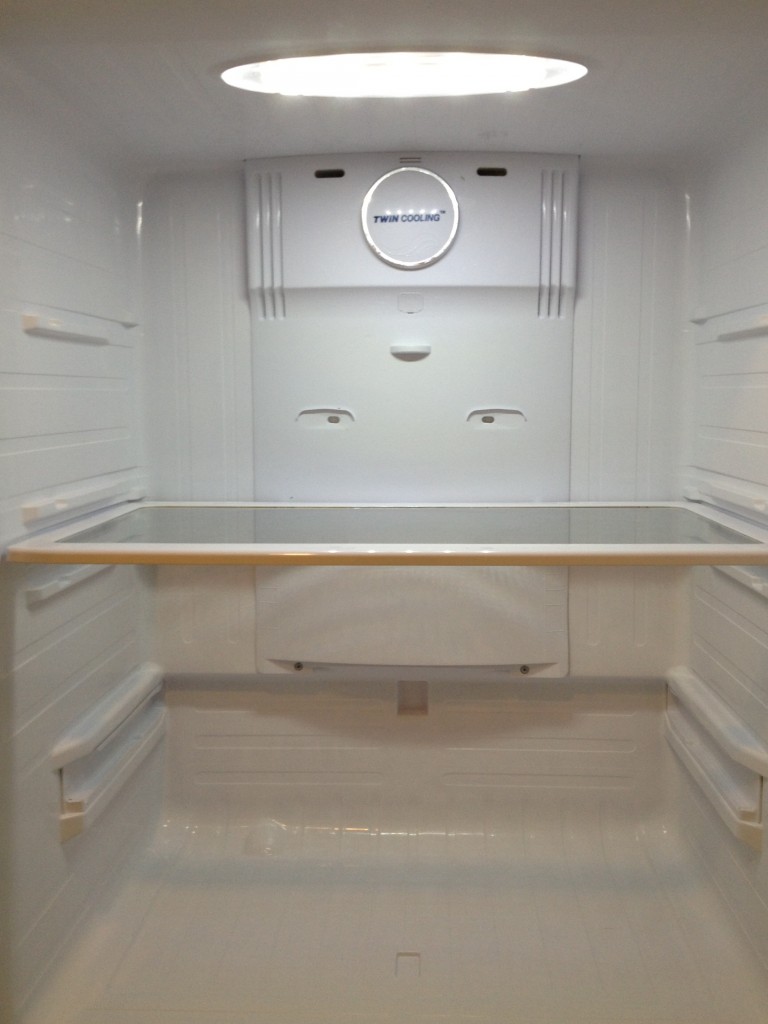
I cleaned the heck out of my kitchen. As in – it took me 2 hours (or more?) to clean my fridge. Another 2 hours to clean my stove. And no, I don’t think I’m exaggerating. While the kitchen cleaning tasks were time consuming, they were also extremely satisfying. My fridge is especially beautiful.

IMG_5704

deep cleaning of the fridge

While I’m talking about the fridge – I would like to share my satisfaction with my fridge. It’s a Samsung. That’s all I know about the make of it. The fridge is on top and the freezer drawers pull out. So convenient and such a step above anything I’ve had in my previous rentals.

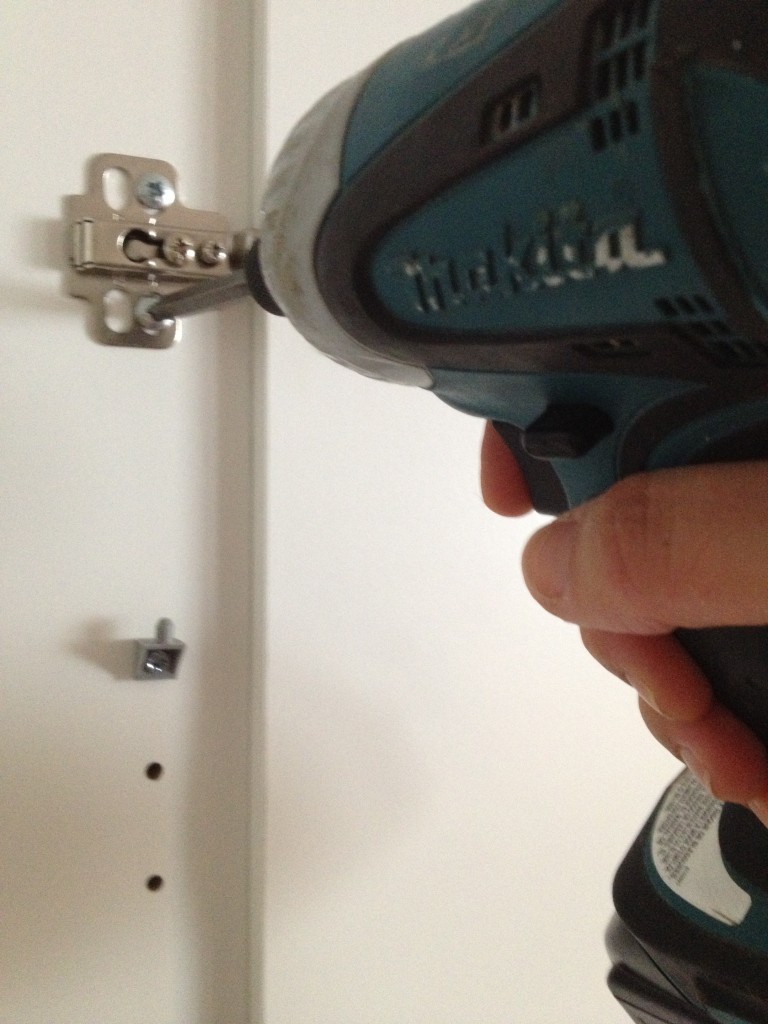
IMG_5761using power tools

I grabbed my dad’s electric screwdriver (with a little light at the end of it!) to put a cabinet back together. His screwdriver was awesome. I want one but it’s not in my  budget. Glad to have been able to borrow his. He loves it and is definitely not ready to donate it to me.

IMG_5783

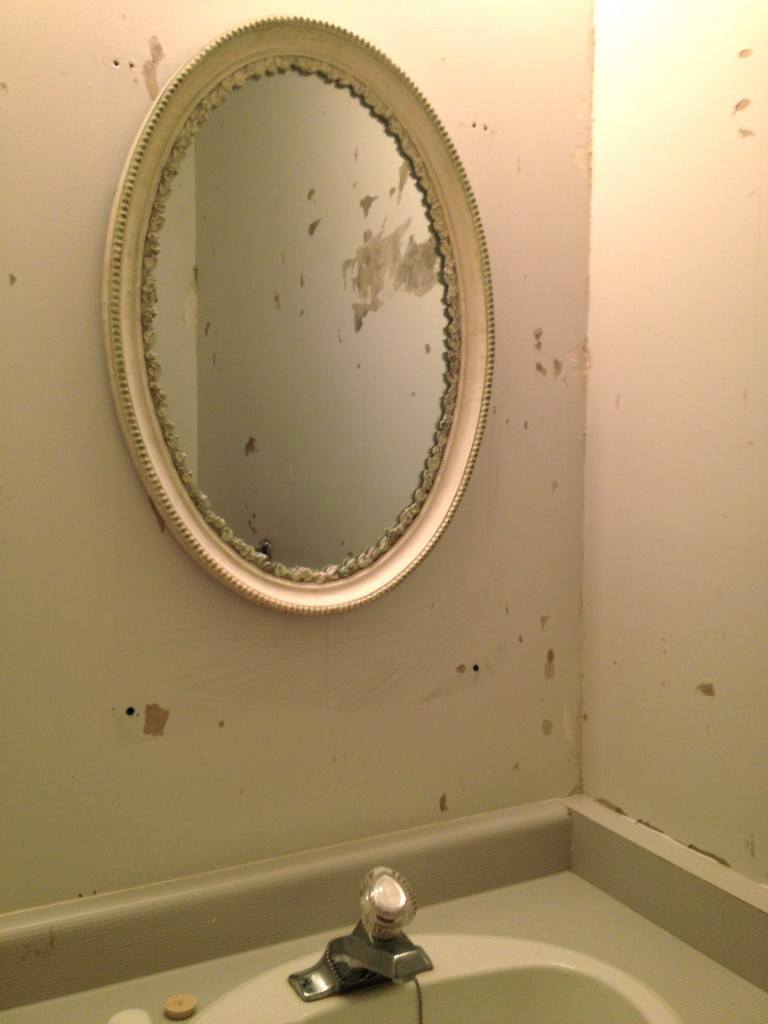
You may remember that I took down the wallpaper (and the enormous amount of leftover wallpaper paste) in the powder room. I patched up a lot of the wall damage but there’s still a bit more to deal with. But never mind that. This weekend dad removed the vanity wall light and created a new light box outlet thing in the middle of the ceiling. I haven’t settled on the light fixture yet (remember all the decisions I still have to make?) but at the moment I’m thinking either a plain globe light or a small crystal chandy. There is still a lot to be done in this small room. I will replace the vanity, prime and paint the room, install a new light, and hang a new mirror (maybe this one).

What a satisfying weekend of home repairs and organization. I’m thrilled with how things are shaping up around the house.

***

Interested in reading more about my reno? Keep your eye out for posts titled “Uptown”.

Uptown: Testing out the Paint

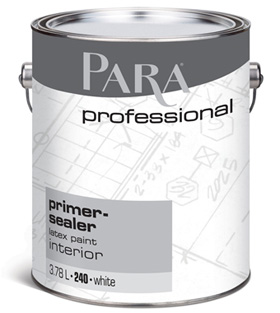
Painting is almost – almost – going to begin. I will start with PARA primer on some of the walls…

professional_lat_4c2ae36e48923


PARA primer

I have narrowed down my paint colours from about a thousand different white. While some people have told me…

11_9_09via You Look Like the Right Type

I know that no two whites are the same. I am now deciding between two colours. The first option is Chantilly Lace. This is a favourite white among many designers and has been featured in countless home magazines and blogs. In my home it looks quite good.

Chantilly-Lace

 Chantilly Lace

The second option is Behr’s Gallery White. It also looks good in various rooms in my home.

1a64ee30-86e9-4d69-b037-8c2b9831c028_300

Gallery White

I decided to buy small cans of each colour so I could test them out in every room in my house. The paint clerk at the Home Depot pretty much laughed at me when she showed me the two colours after she mixed them. My friends did the same. Why I have to convince everyone that the two colours are really different is beyond me.

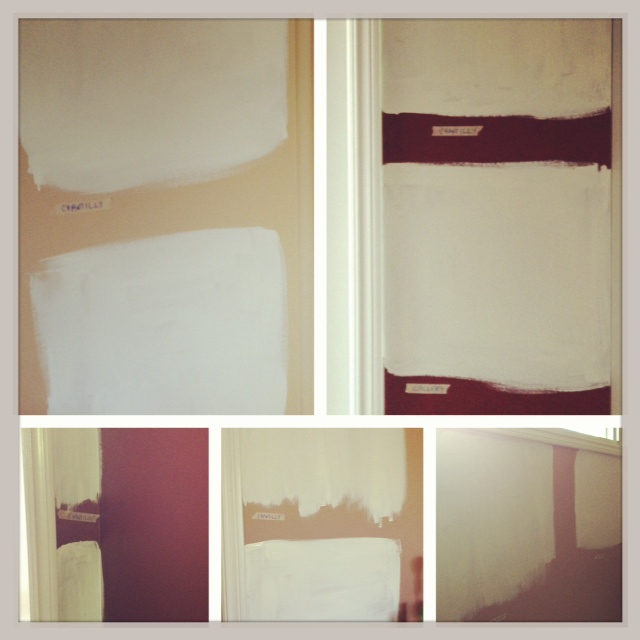
So this past weekend I painted two coats of each colour in various rooms around my house. I think this strategy will help me decide the final colour but it’s also a bit tricky because I didn’t prime and the colours underneath surely impact the way that I see the whites. The photo collage below gives you an idea of the differences although the lighting combined with the Instagram filter doesn’t give you a true sense of the shades.

paint-White-Cabana

Chantilly Lace (on top or on the left in every photo) + Gallery White (on the bottom or on the right in every photo)

I’d prefer to paint the whole house one colour but I may end up getting cans of both colours and just alternating the rooms. Ha ha…let’s see who would actually notice besides me!


Uptown: A Little Bit of Progress

I thought I would take a moment to talk about the updates I’m making around my house Uptown. It feels great to be in Kitchener-Waterloo and I’m really loving so many things about my new house. I’m learning new things about renos and home repairs, I’m getting to know every home improvement store in KW, and little-by-little I am making my house feel more like me.

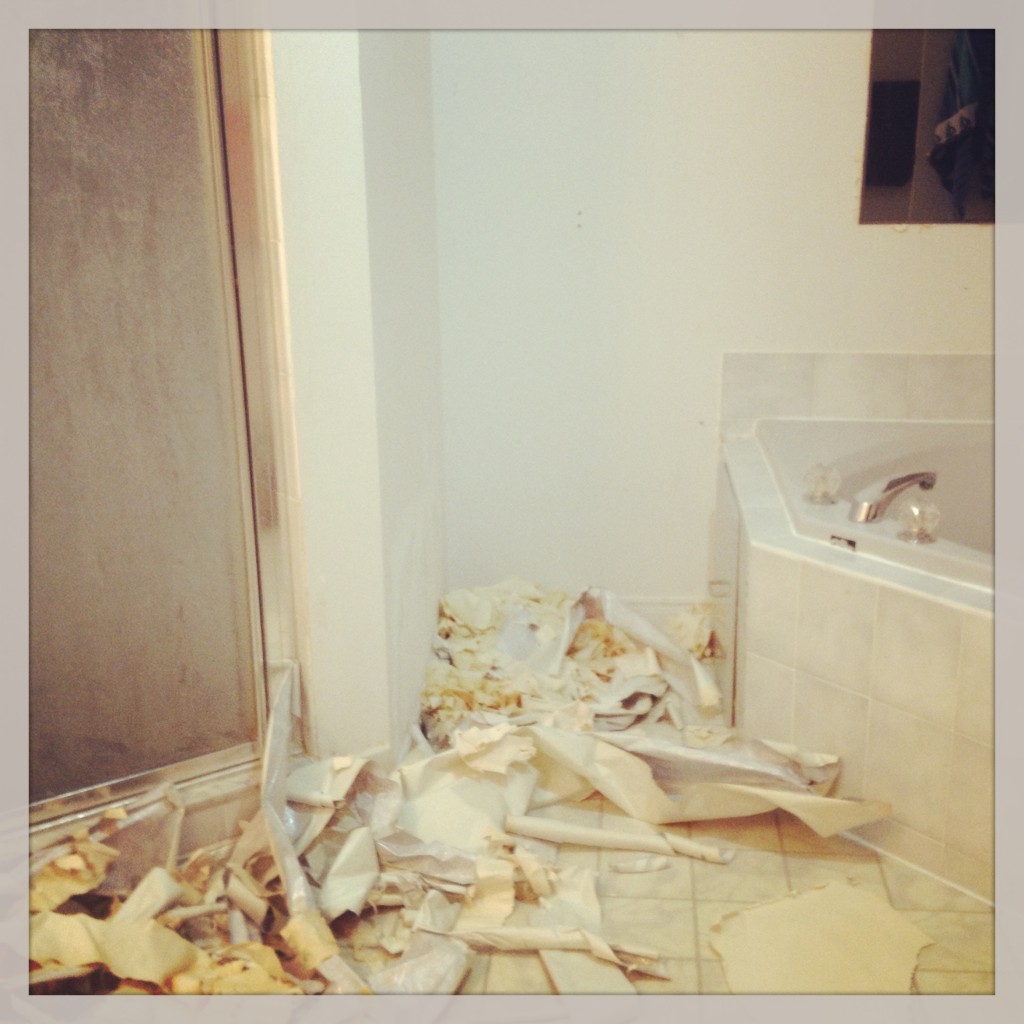
There are three bathrooms in my house. They’re great spaces but they are all covered in wallpaper. The wallpaper in the upstairs bath came off quite easily and left no wallpaper paste residue. The walls up there are in great shape and just need some minor touchups (of that plaster/putty stuff) before they get primed and painted.
upstairs-bath-wallpaper

upstairs bath – wallpaper removal fun

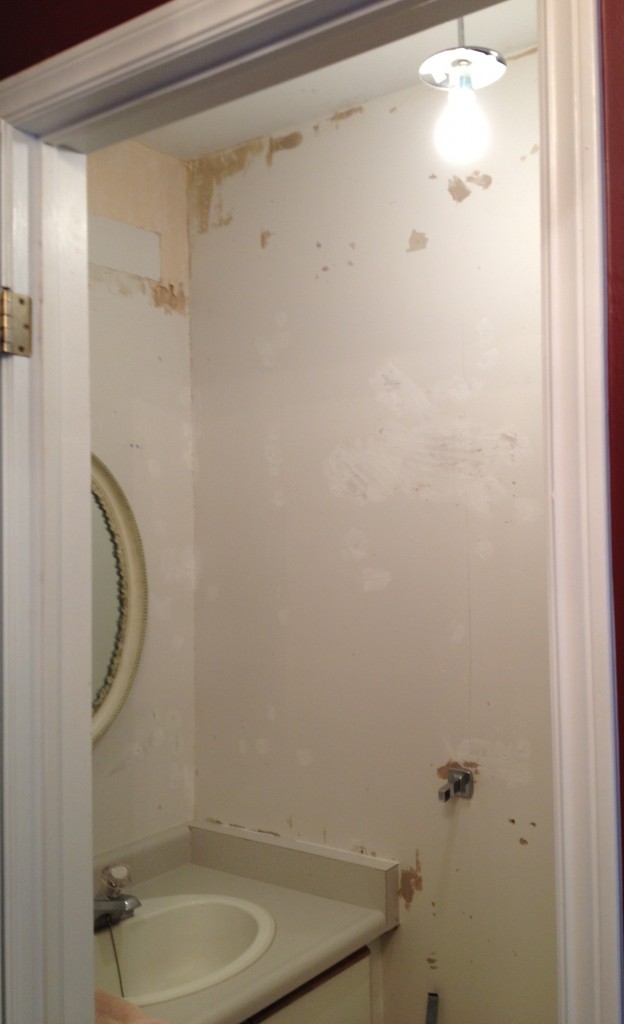
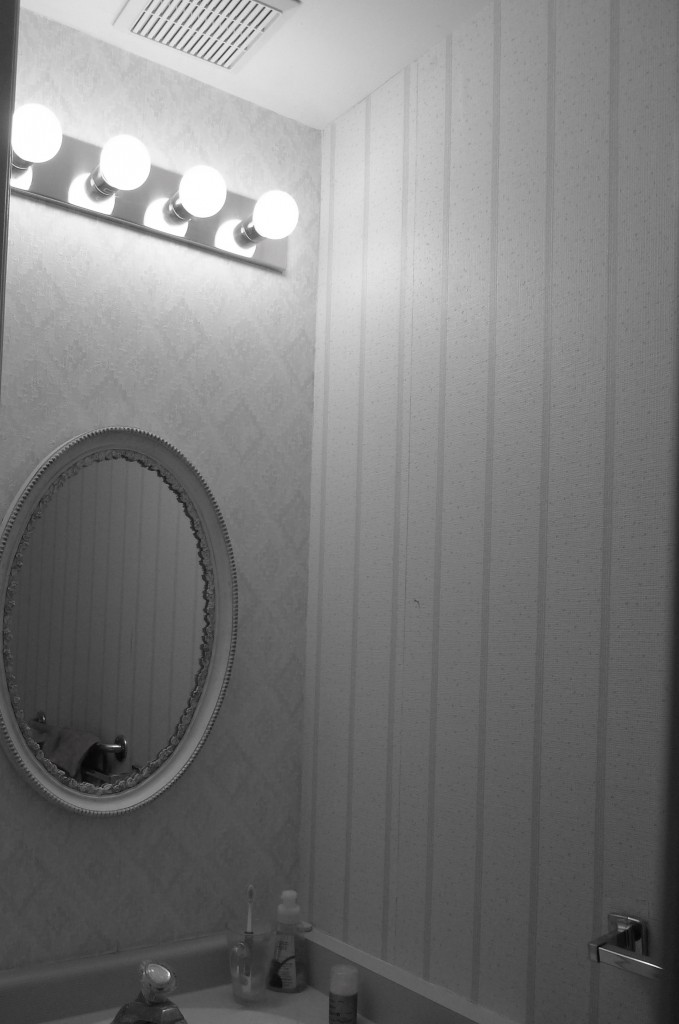
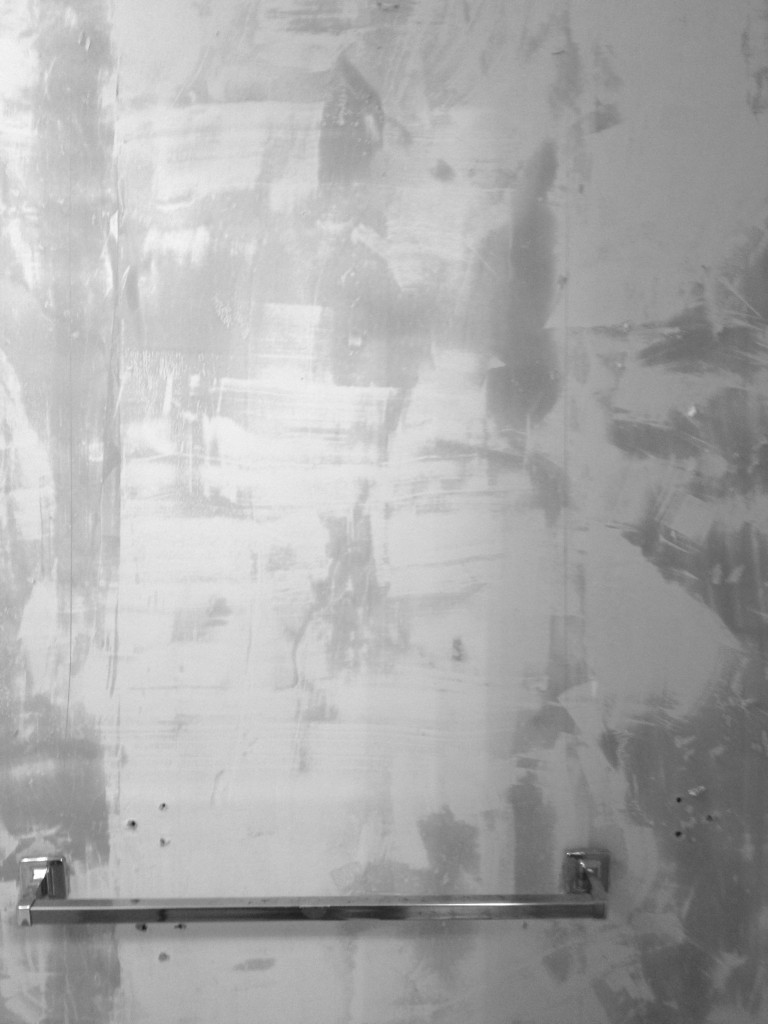
The powder room was a whole other story. The decorative paper came off without any trouble. But…the wallpaper paste decided to stay behind. The look was disgusting. The removal was a major pain.
powder-room-before

powder room – before – two patterns of pink & cream wallpaper
wallpaper-removal-progress

powder room – the wallpaper paste disaster

My dad bought and applied some wallpaper paste removal but that didn’t work. Then I found two solutions via Google so I alternated between them: (a) hot water + fabric softener + baking soda, and (2) hot water + vinegar. The vinegar solution worked better in the end, I think, but the fabric softener solution smelled better so I kept using it. There was A LOT of scraping involved. And A LOT of rubbing with a rough sponge. And A LOT of cleaning up with a soft sponge. It was time consuming*. The walls look half-way good now but of course there are (more than) several areas that need putty. The powder room looks much brighter so that’s definitely something to celebrate. Removing the wallpaper in this room was a huge job and I’m glad it’s over. (One more bathroom to go.)
IMG_5448_2

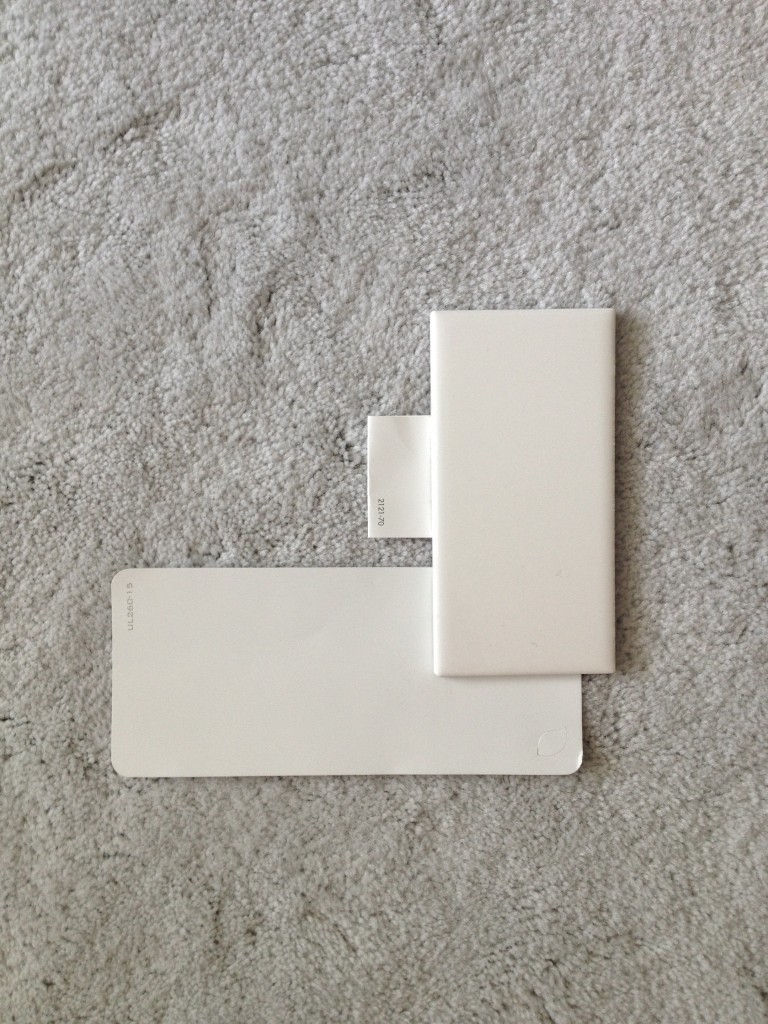
My parents came for a visit this past weekend and with my mom’s help I’ve narrowed down my paint colours down to two! Huge accomplishment! I’ve been staring at the paint chips in every room in the house in different lights over the last month or so. Now I’m going to buy small test cans of each colour and paint large patches in each room. I hope by doing this, I’ll come to a final decision about the colour. In case you didn’t know – I’m painting my whole house white. All of it. Yes.
paint-choices

paint options with tile and carpet

I picked up pretty white tiles that I will eventually use for my kitchen backsplash**. The tiles look great with the paint options and the existing cabinets (Ikea I think). So far.

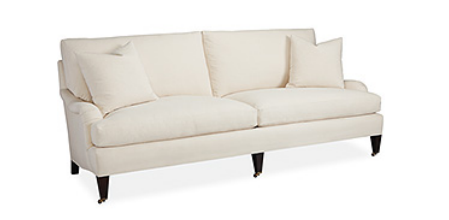
I’m still dating my couch options. I love the Lee couch but I priced it out for two fabrics and one will be $3000 and the other one will be $3800 (plus tax & delivery). I’m not sure I feel like spending $4000 on a couch.
Lee-Industries-English-sofa

Lee Industries sofa

I am really fond of the following two sofas from sofa.com but I have to do the final pricing on each. They’ll likely come in around $2500 or so.
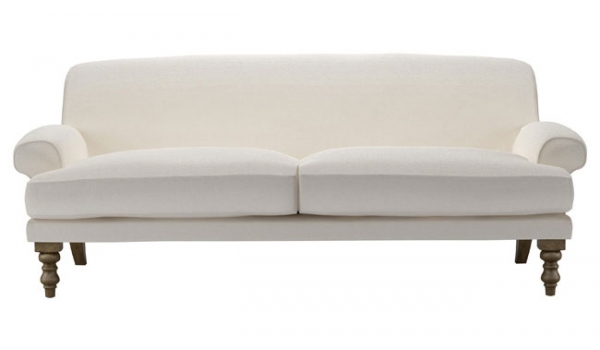
 

The Saturday Sofa
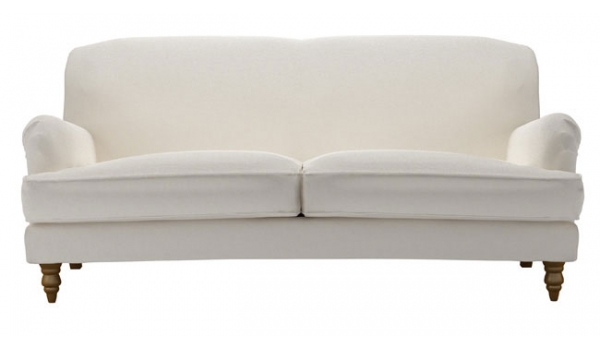
The Saturday Sofa

The-Snowdrop-Sofa

The Snowdrop Sofa

Restoration Hardware has a nice option too. It would like be around the $3000 mark. I haven’t yet seen this one in person but I will soon enough. I really would prefer two large seat cushions but I don’t the the RH sofa has this option.
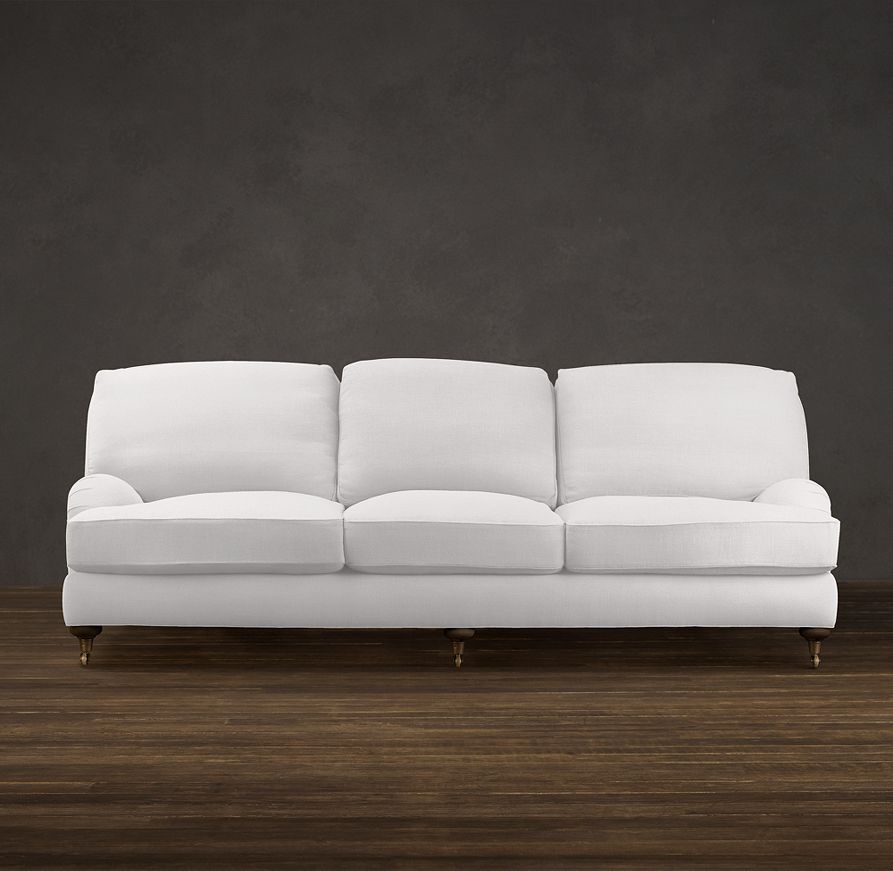
prod1622099

Restoration Hardware sofa

Alternatively, I could also go the more affordable route with Ikea’s Karlstad in a couch or sectional style.

Karlstad-sofa-Ikea


The Karlstad is a good-looking and comfortable sofa but it has a different feel than the ones above. It would change the whole look of my living room. Oh – and I’m aiming for a light grey fabric for my future sofa. Thoughts?

My parents helped me plant outside. I’m leaving all the gardening choices up to my mom since she is a retired florist. She knows what’s what. I only requested that hostas be in my garden since (a) I think hosta is a funny word, and (b) it seems like everybody is always talking about where they planted their hostas, the colour of their hostas, and how their hostas are growing. I think it’s hilarious…and I want to be part of the hosta club. I don’t have a big garden but I have just enough patches of land to let me play around.

flowers-garden-White-Cabana

new white flowers & some of my new hostas

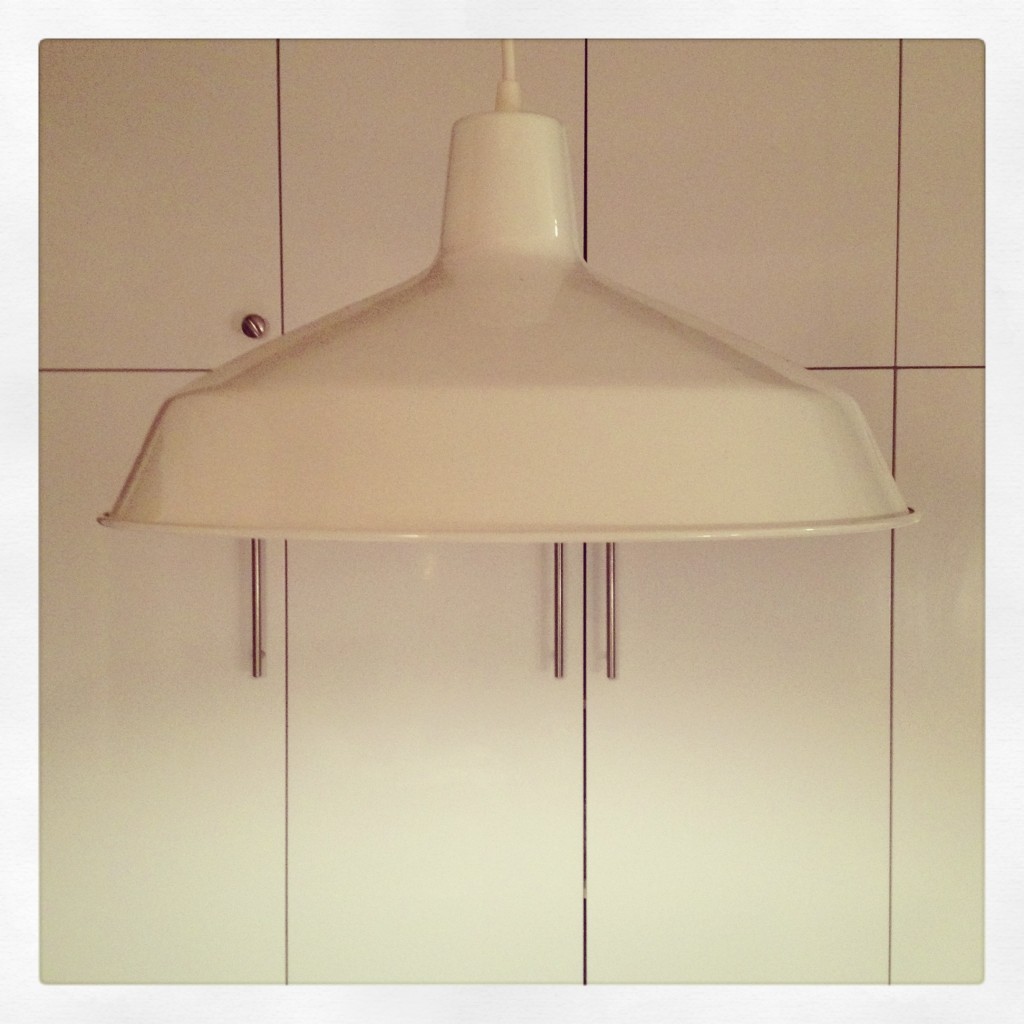
My proudest moment so far in this reno business has been installing a new kitchen light. I wasn’t sure I could manage it on my own but I did! I watched a few how-to videos online (and over the years I’ve observed my dad change a few) and then I got to work. I learned about my Breaker Box and I made sure I shut off the right breaker switch for the kitchen light. I set up lamps around the room so I could see what I was doing (I decided to change the light at 9pm or so?!). I used one screwdriver in the whole process. So handy. After the electricity was shut off, I removed the existing fan/light fixture and unhooked the wires. Once the fan was down I put up my new light. Black wire to red wire and white wire to white wire. I used plastic screw caps to attach the wires. A few screws later and my light was up! When I switched the power back on I really was praying that I’d have light. And guess what? I did! I honestly couldn’t believe it. Changing a fixture is not hard at all but it is a little scary, what with the electricity bit. But as long as the electricity is off, there’s nothing to worry about. Right? So, one light installed and about 15 more to go! (I haven’t narrowed down the choices for the other rooms.)
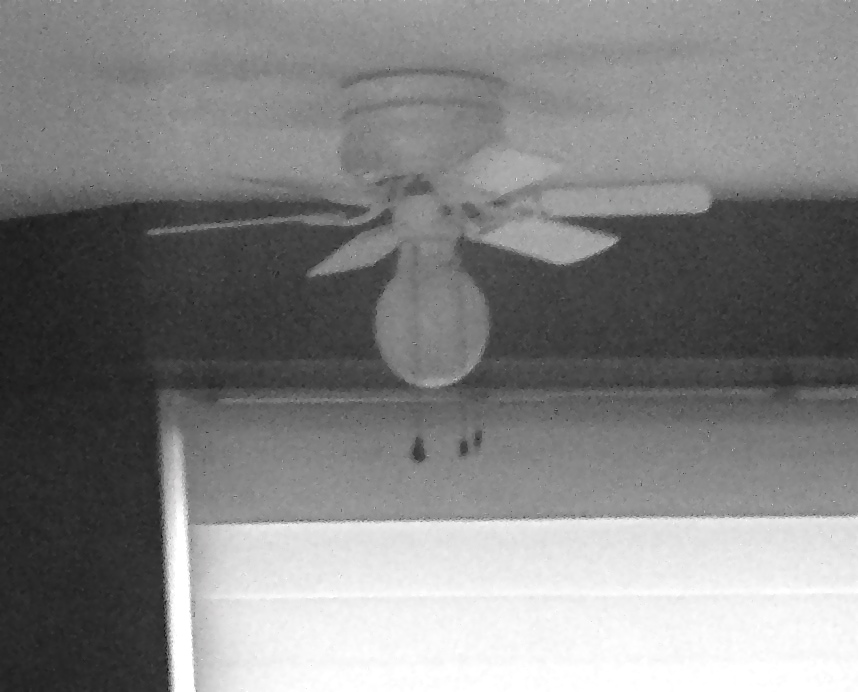
IMG_4103_2

before

IMG_5407

 after

So there you have it – a few updates from around the house. Much more to come so stay tuned!

*Note to self: Never install wallpaper. Ever.

**You may be wondering why I bought backsplash tiles before doing anything else? I found them for a super deal on Kijiji and I couldn’t let them go! More on that in a future post.

***

The Uptown series documents my experiences as a new homeowner. Fun times ahead!
1 4 5 6 7 8 9 10 13