While I was in Florida, I watched many (many) episodes of The Great British Bake Off. Have you heard of it? Seen it? In brief, it’s a baking competition show from the UK. My friend Shannon and I were hooked! The hosts – Paul Hollywood and Mary Berry – really made us laugh, and we were rooting for so many contestants along the way. And the baking! Oh the baking! Each week, the bakers were given challenges for both savoury and sweet baking, and some of the items I had just never even heard of! In one technical challenge, the contestants had to make a Schichttorte. This is a 20-layer German cake that looks absolutely cool!

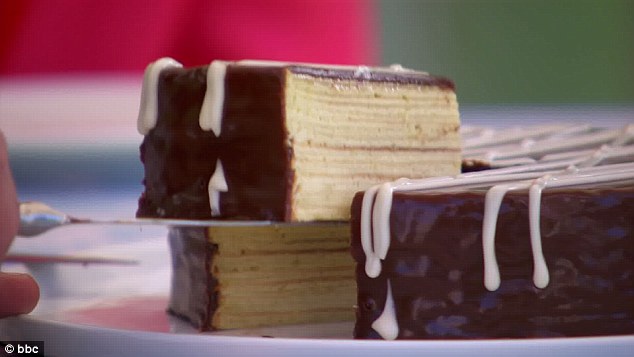

photos from the Daily Mail UK
Aren’t those layers beautiful? I wanted to make it. So this past weekend, I did. I was invited to a dinner party, and I knew my friends would appreciate it.
I used a combination of two recipes. The main cake recipe is from the BBC, and the icing recipe is from Paté Smith. I’ve shared it below with measurements in cups.
Here’s how my cake making went down.
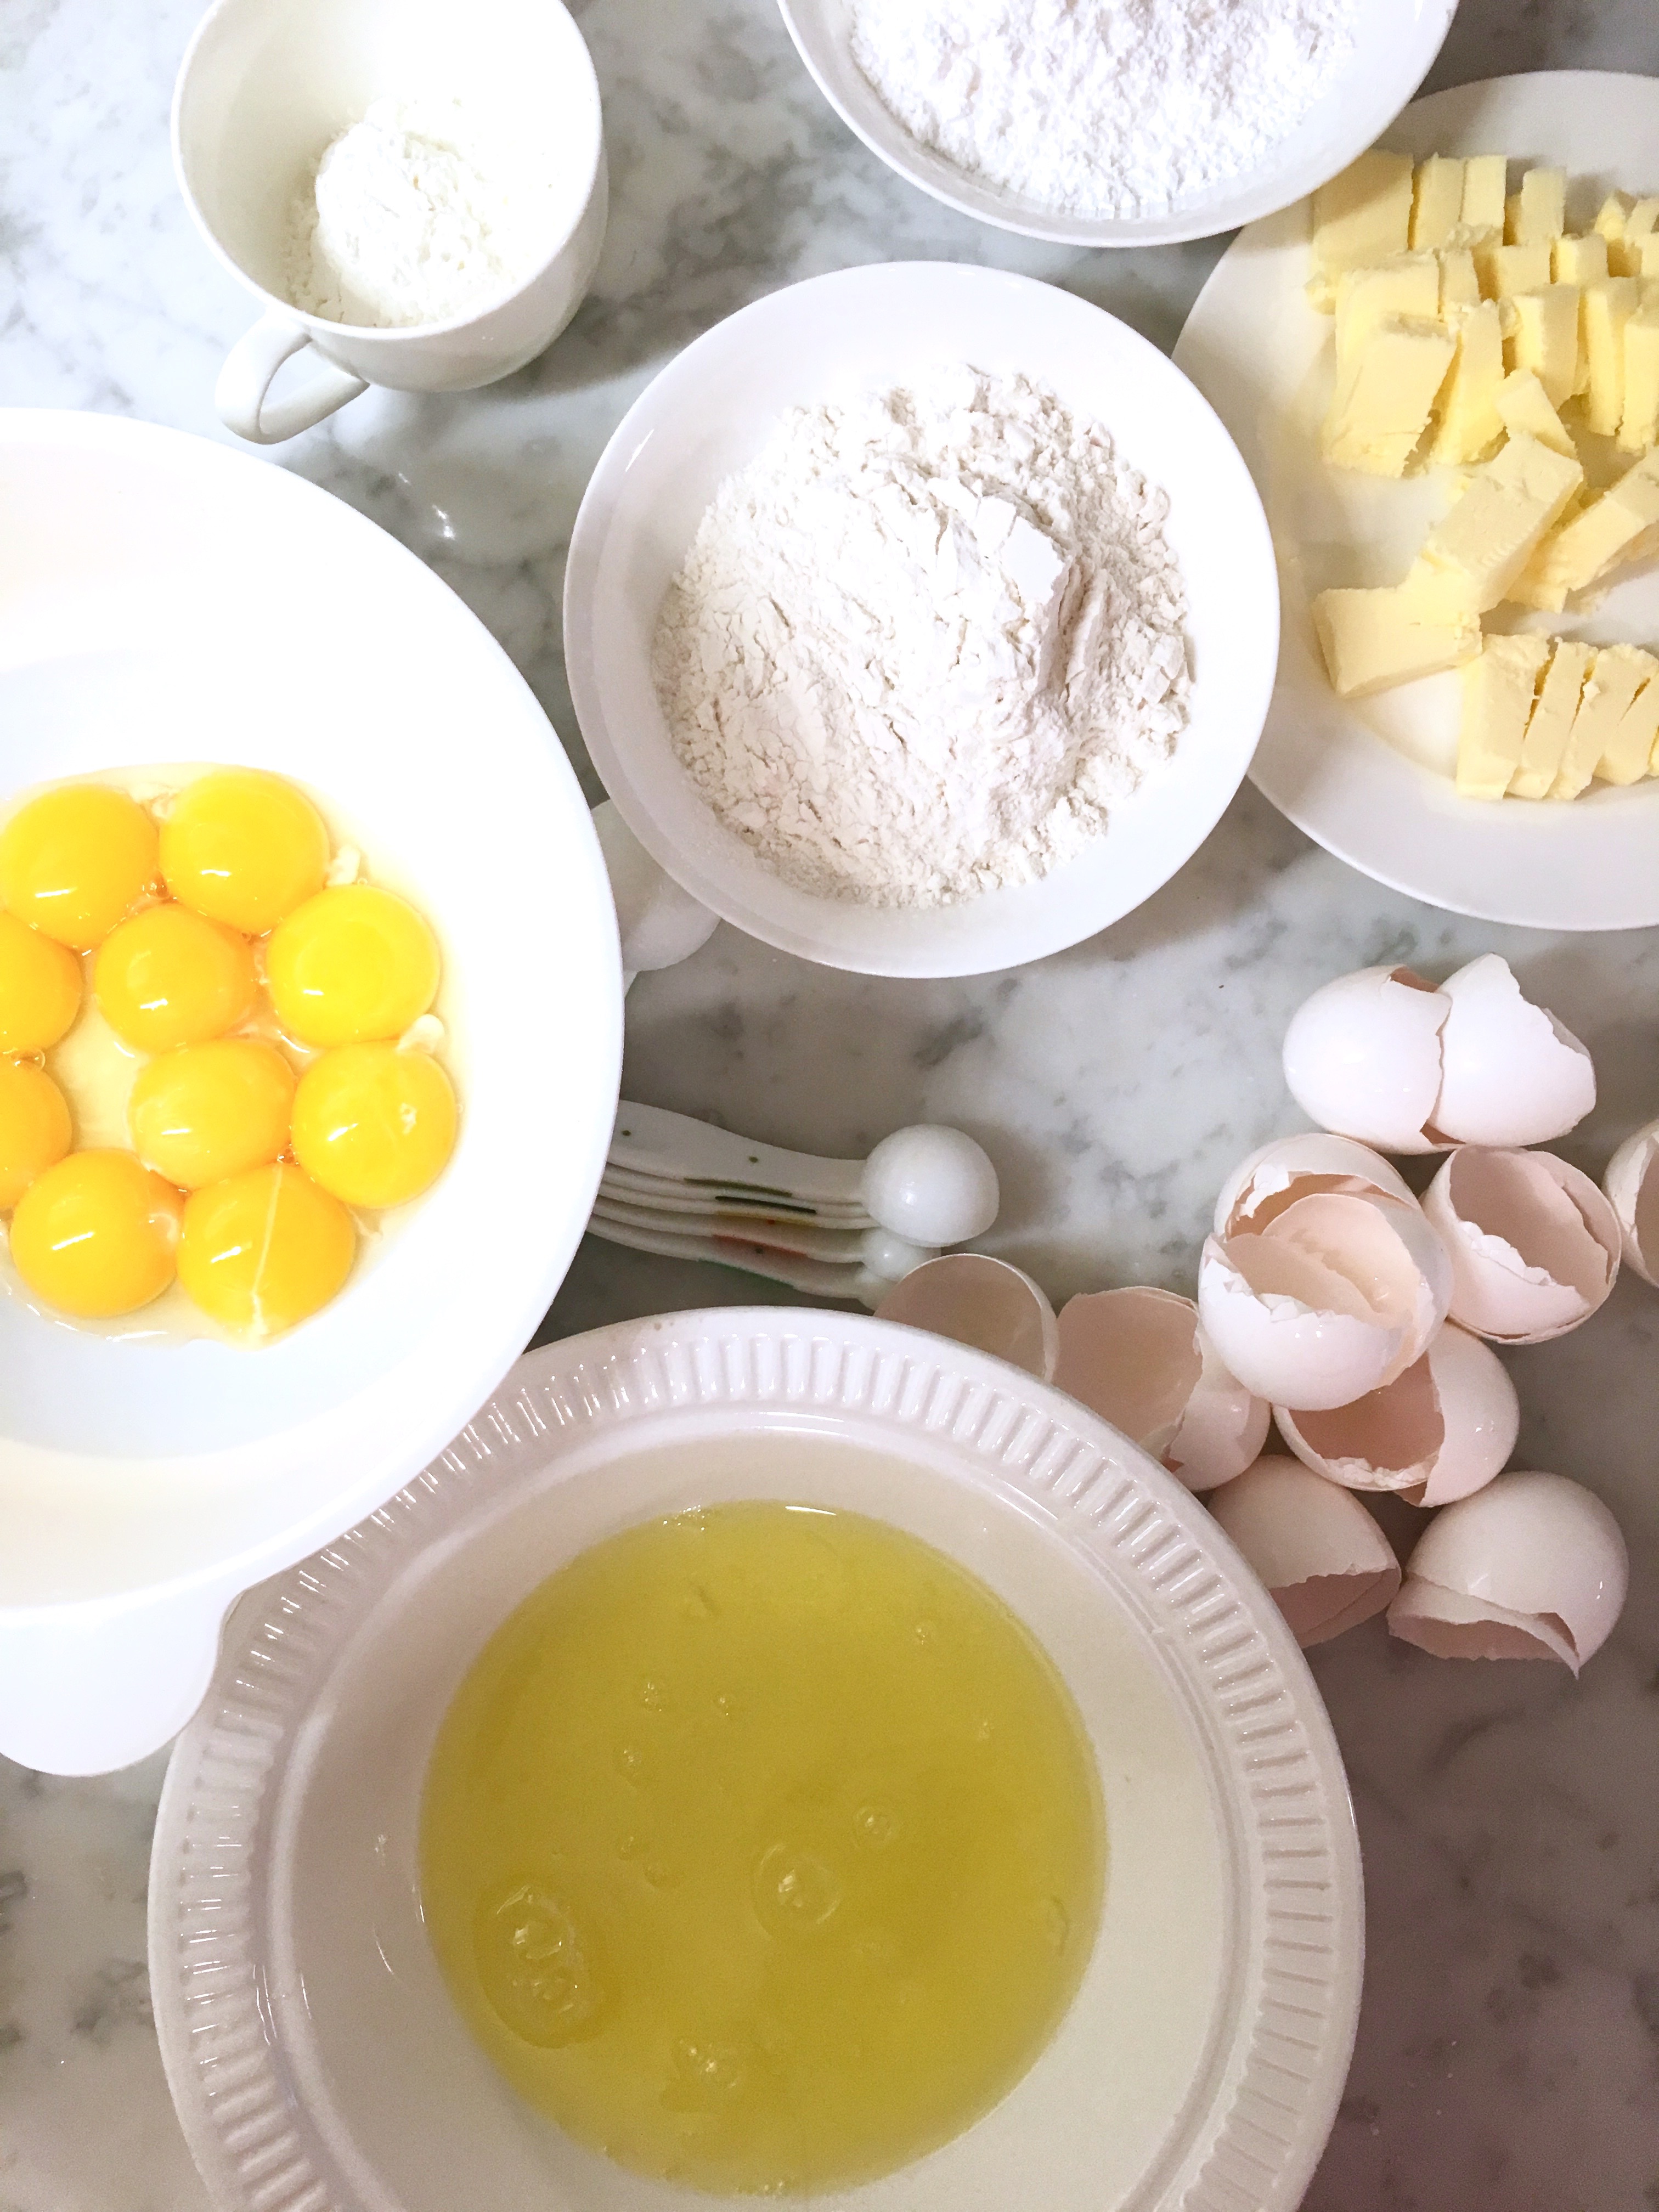
I prepared all of my ingredients in advance.
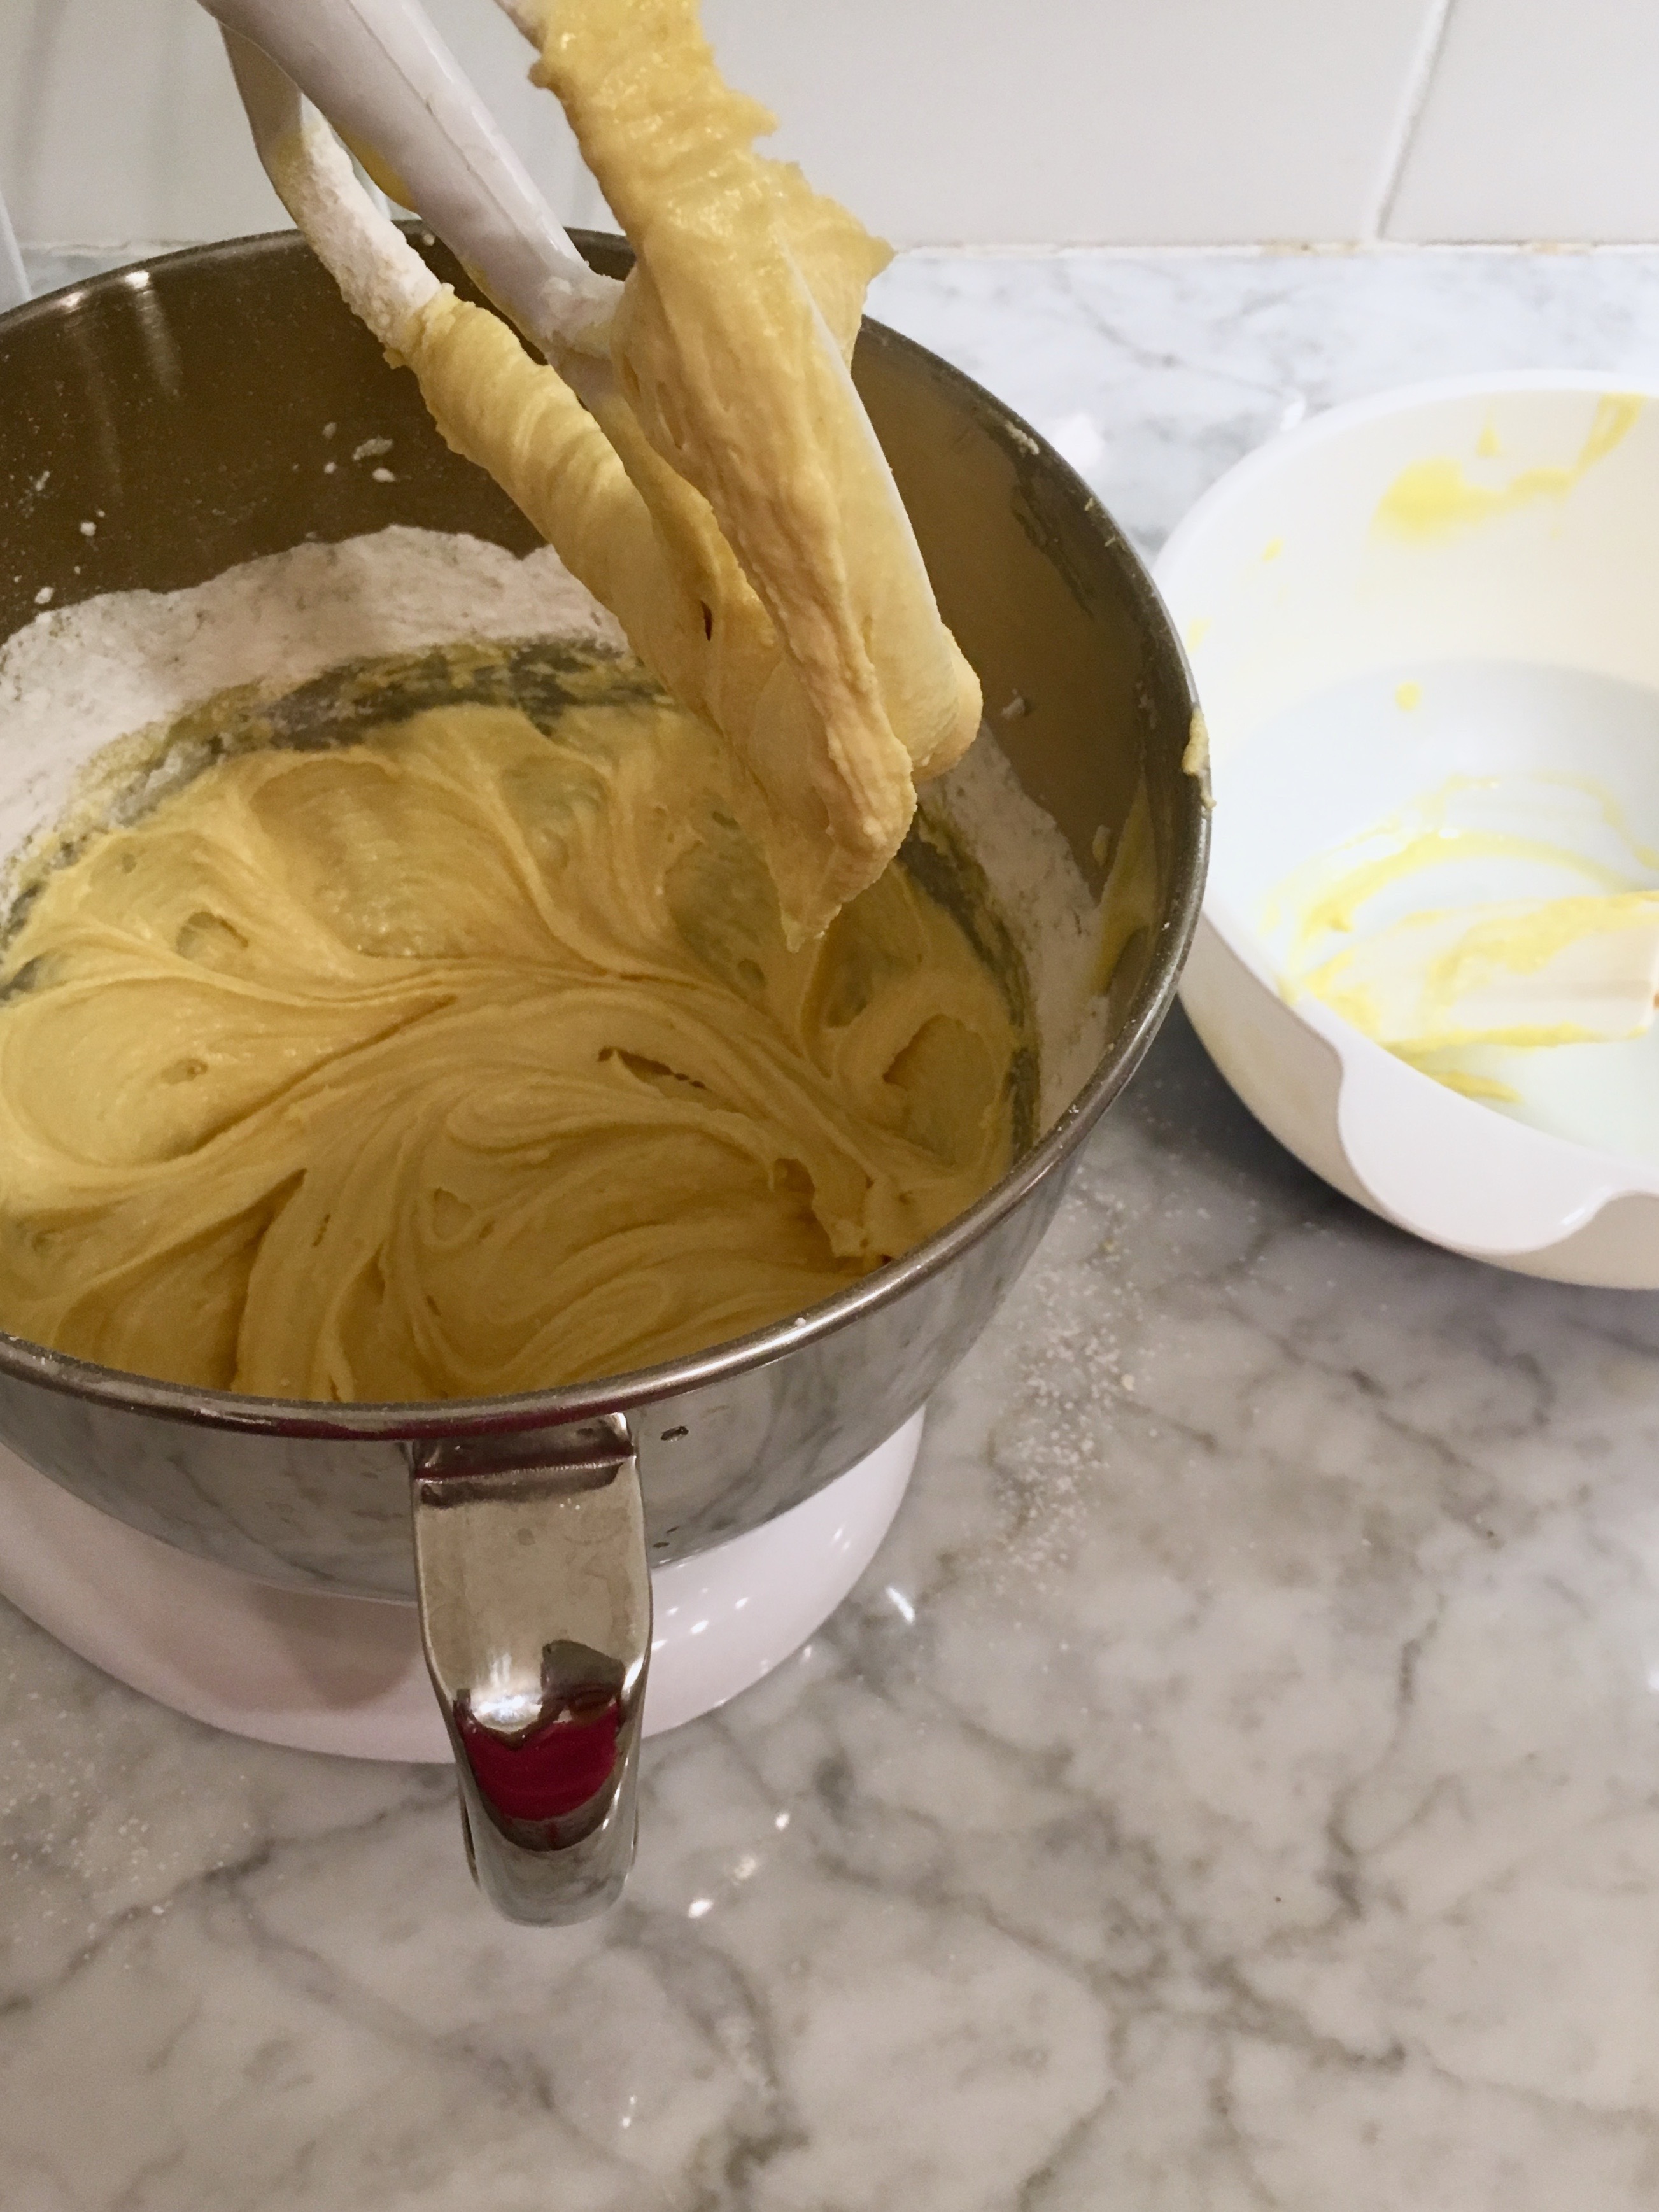
I mixed the egg yolks until they were creamy. I added the butter and sugar mixture as well as the flour mixture as per the recipe.
I whipped up the egg whites until they formed stiff peaks.
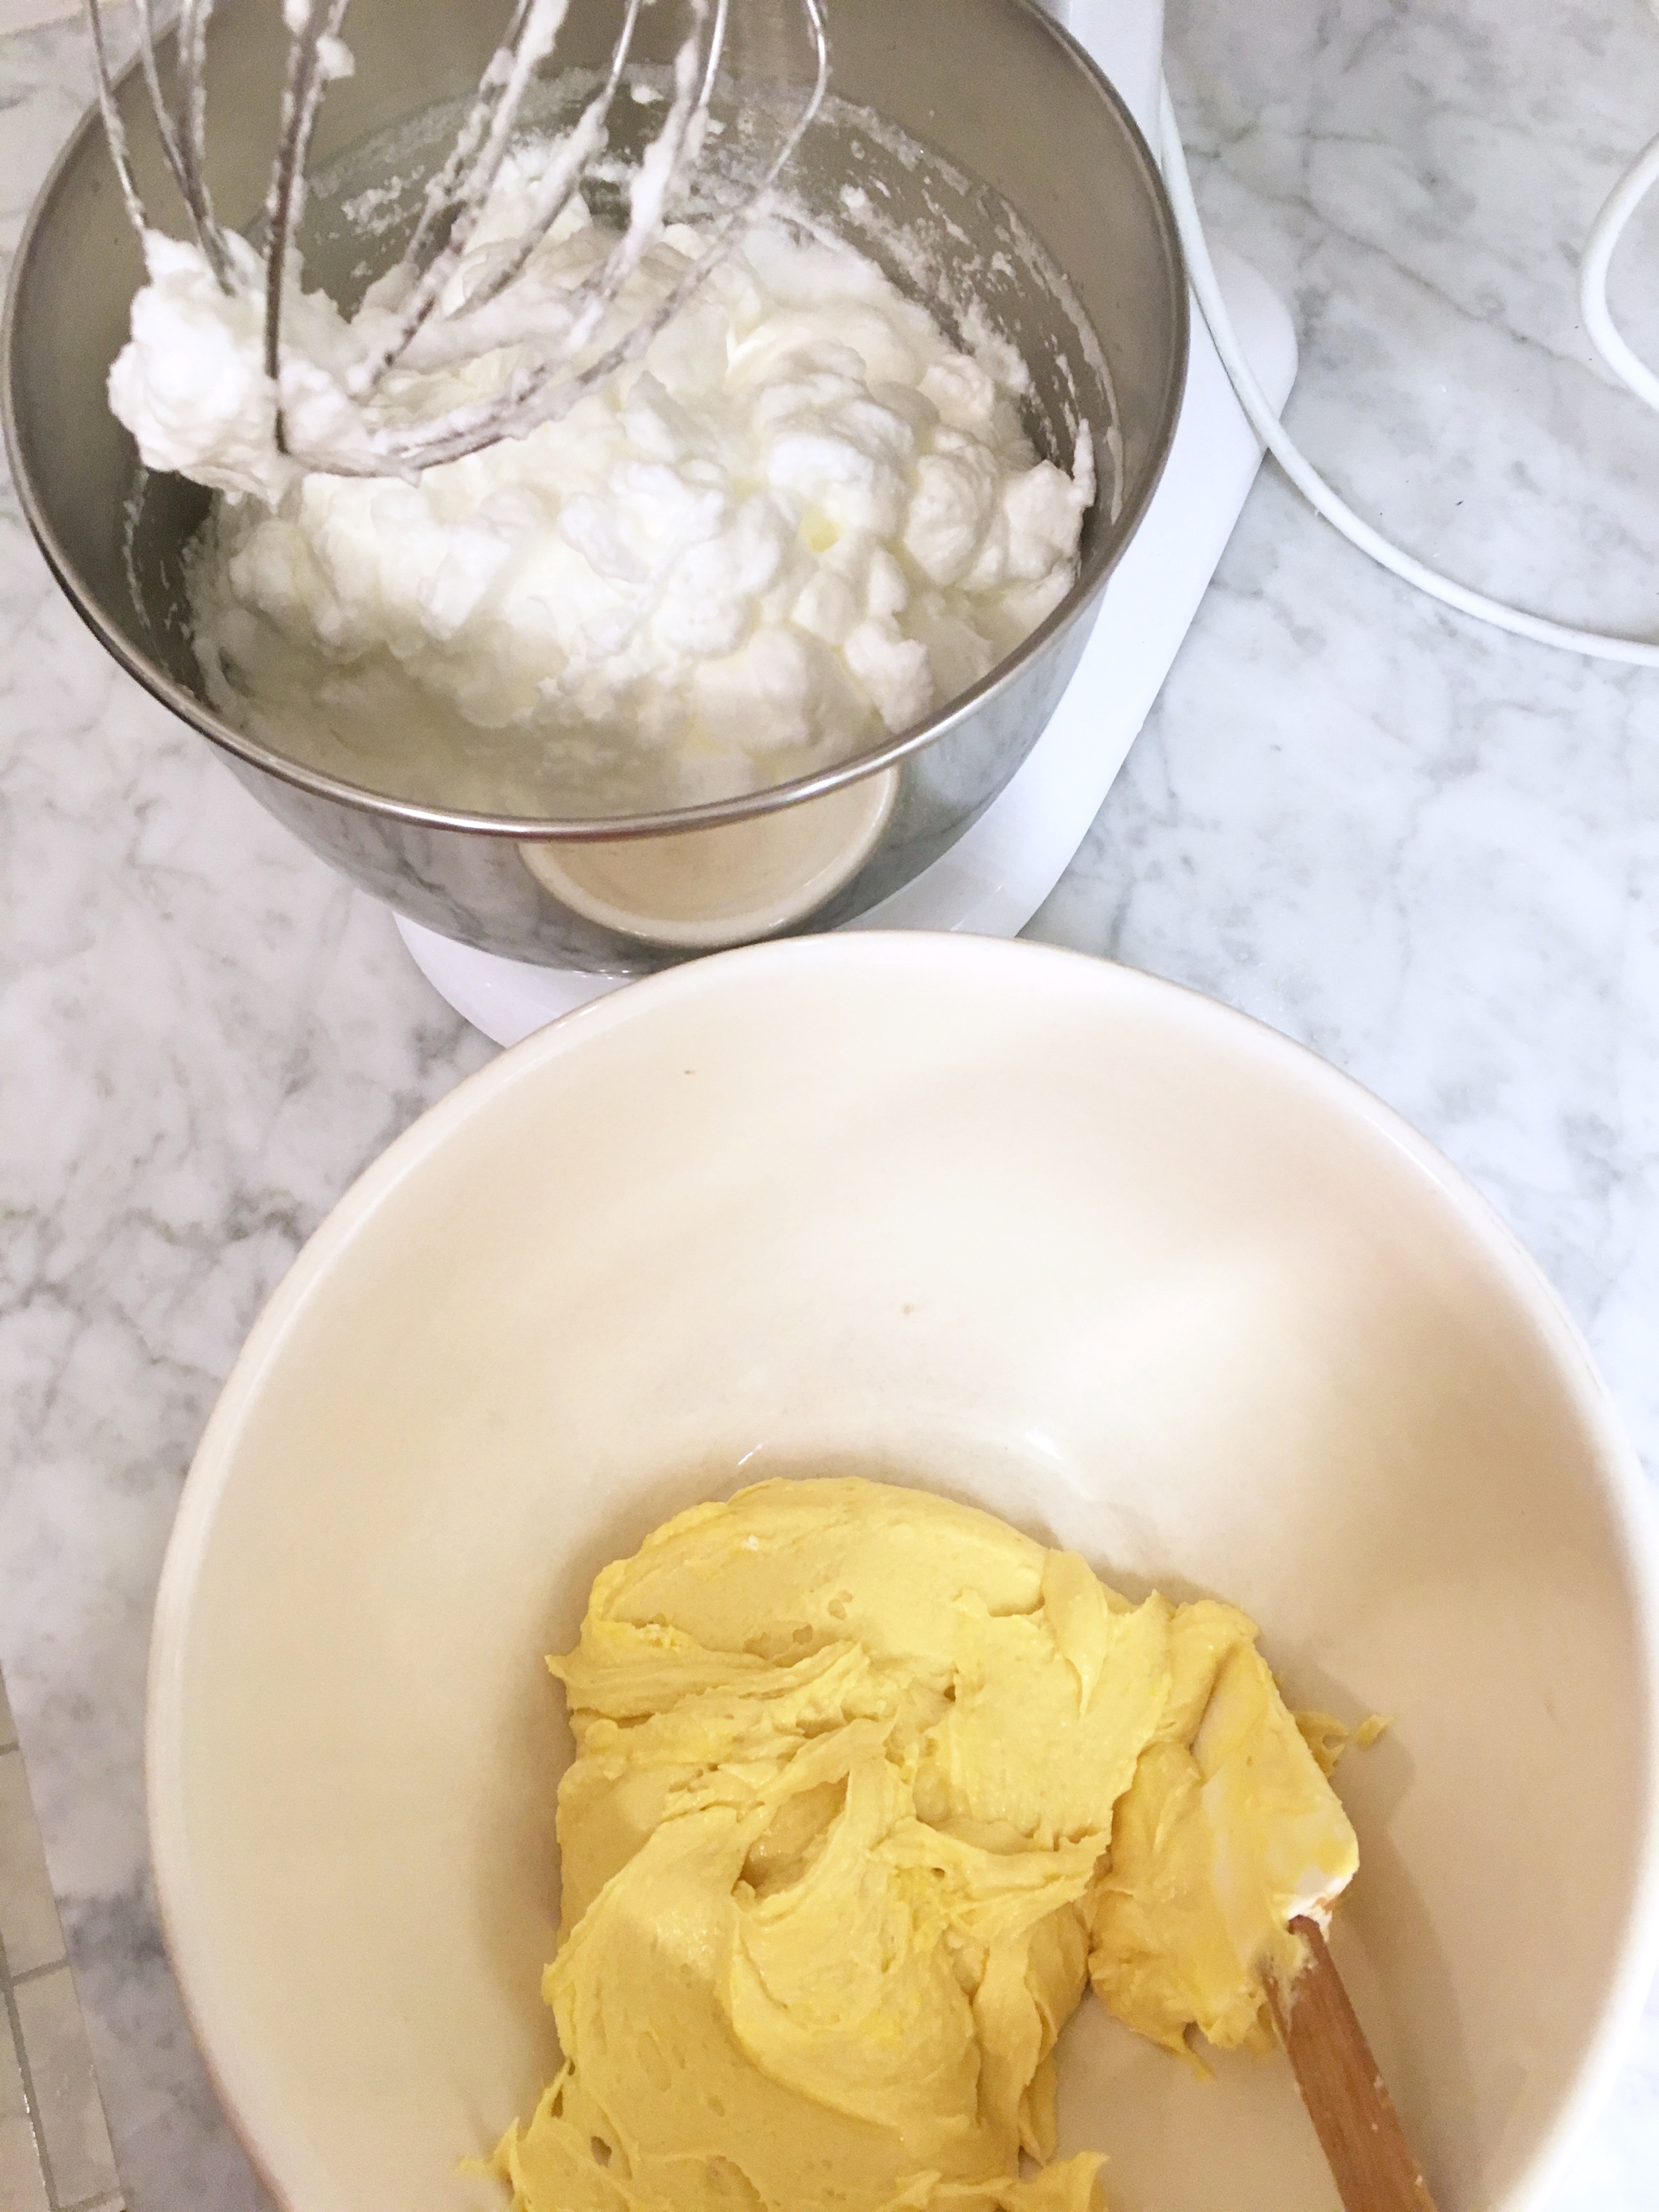
I carefully folded the egg whites into the egg/butter/sugar/flour mixture. I greased my spring form pan and lined the bottom with parchment paper.
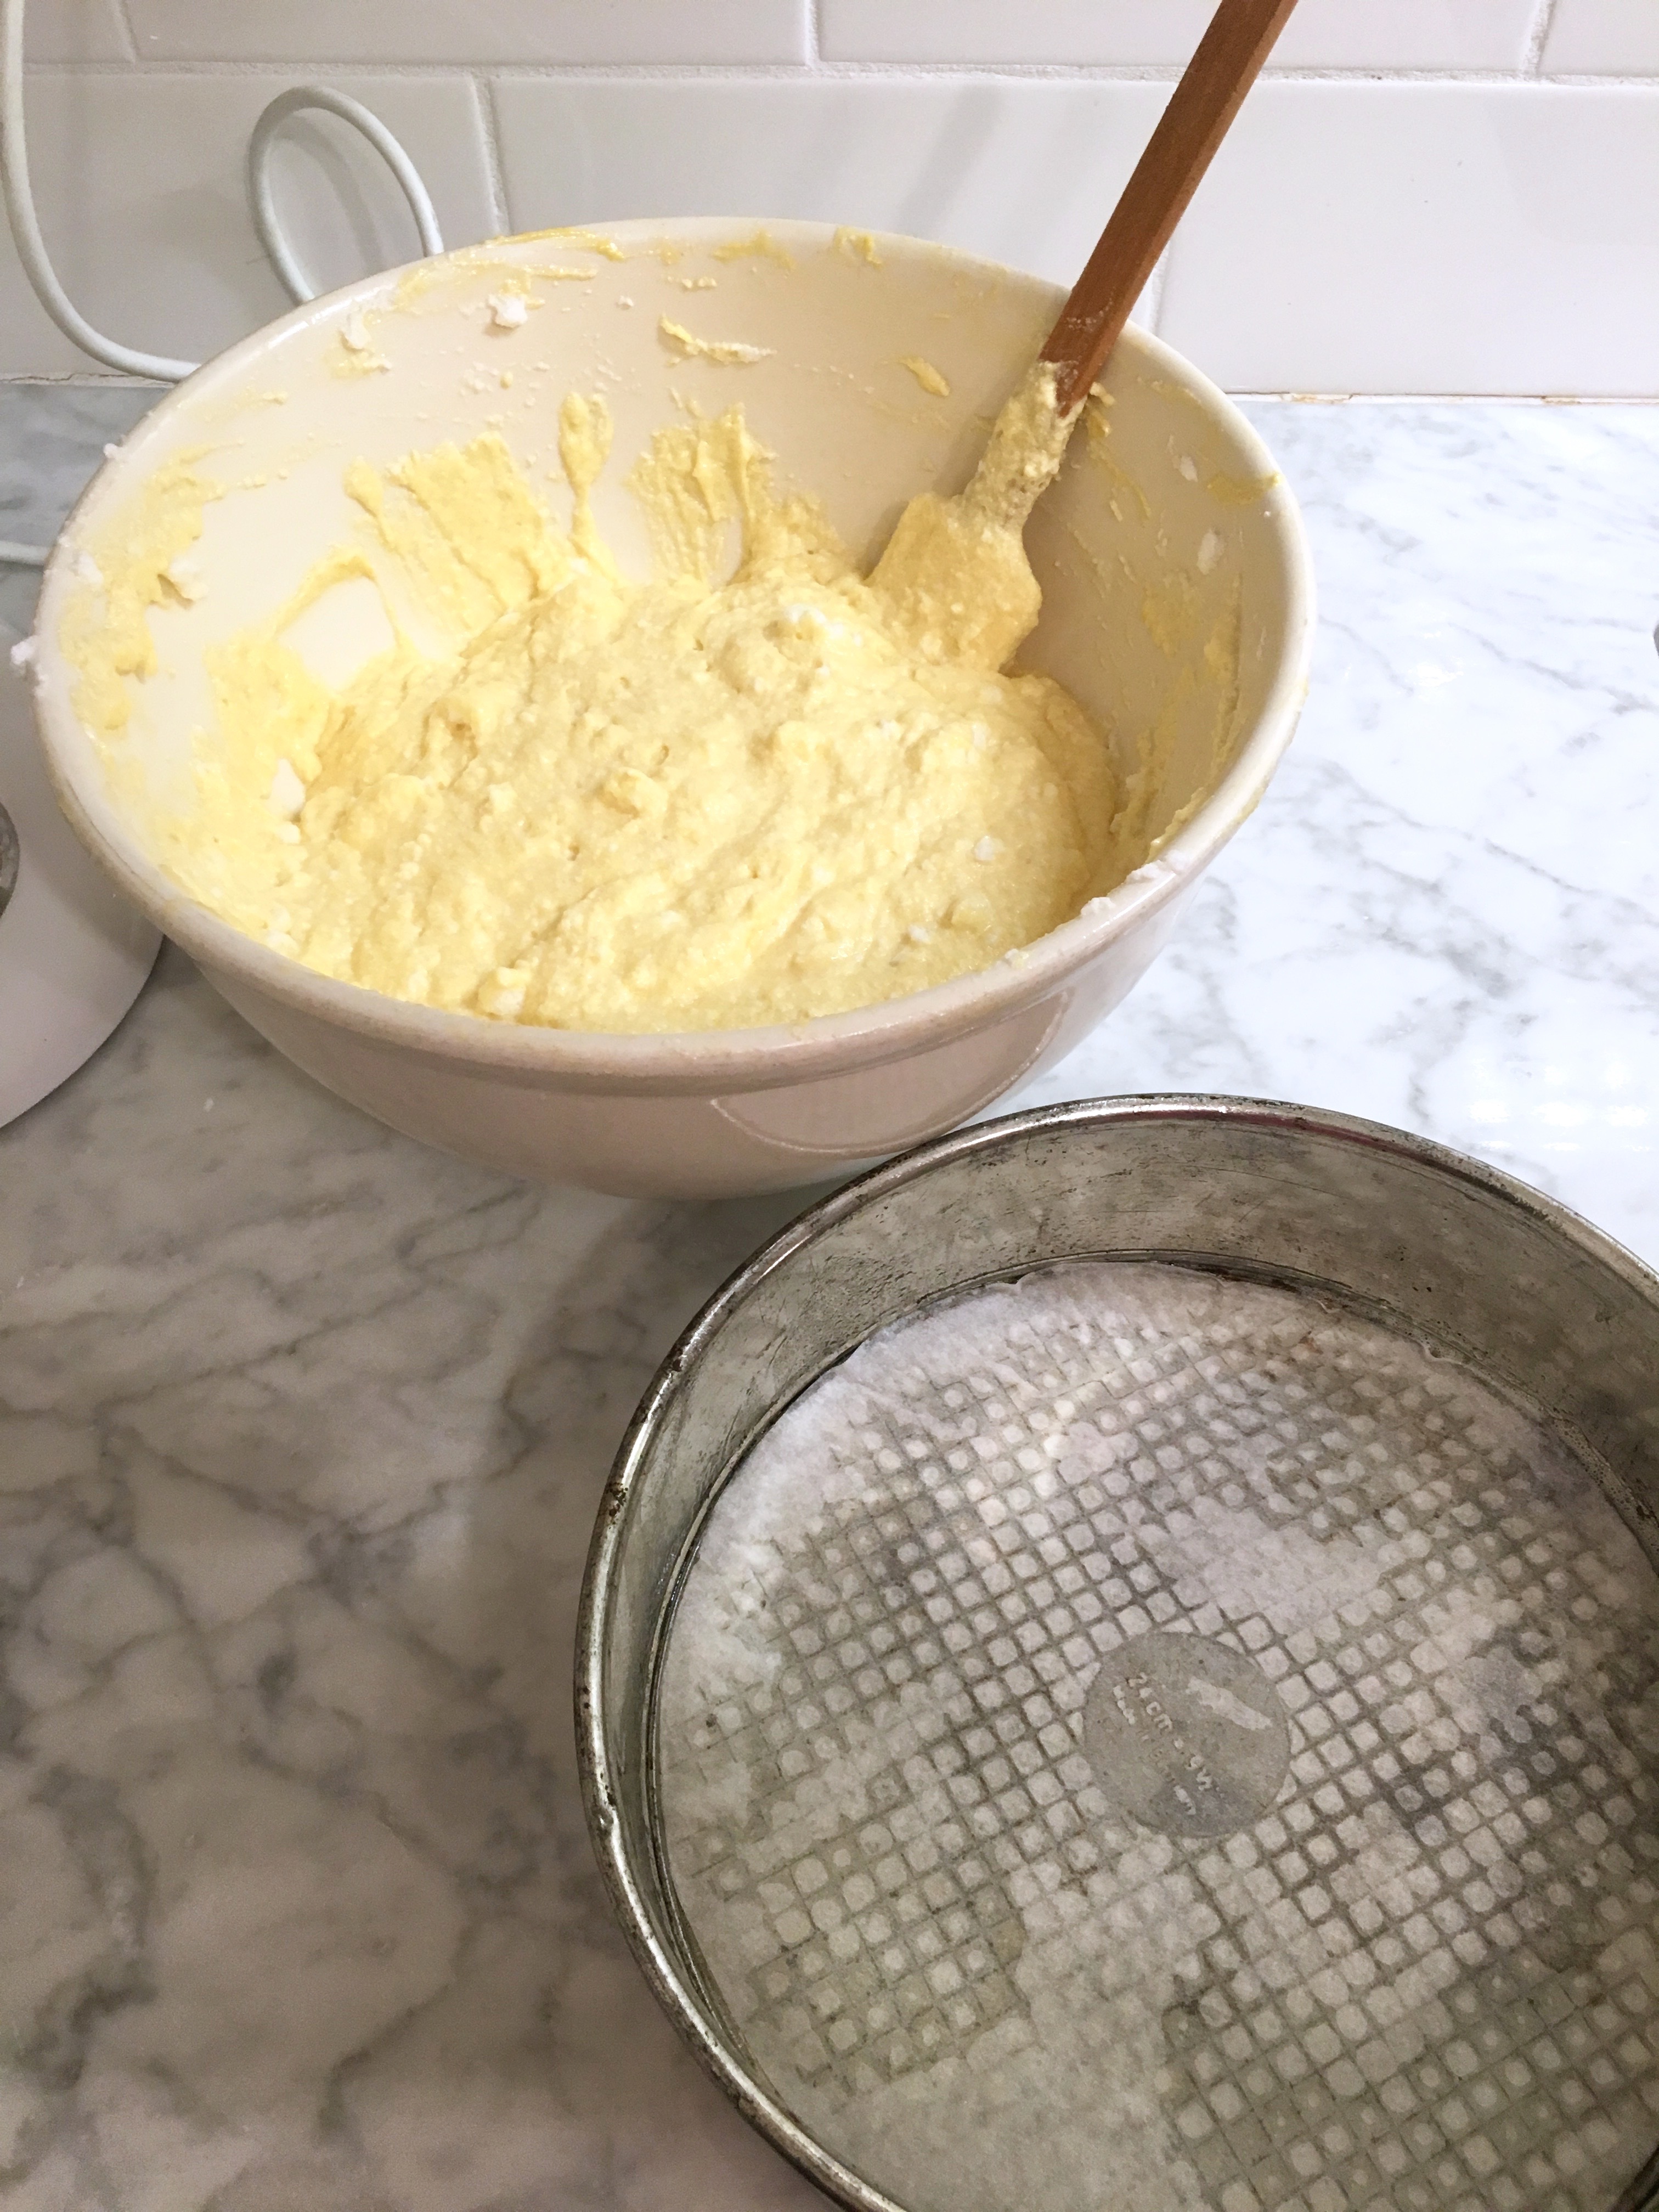
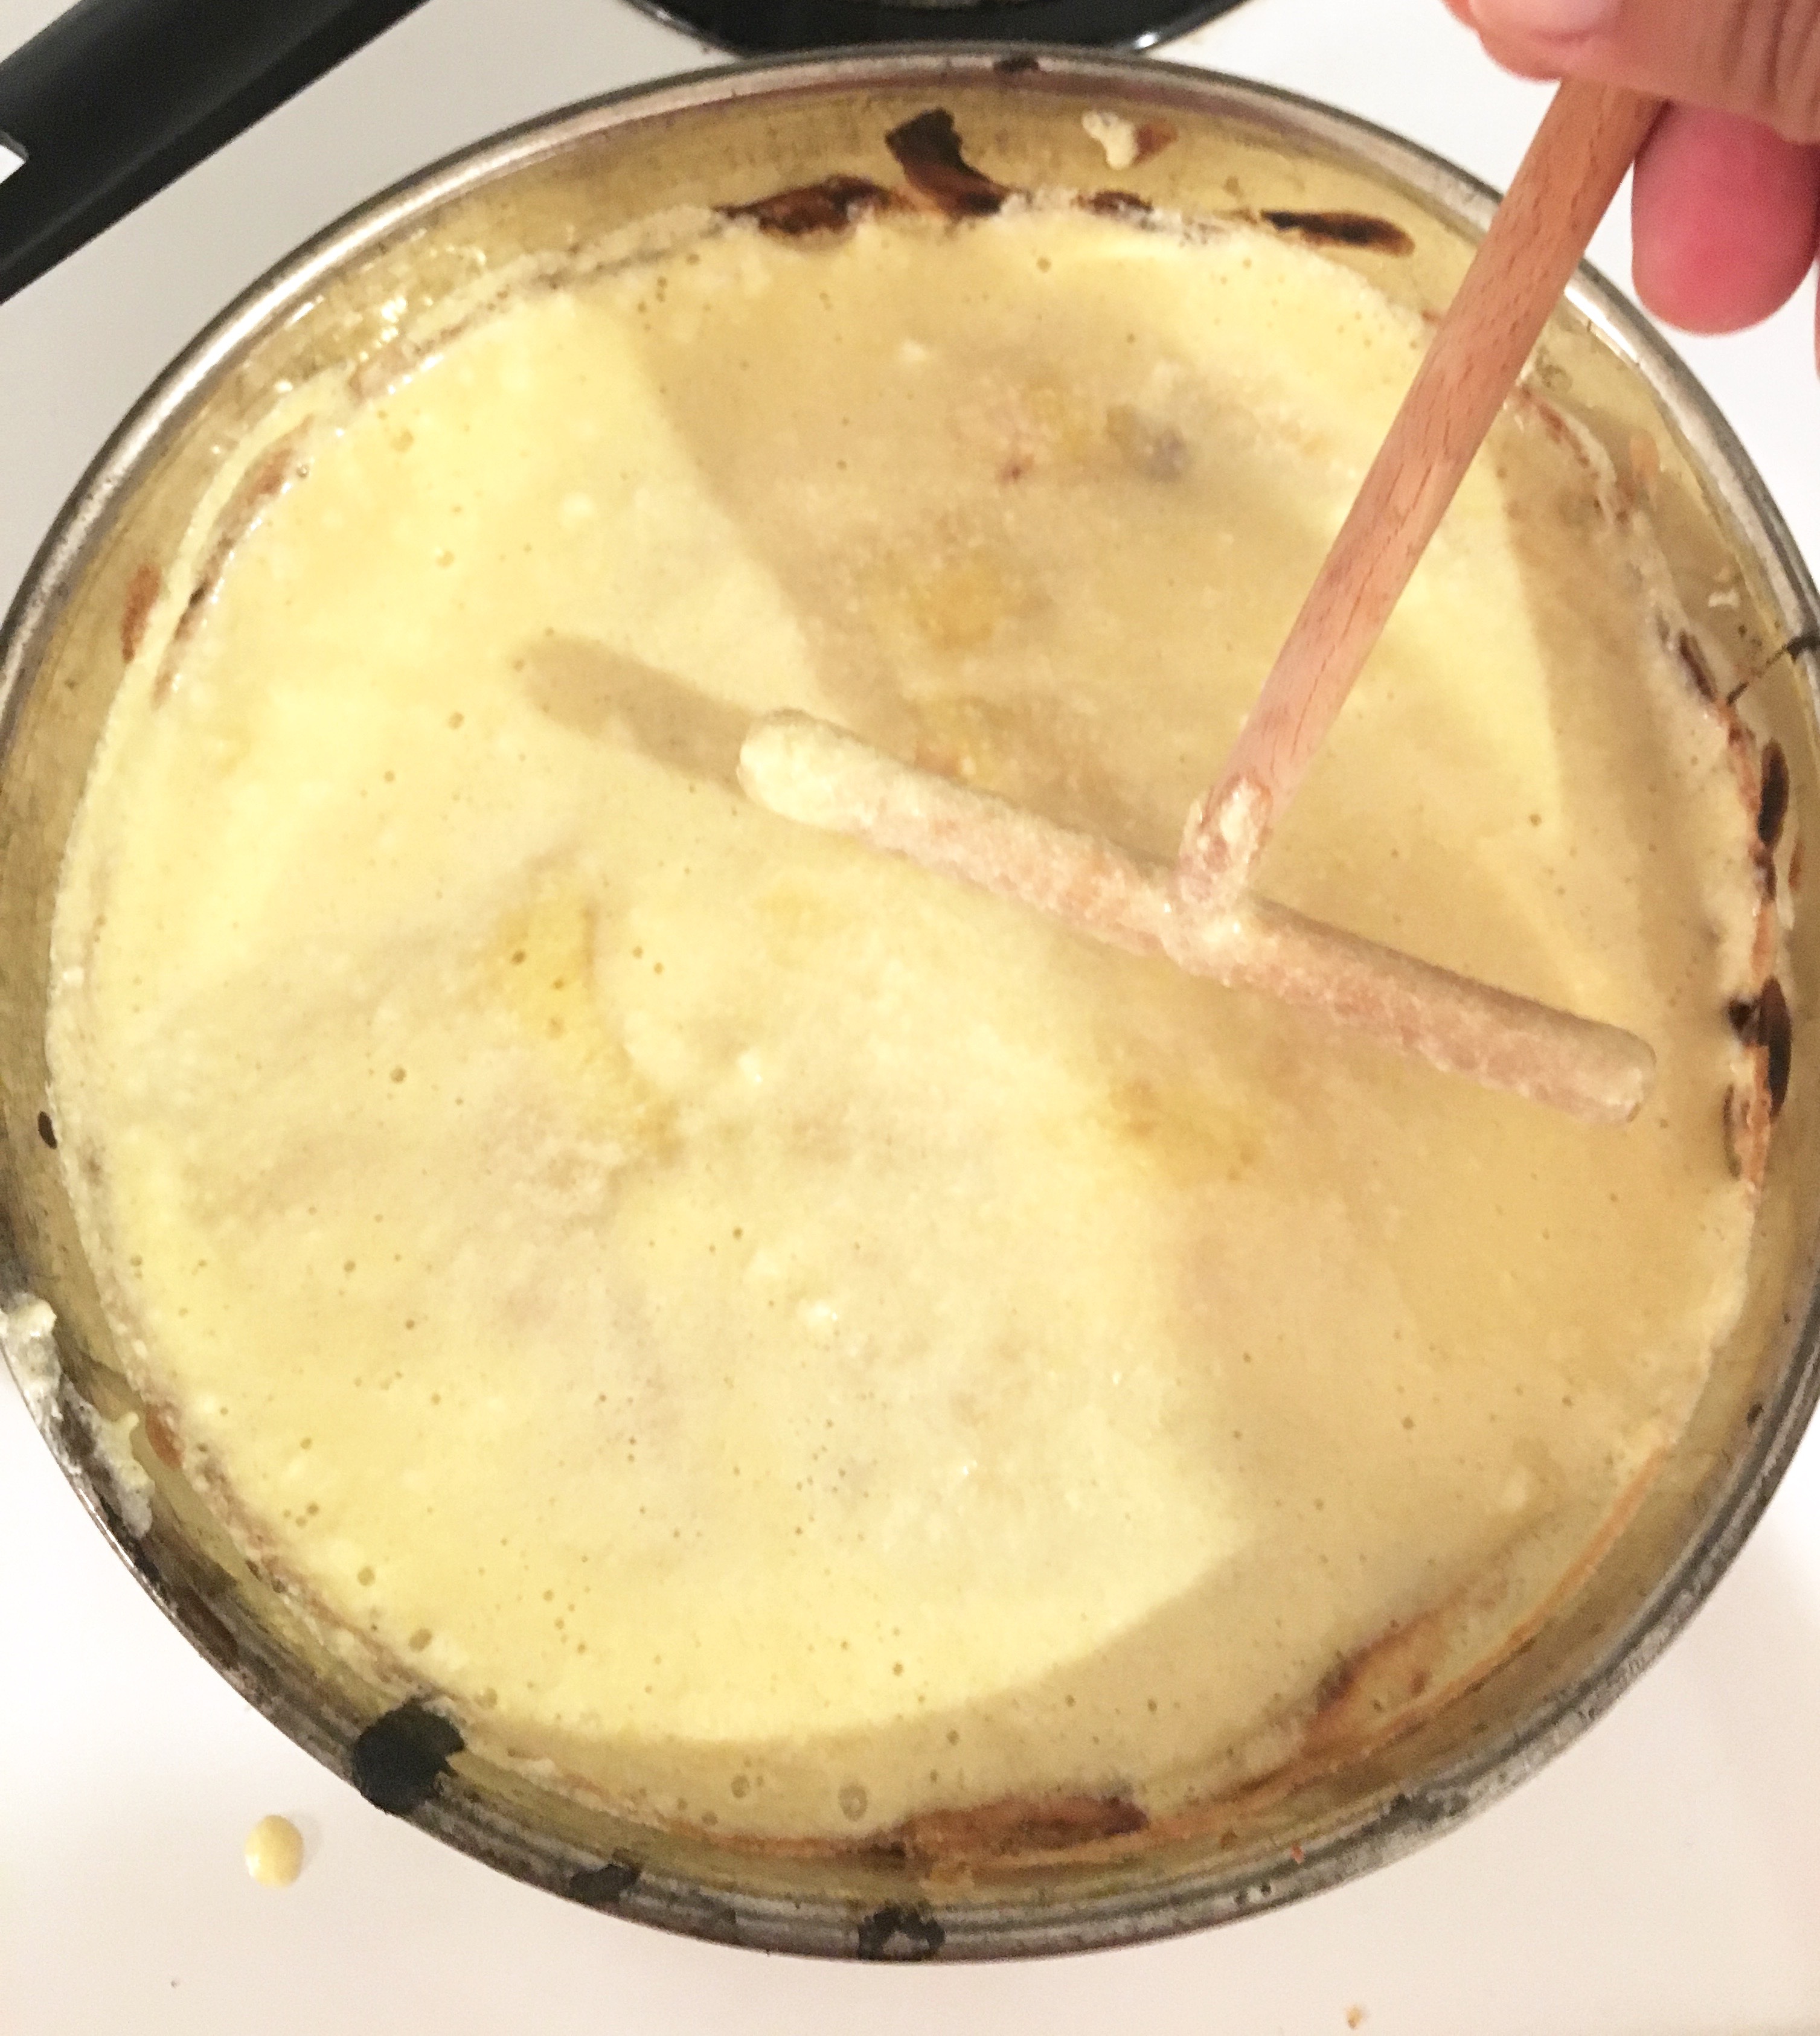
As per the recipe, I spread one layer at a time. I used my crepe spreader to evenly distribute the batter for my Schichttorte.
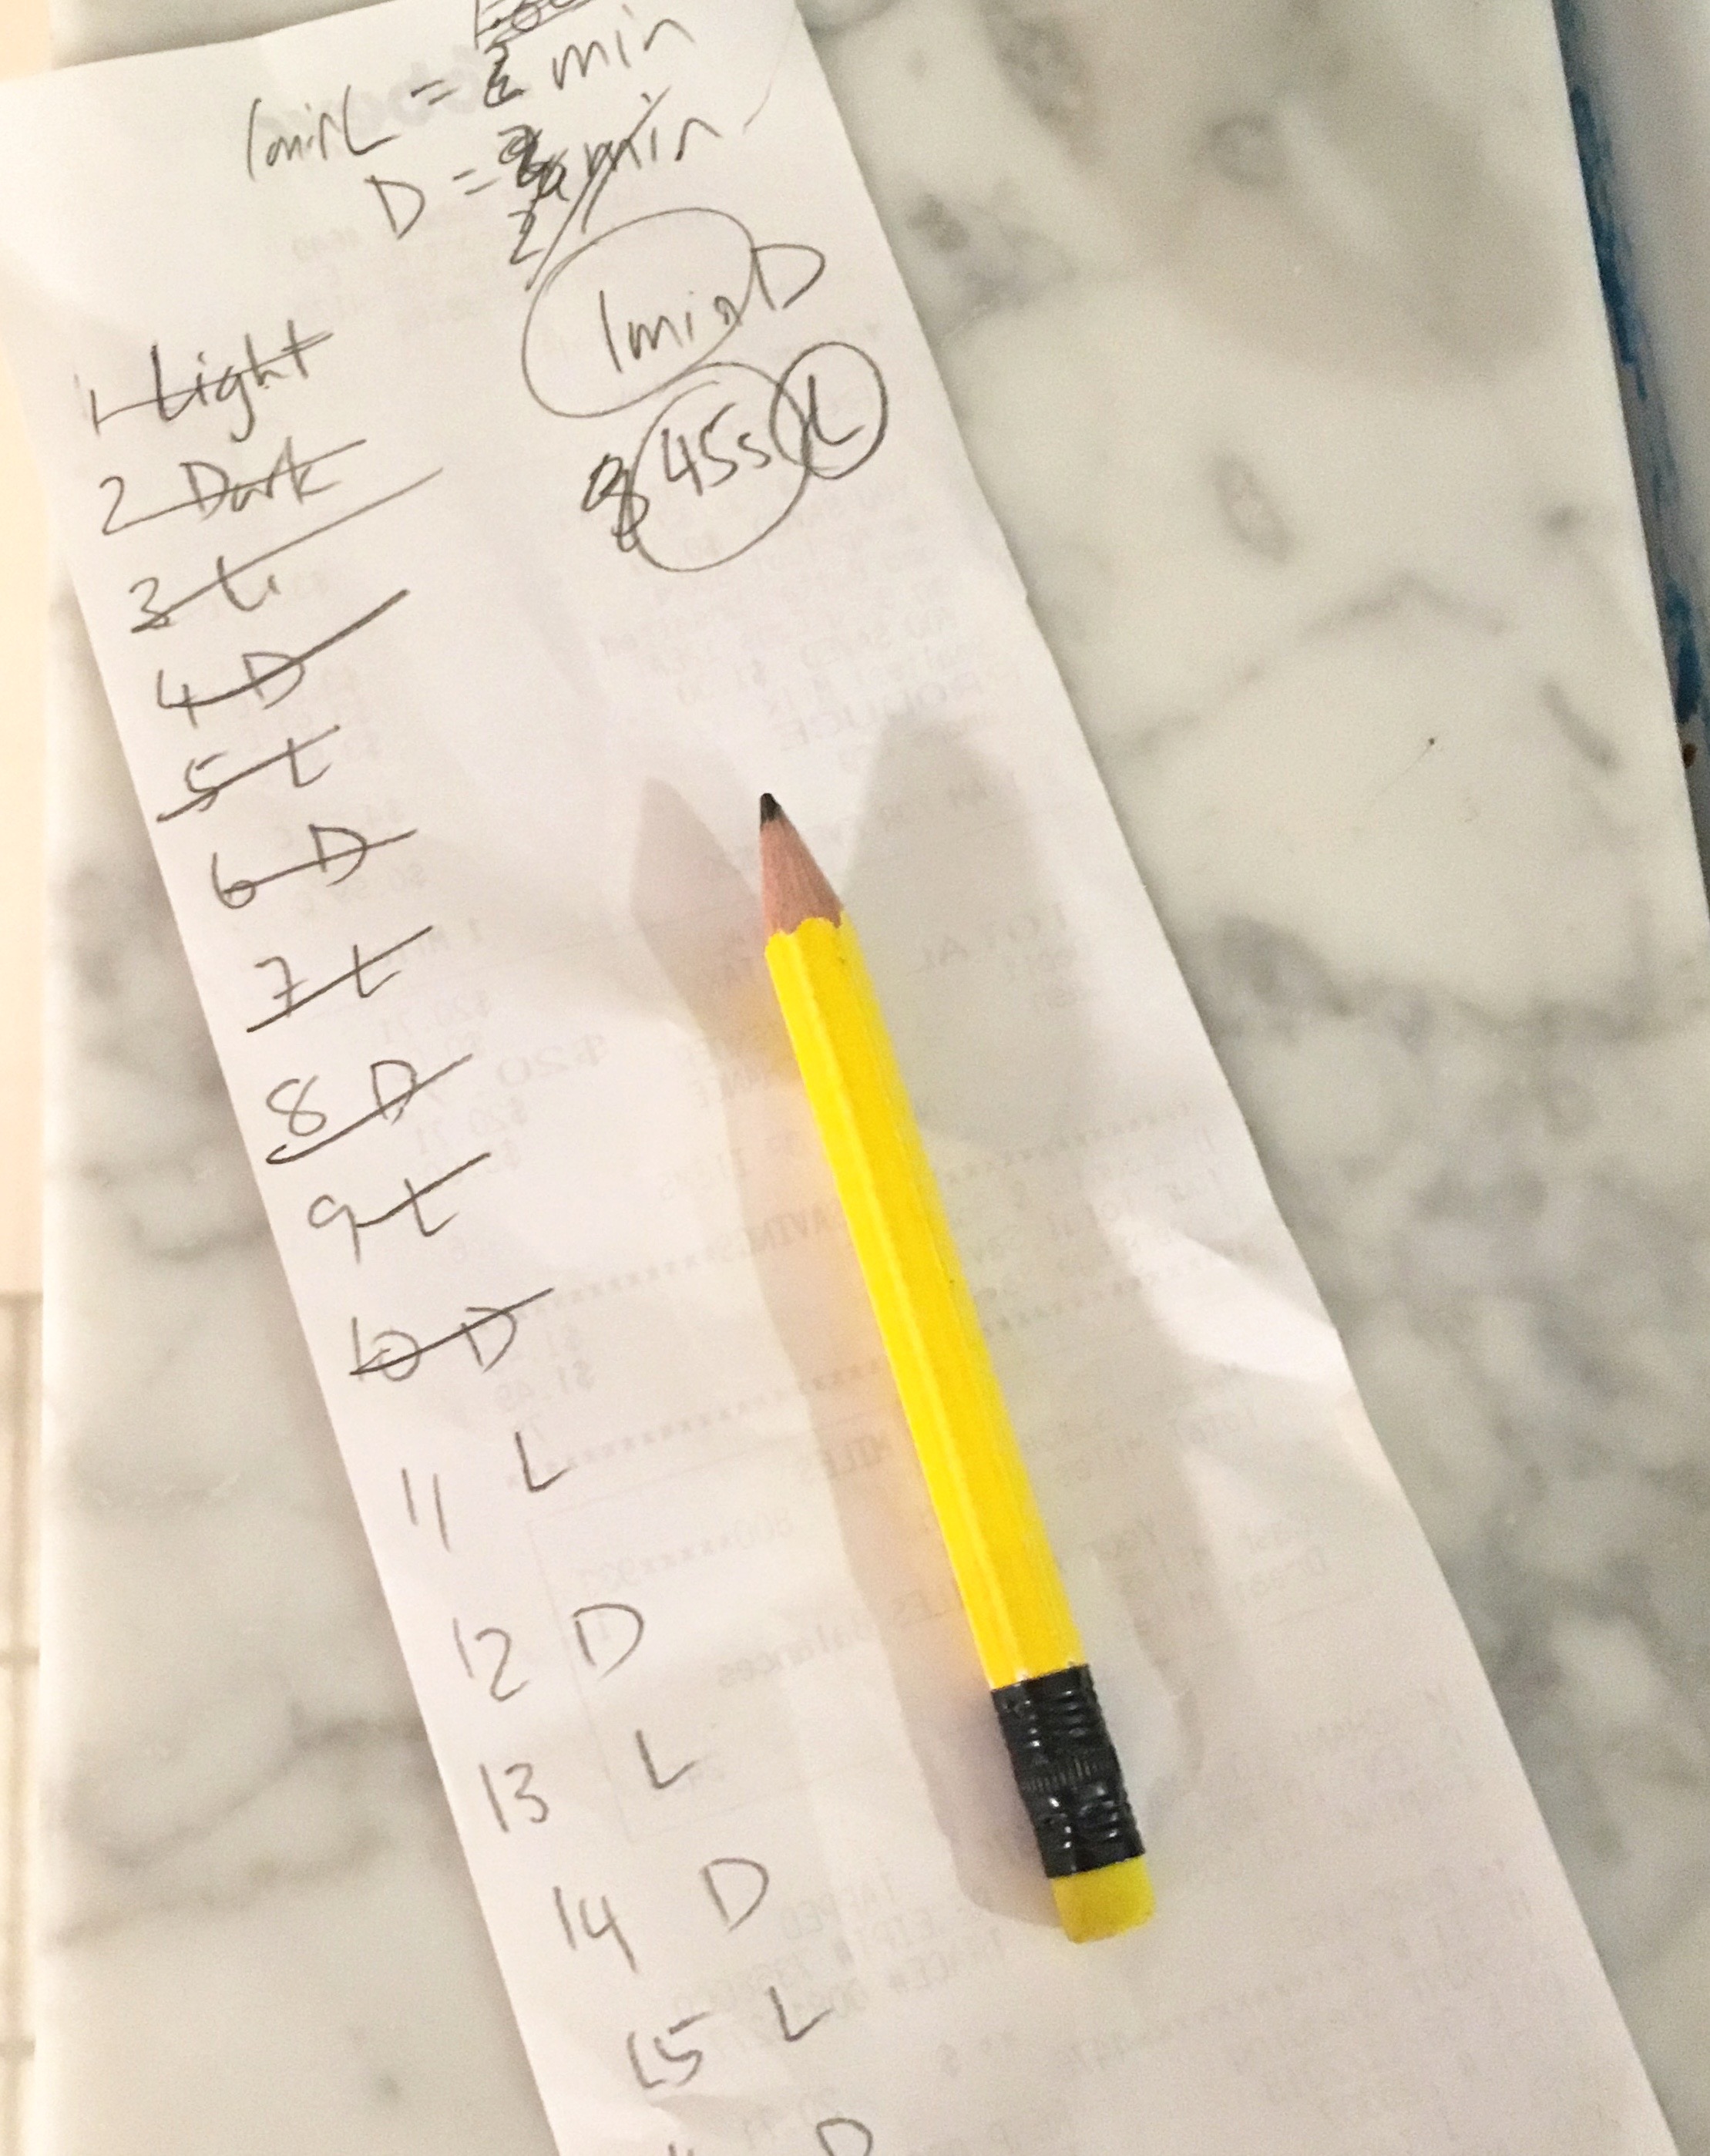
I tried to carefully keep track of the layers and timing as I put each new layer under the broiler, but I failed at this. I completely lost track. I watched the oven like a hawk during the cooking process. My timing wasn’t too consistent. You’re supposed to alternate between light and dark(er) layers by adjusting the baking time, but my baking time was inconsistent. I left the spring form pan in the oven anywhere from 45 seconds to 2 minutes for each layer. As per the recipe, the pan was right under my broiler (about 4″ or 10cm).
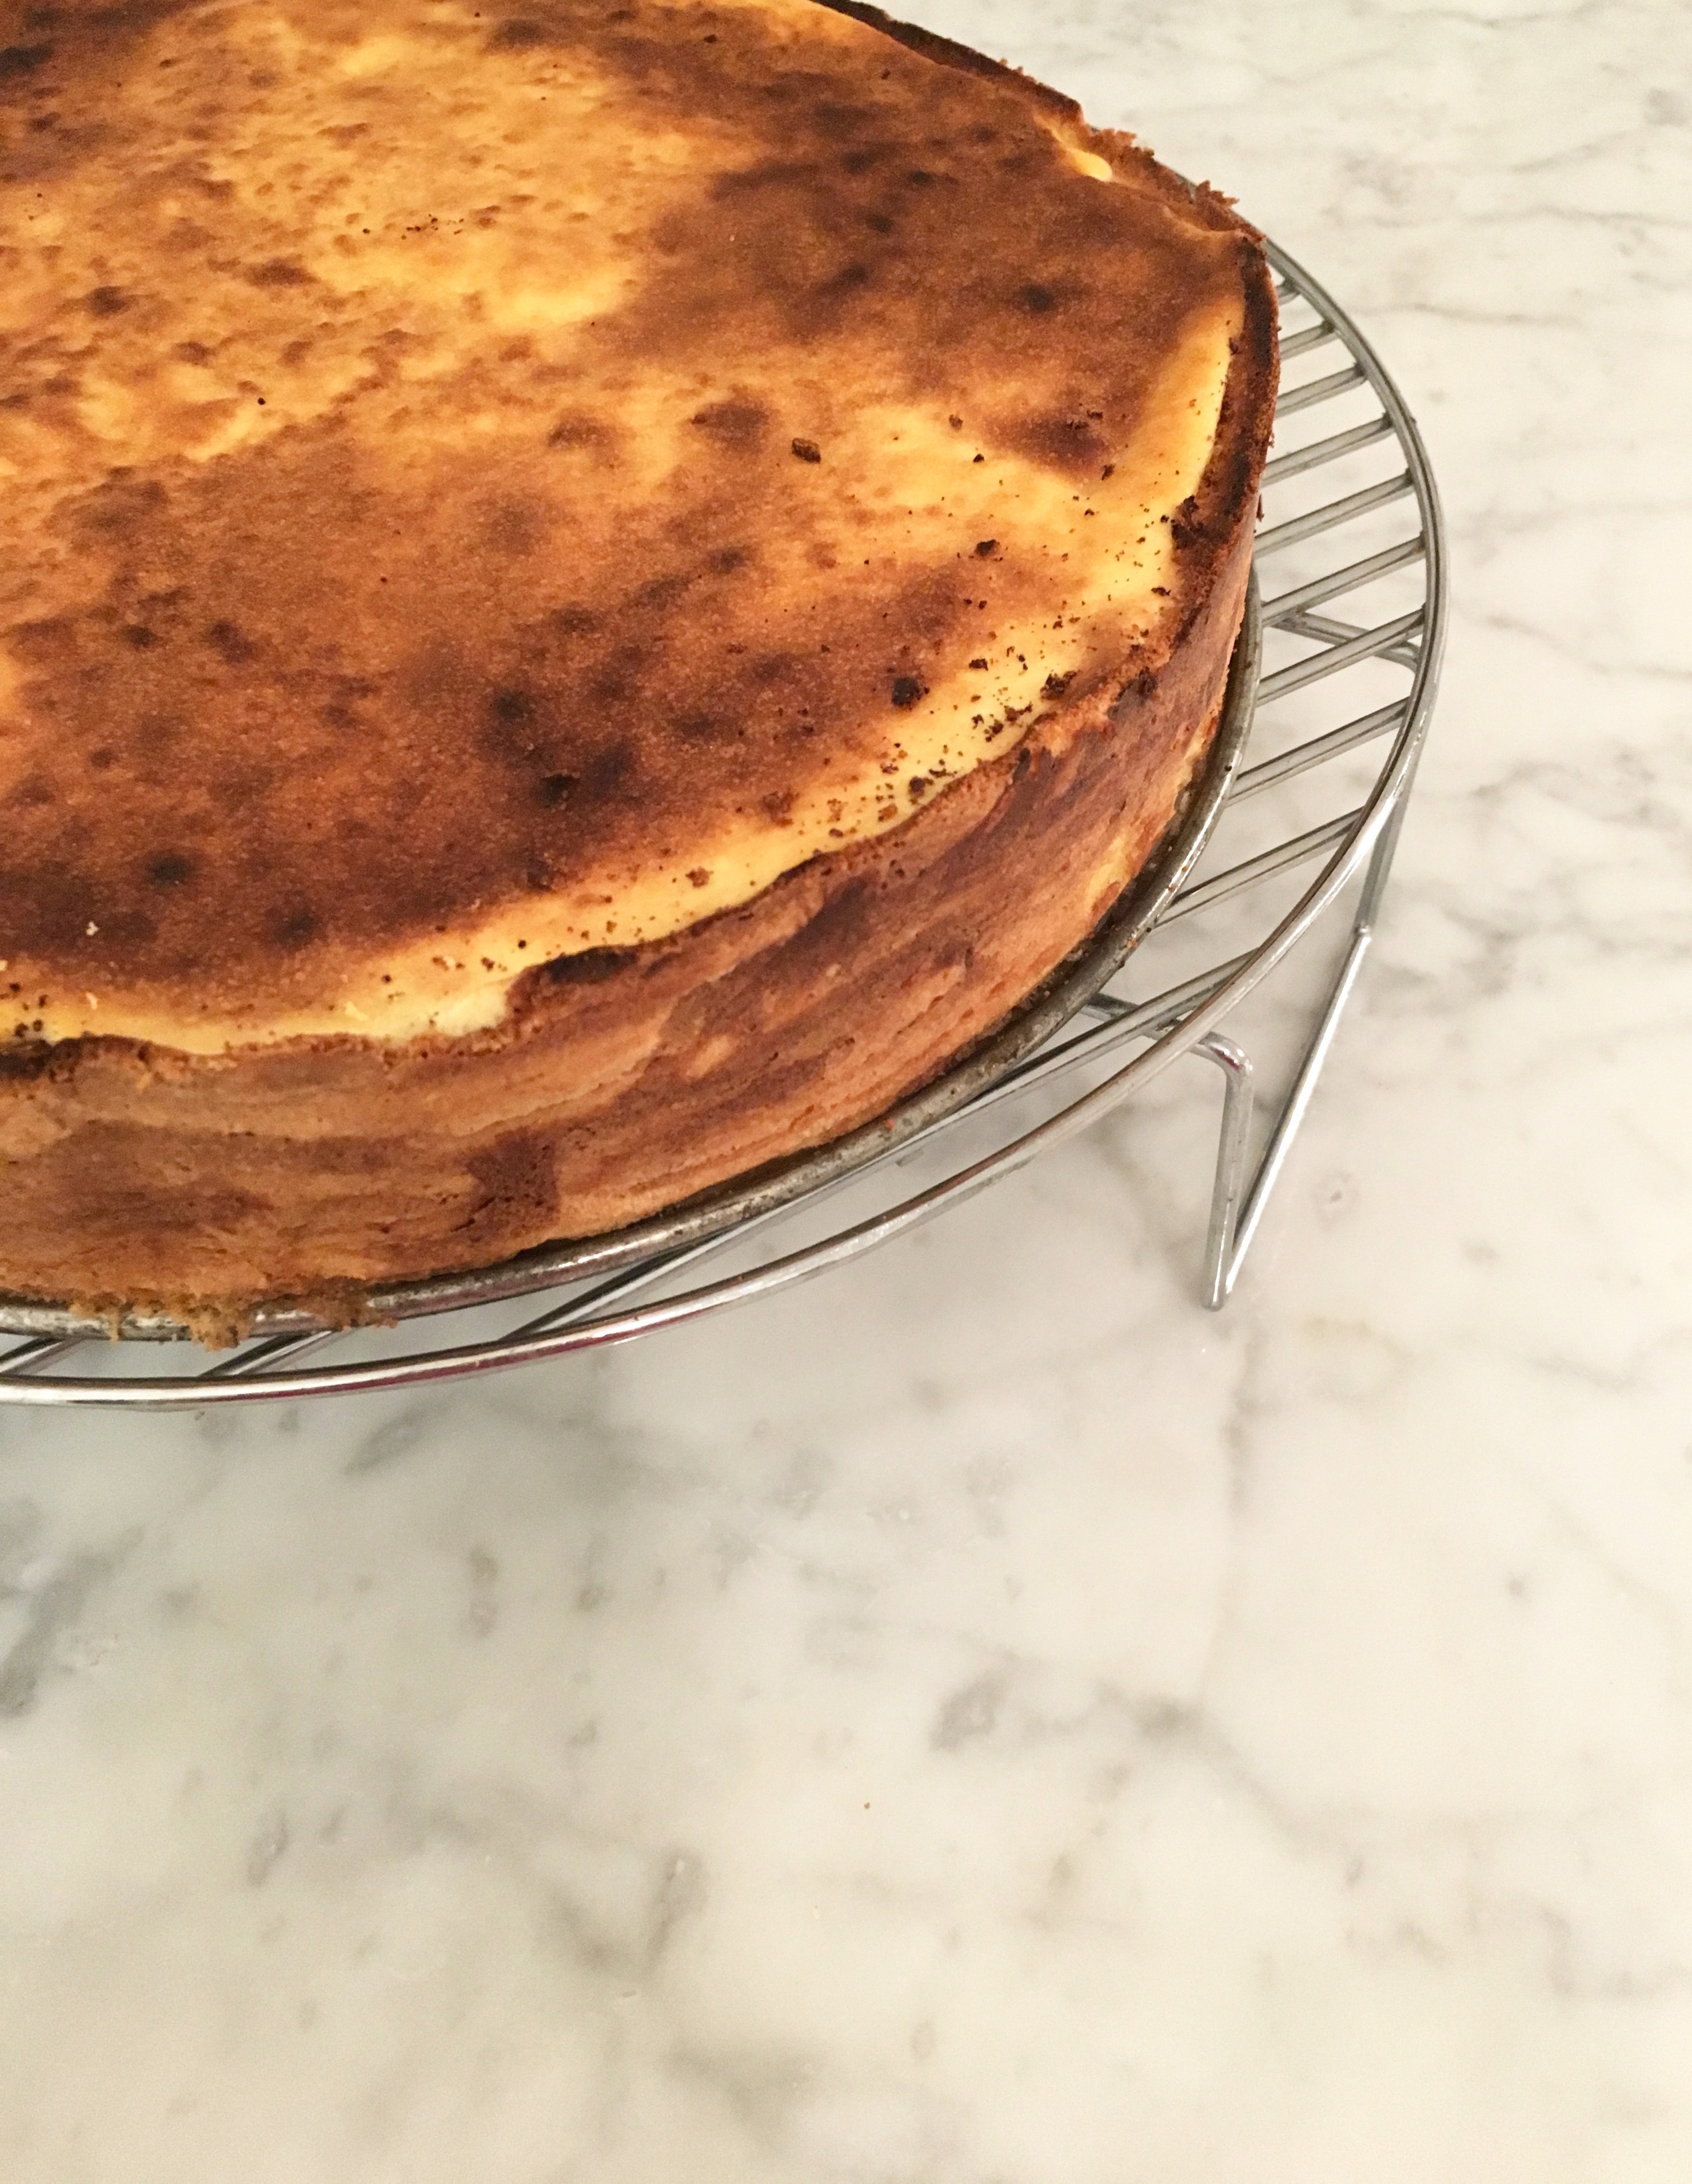
It looked golden and delicious when all the layers were done, and I released it from the spring form pan. I brushed melted apricot jam on the cake once it had cooled a bit.
I made the chocolate glaze and covered the top and sides of the Schichttorte.
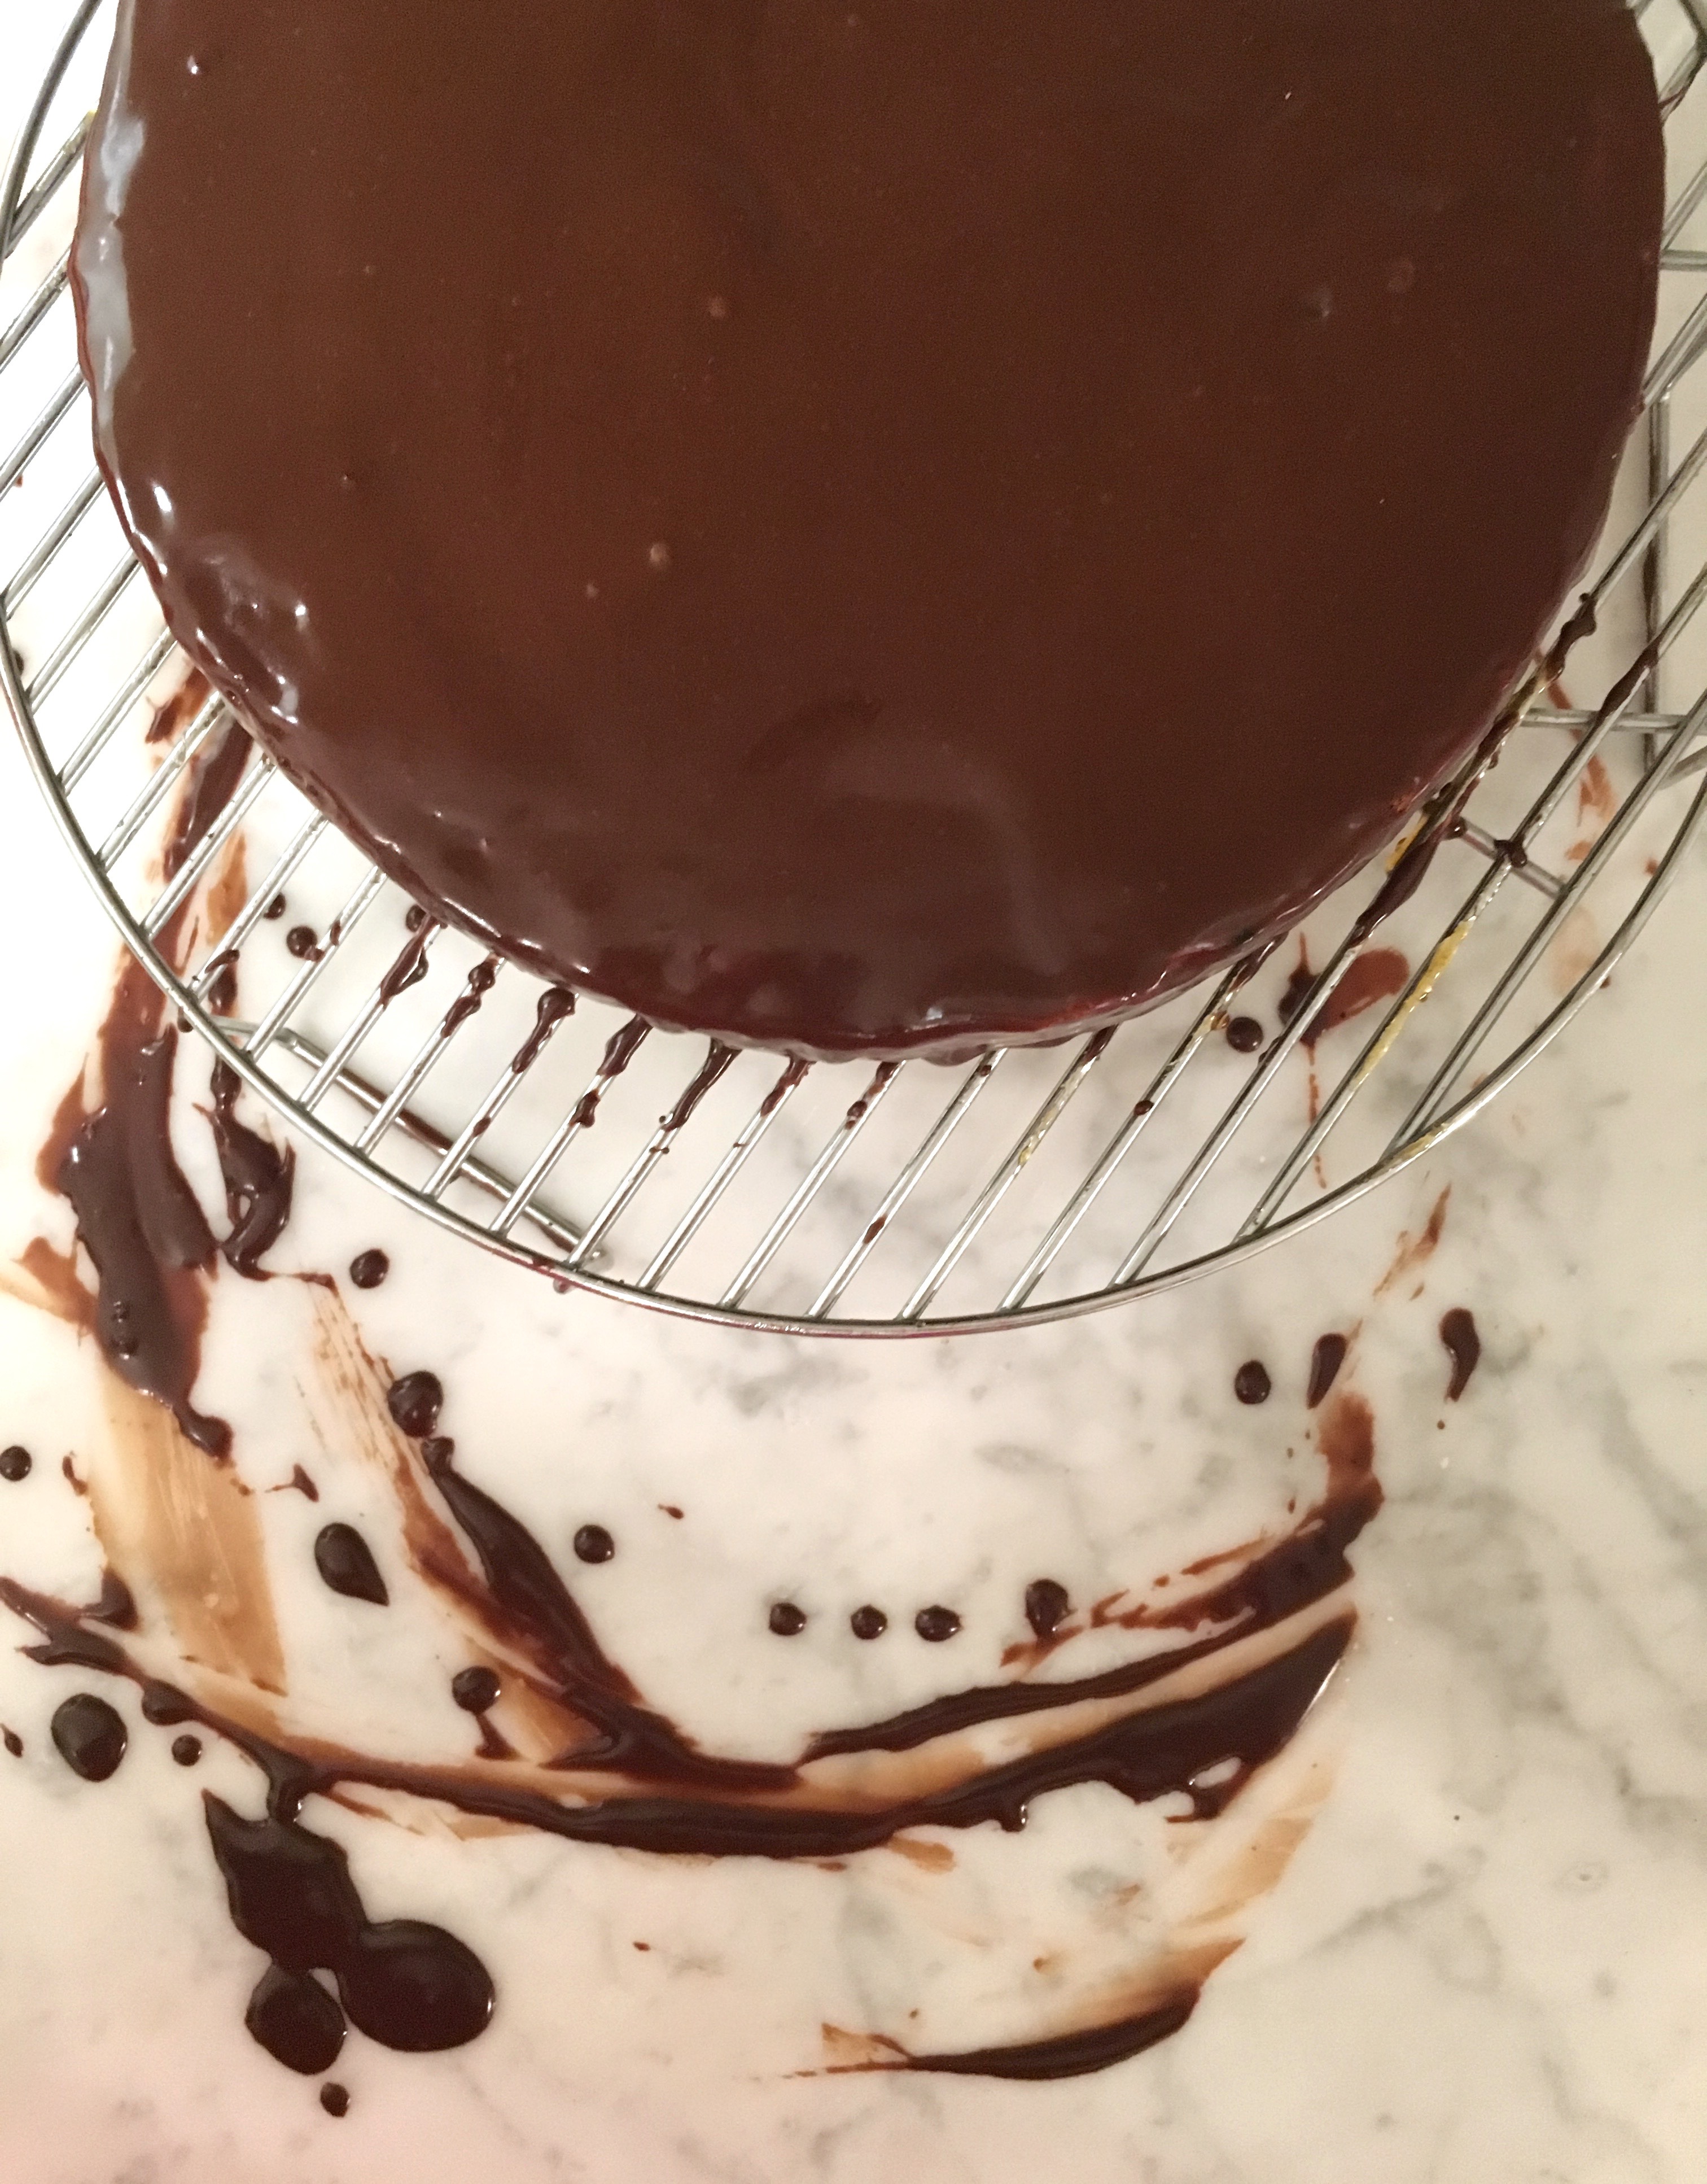
Once that had dried a bit, I decorated the top with vanilla glaze. I was too lazy to pull out my piping bag, so I put the vanilla glaze into a Ziploc bag and snipped the end off for a DIY piping bag. In this way, it was easy to drizzle the vanilla glaze over the chocolate.
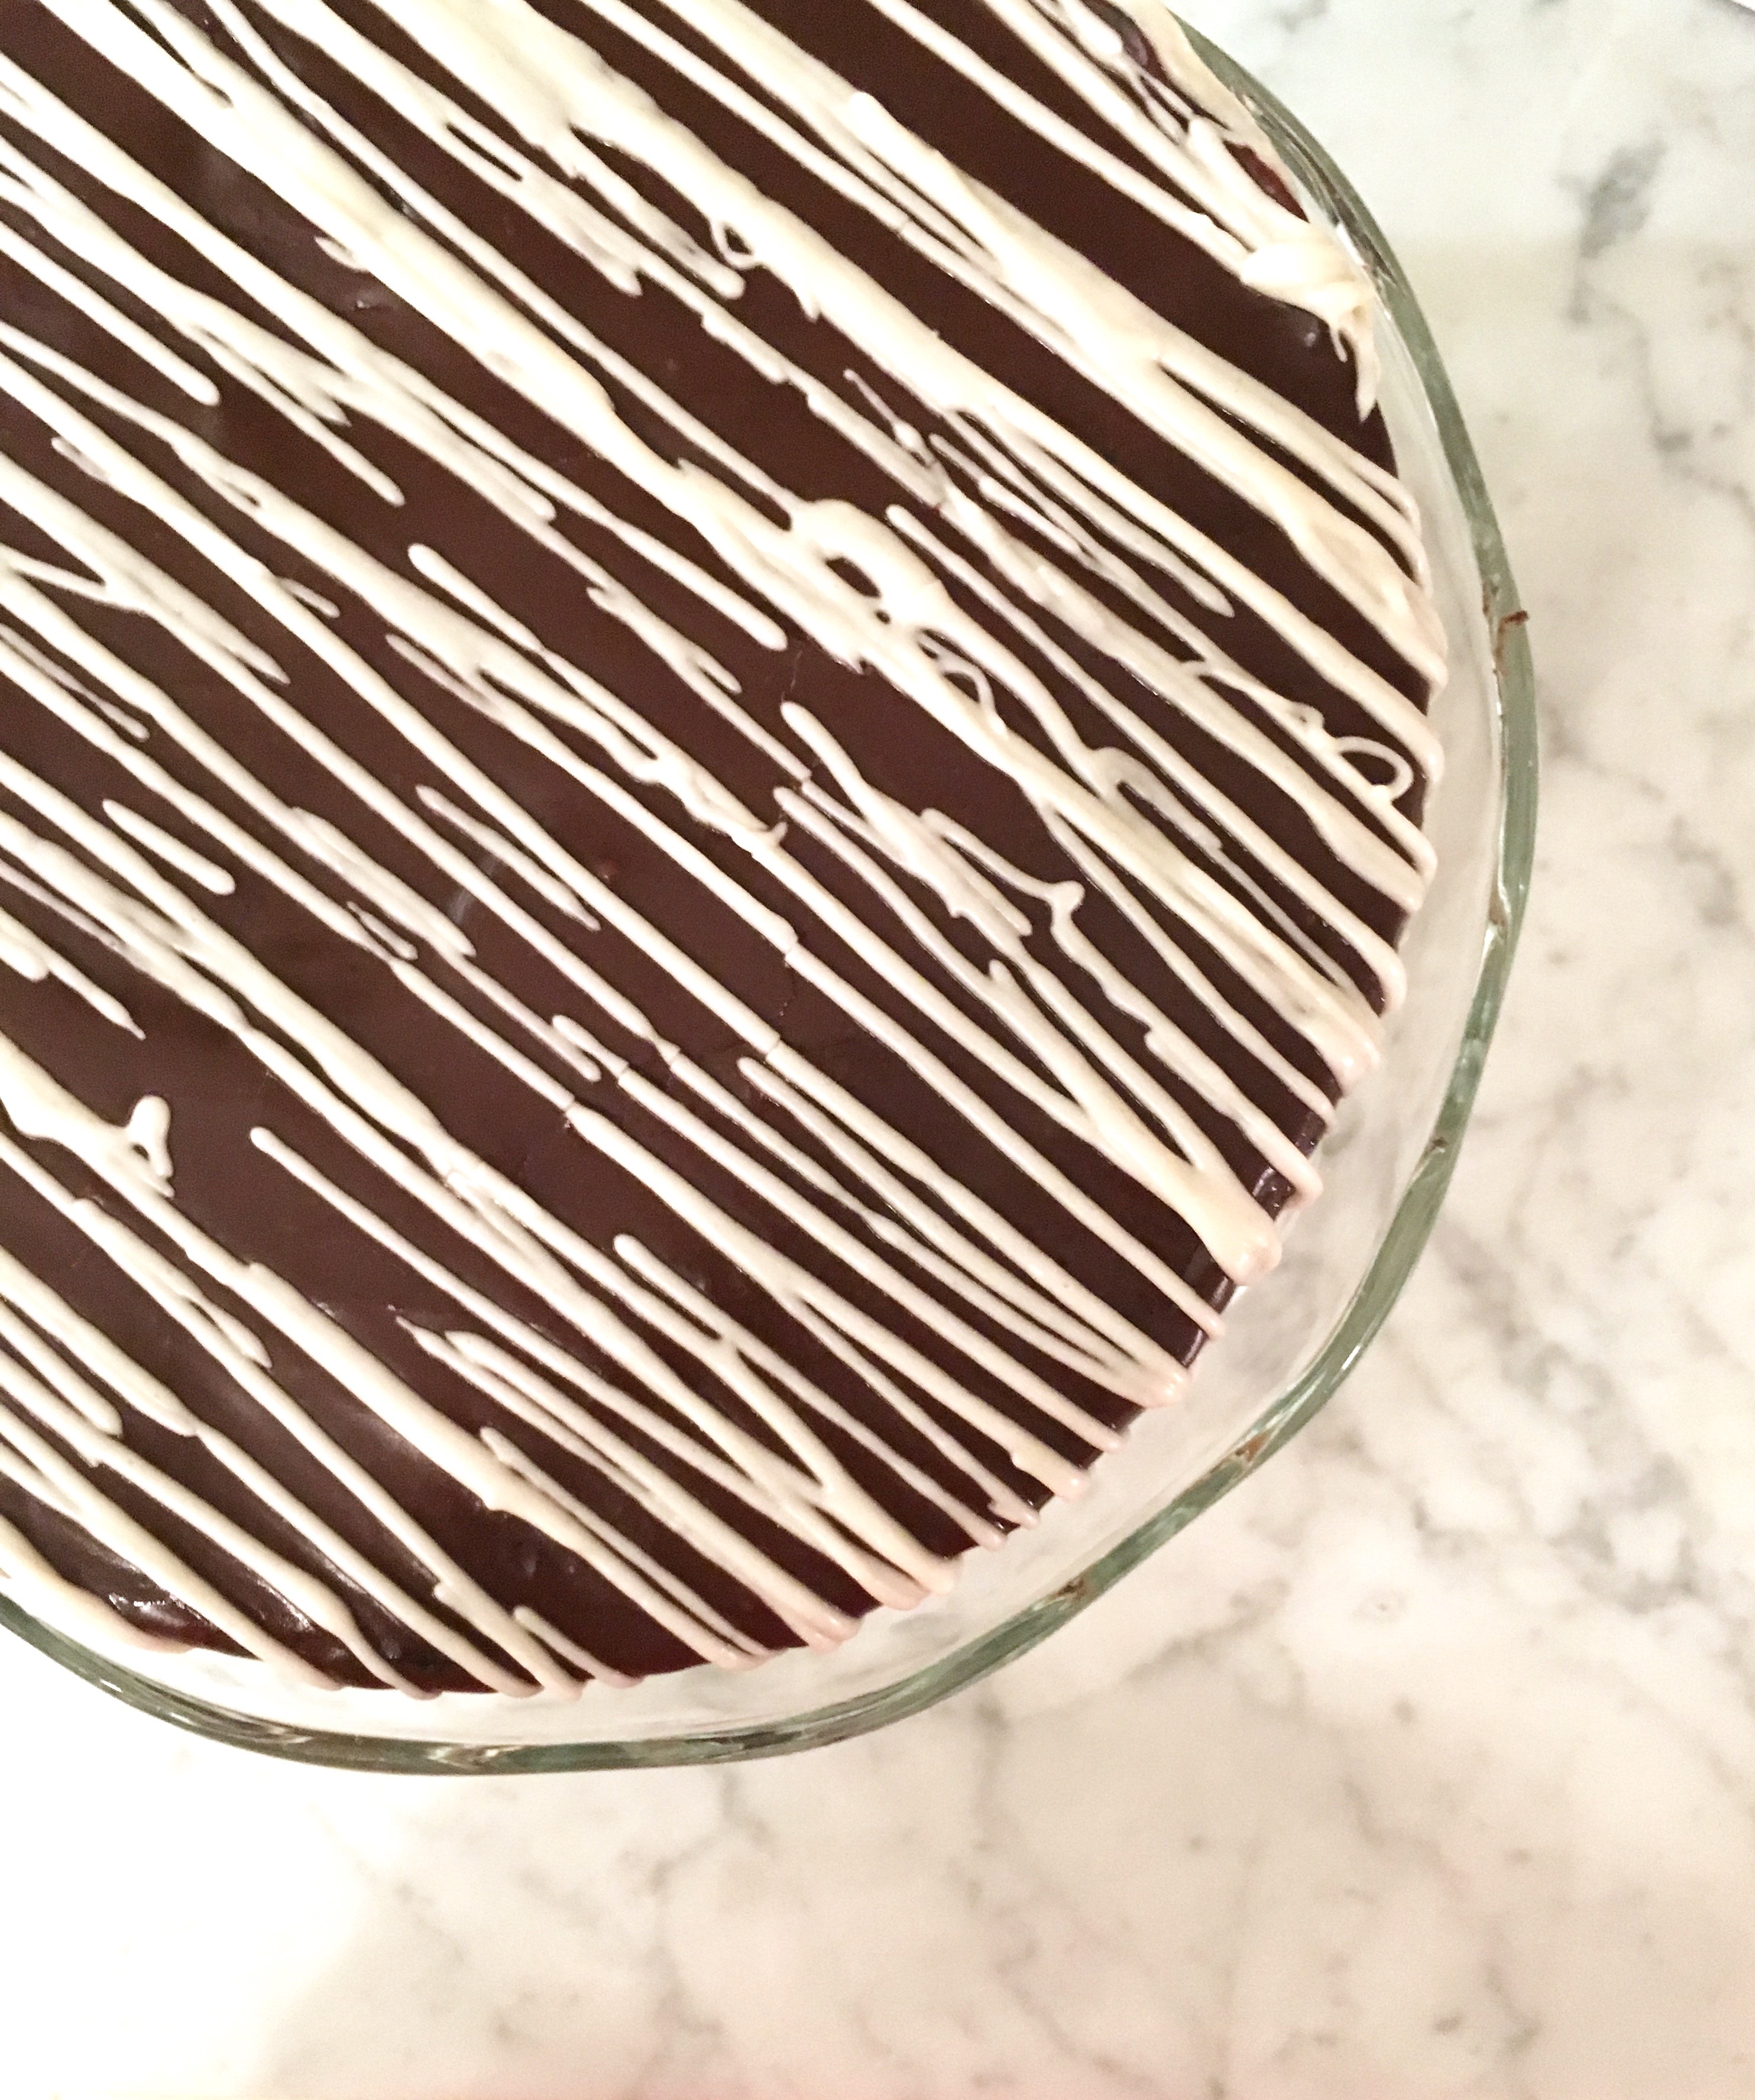
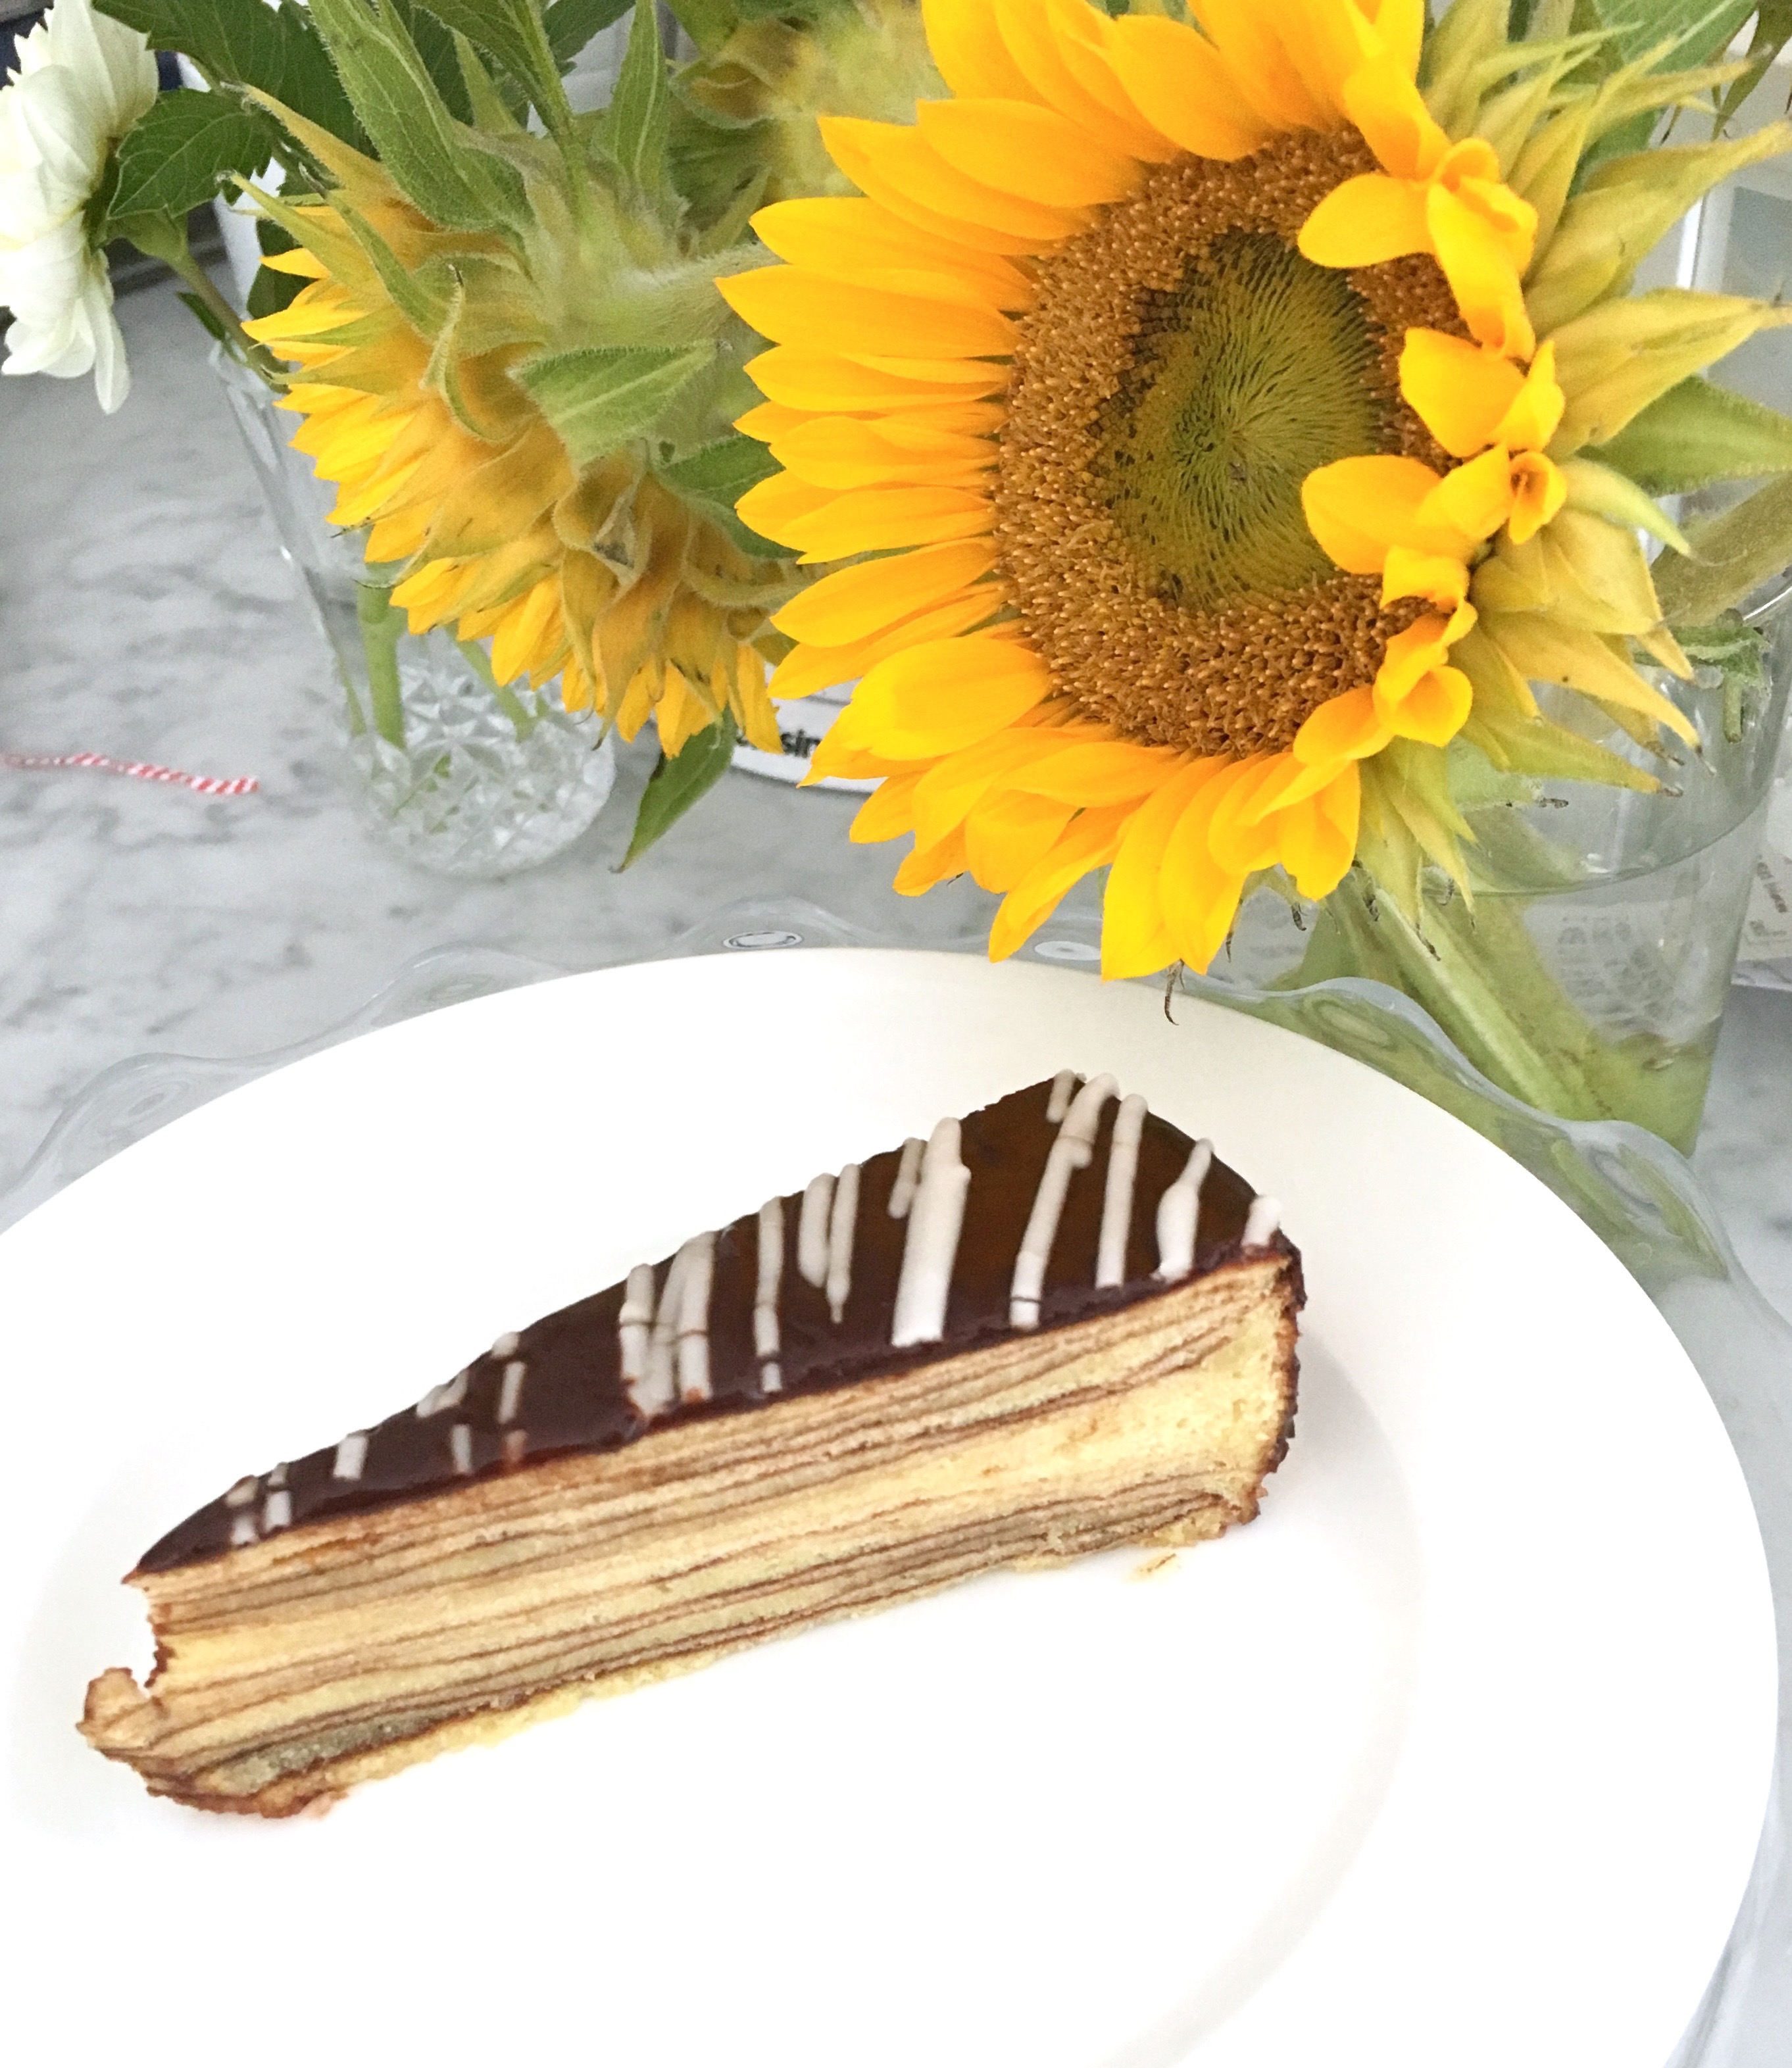
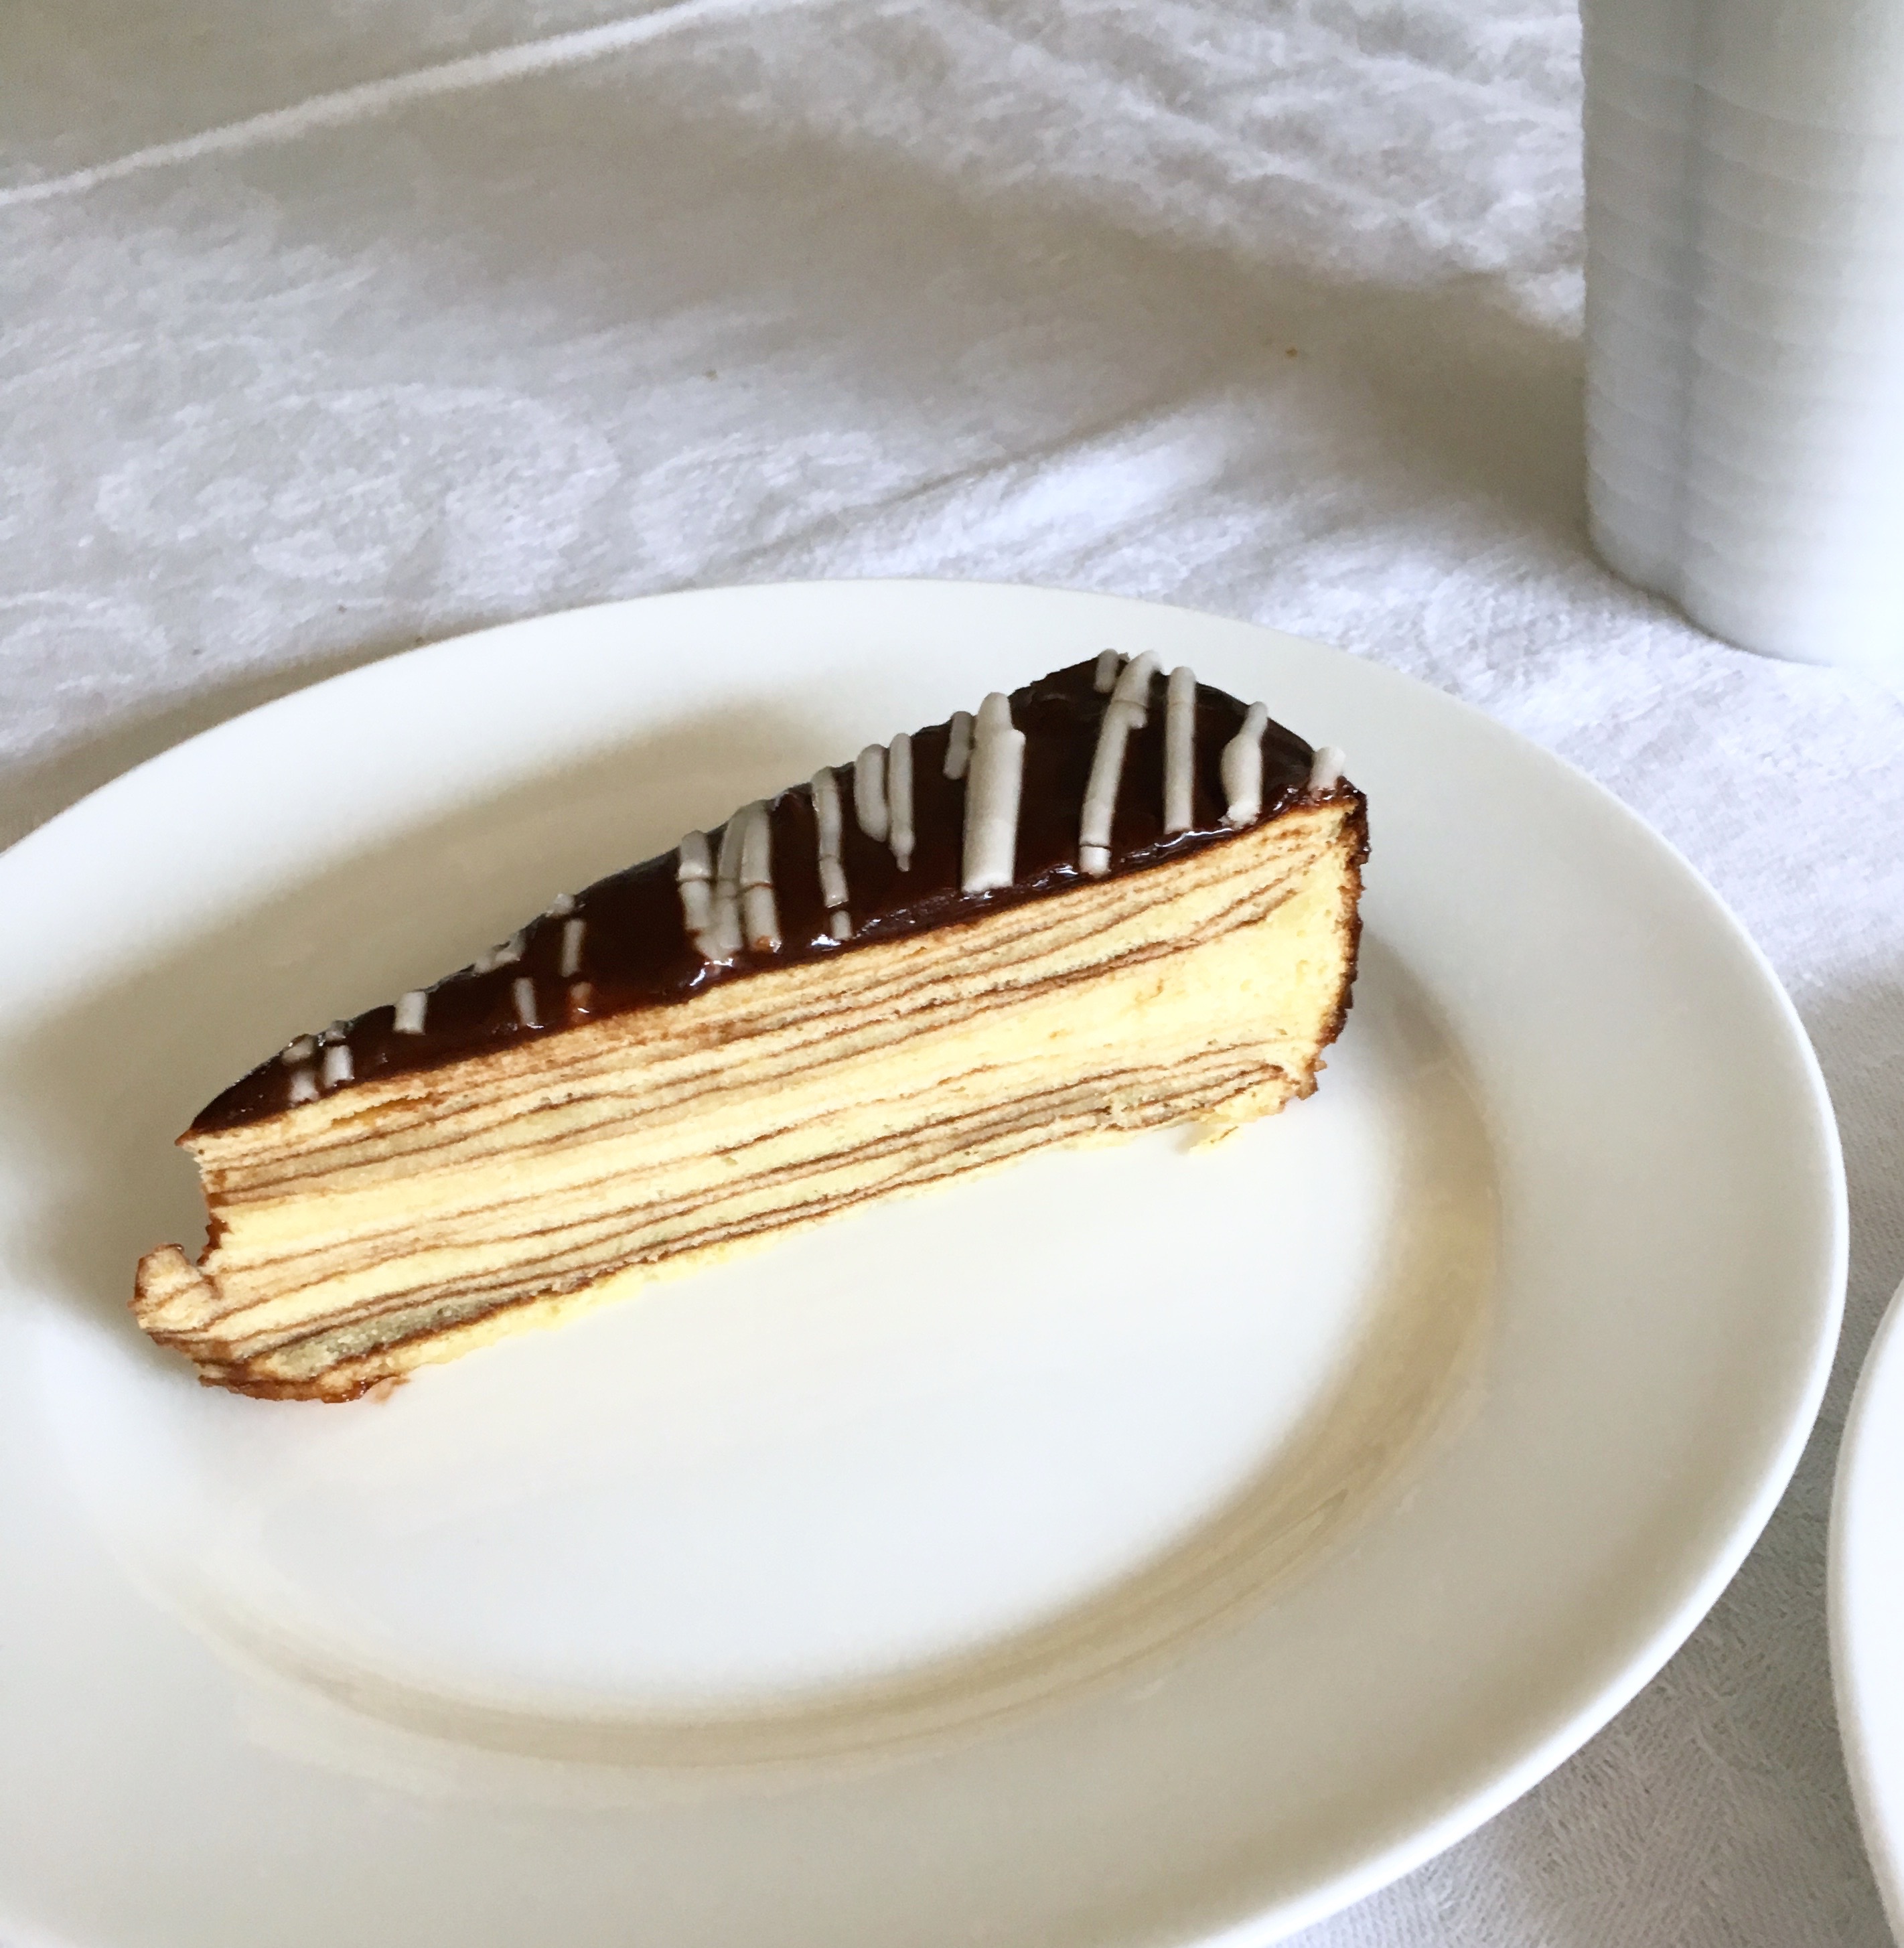
The outside of the cake made for a pretty presentation, but the true test was when we cut into the cake. Would the layers appear? Would the be distinct? Well, the suspense is over!
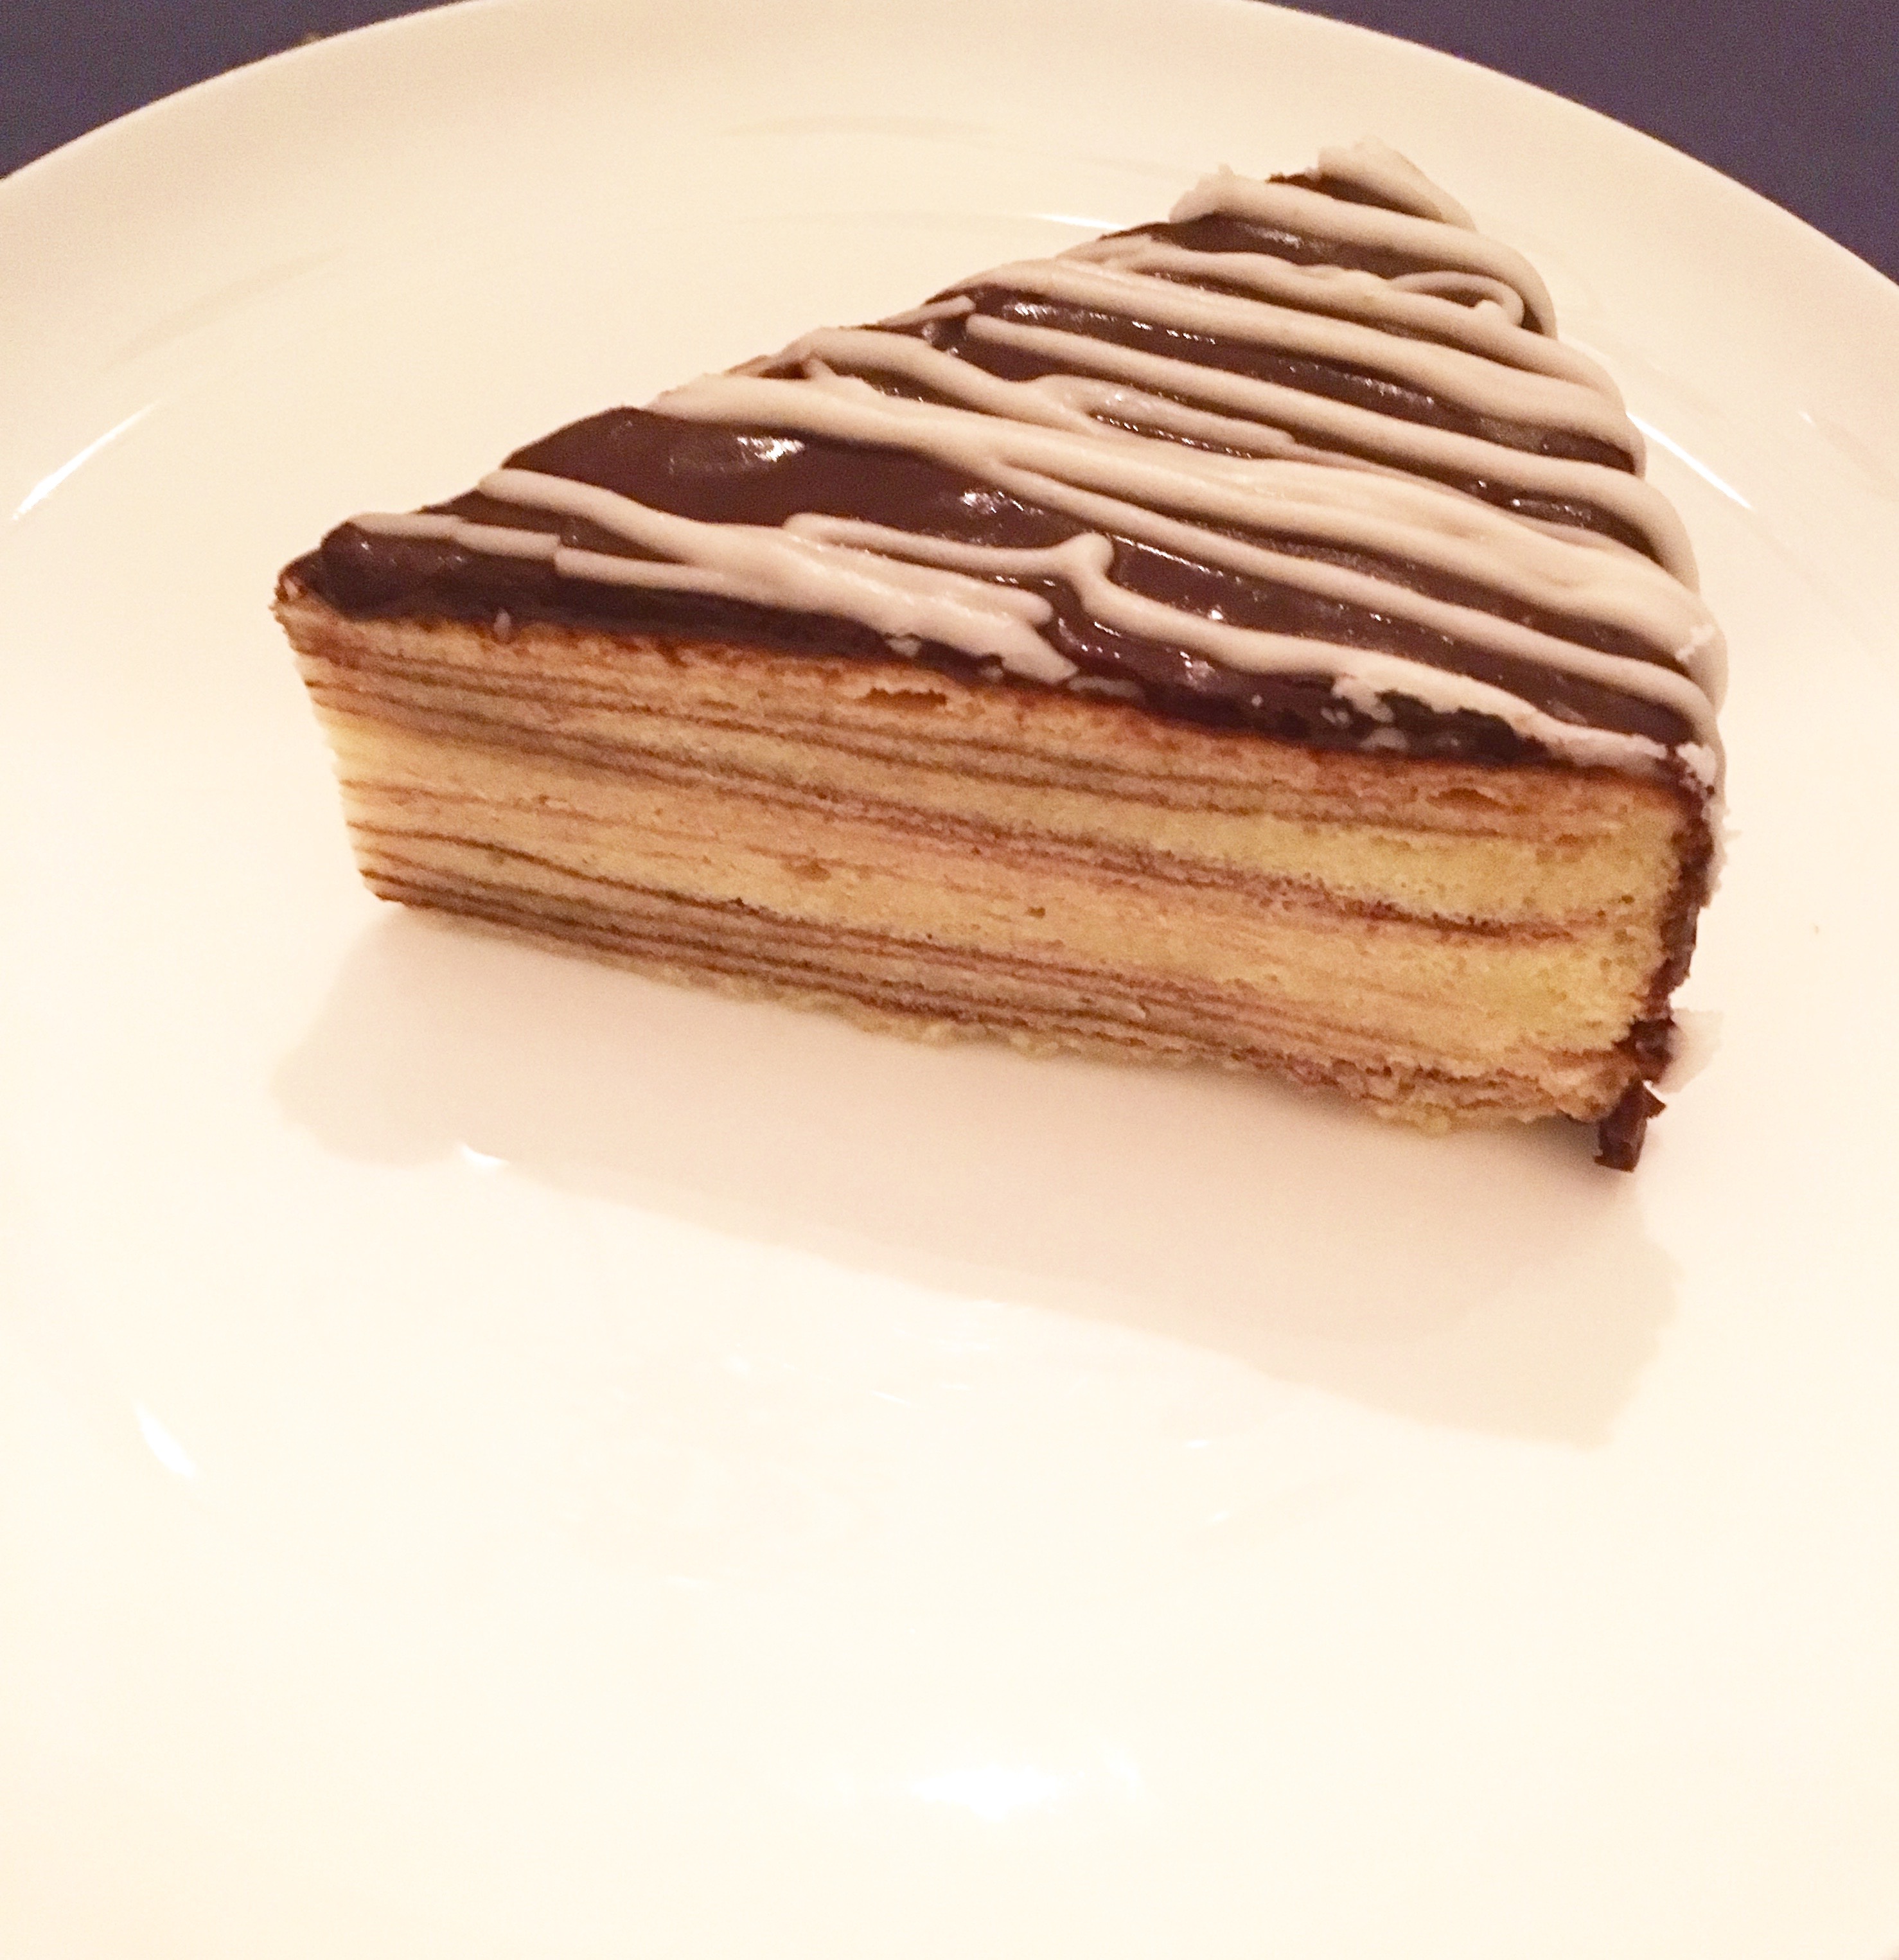
Layers! Distinct layers! I call this a successful first Schichttorte attempt!
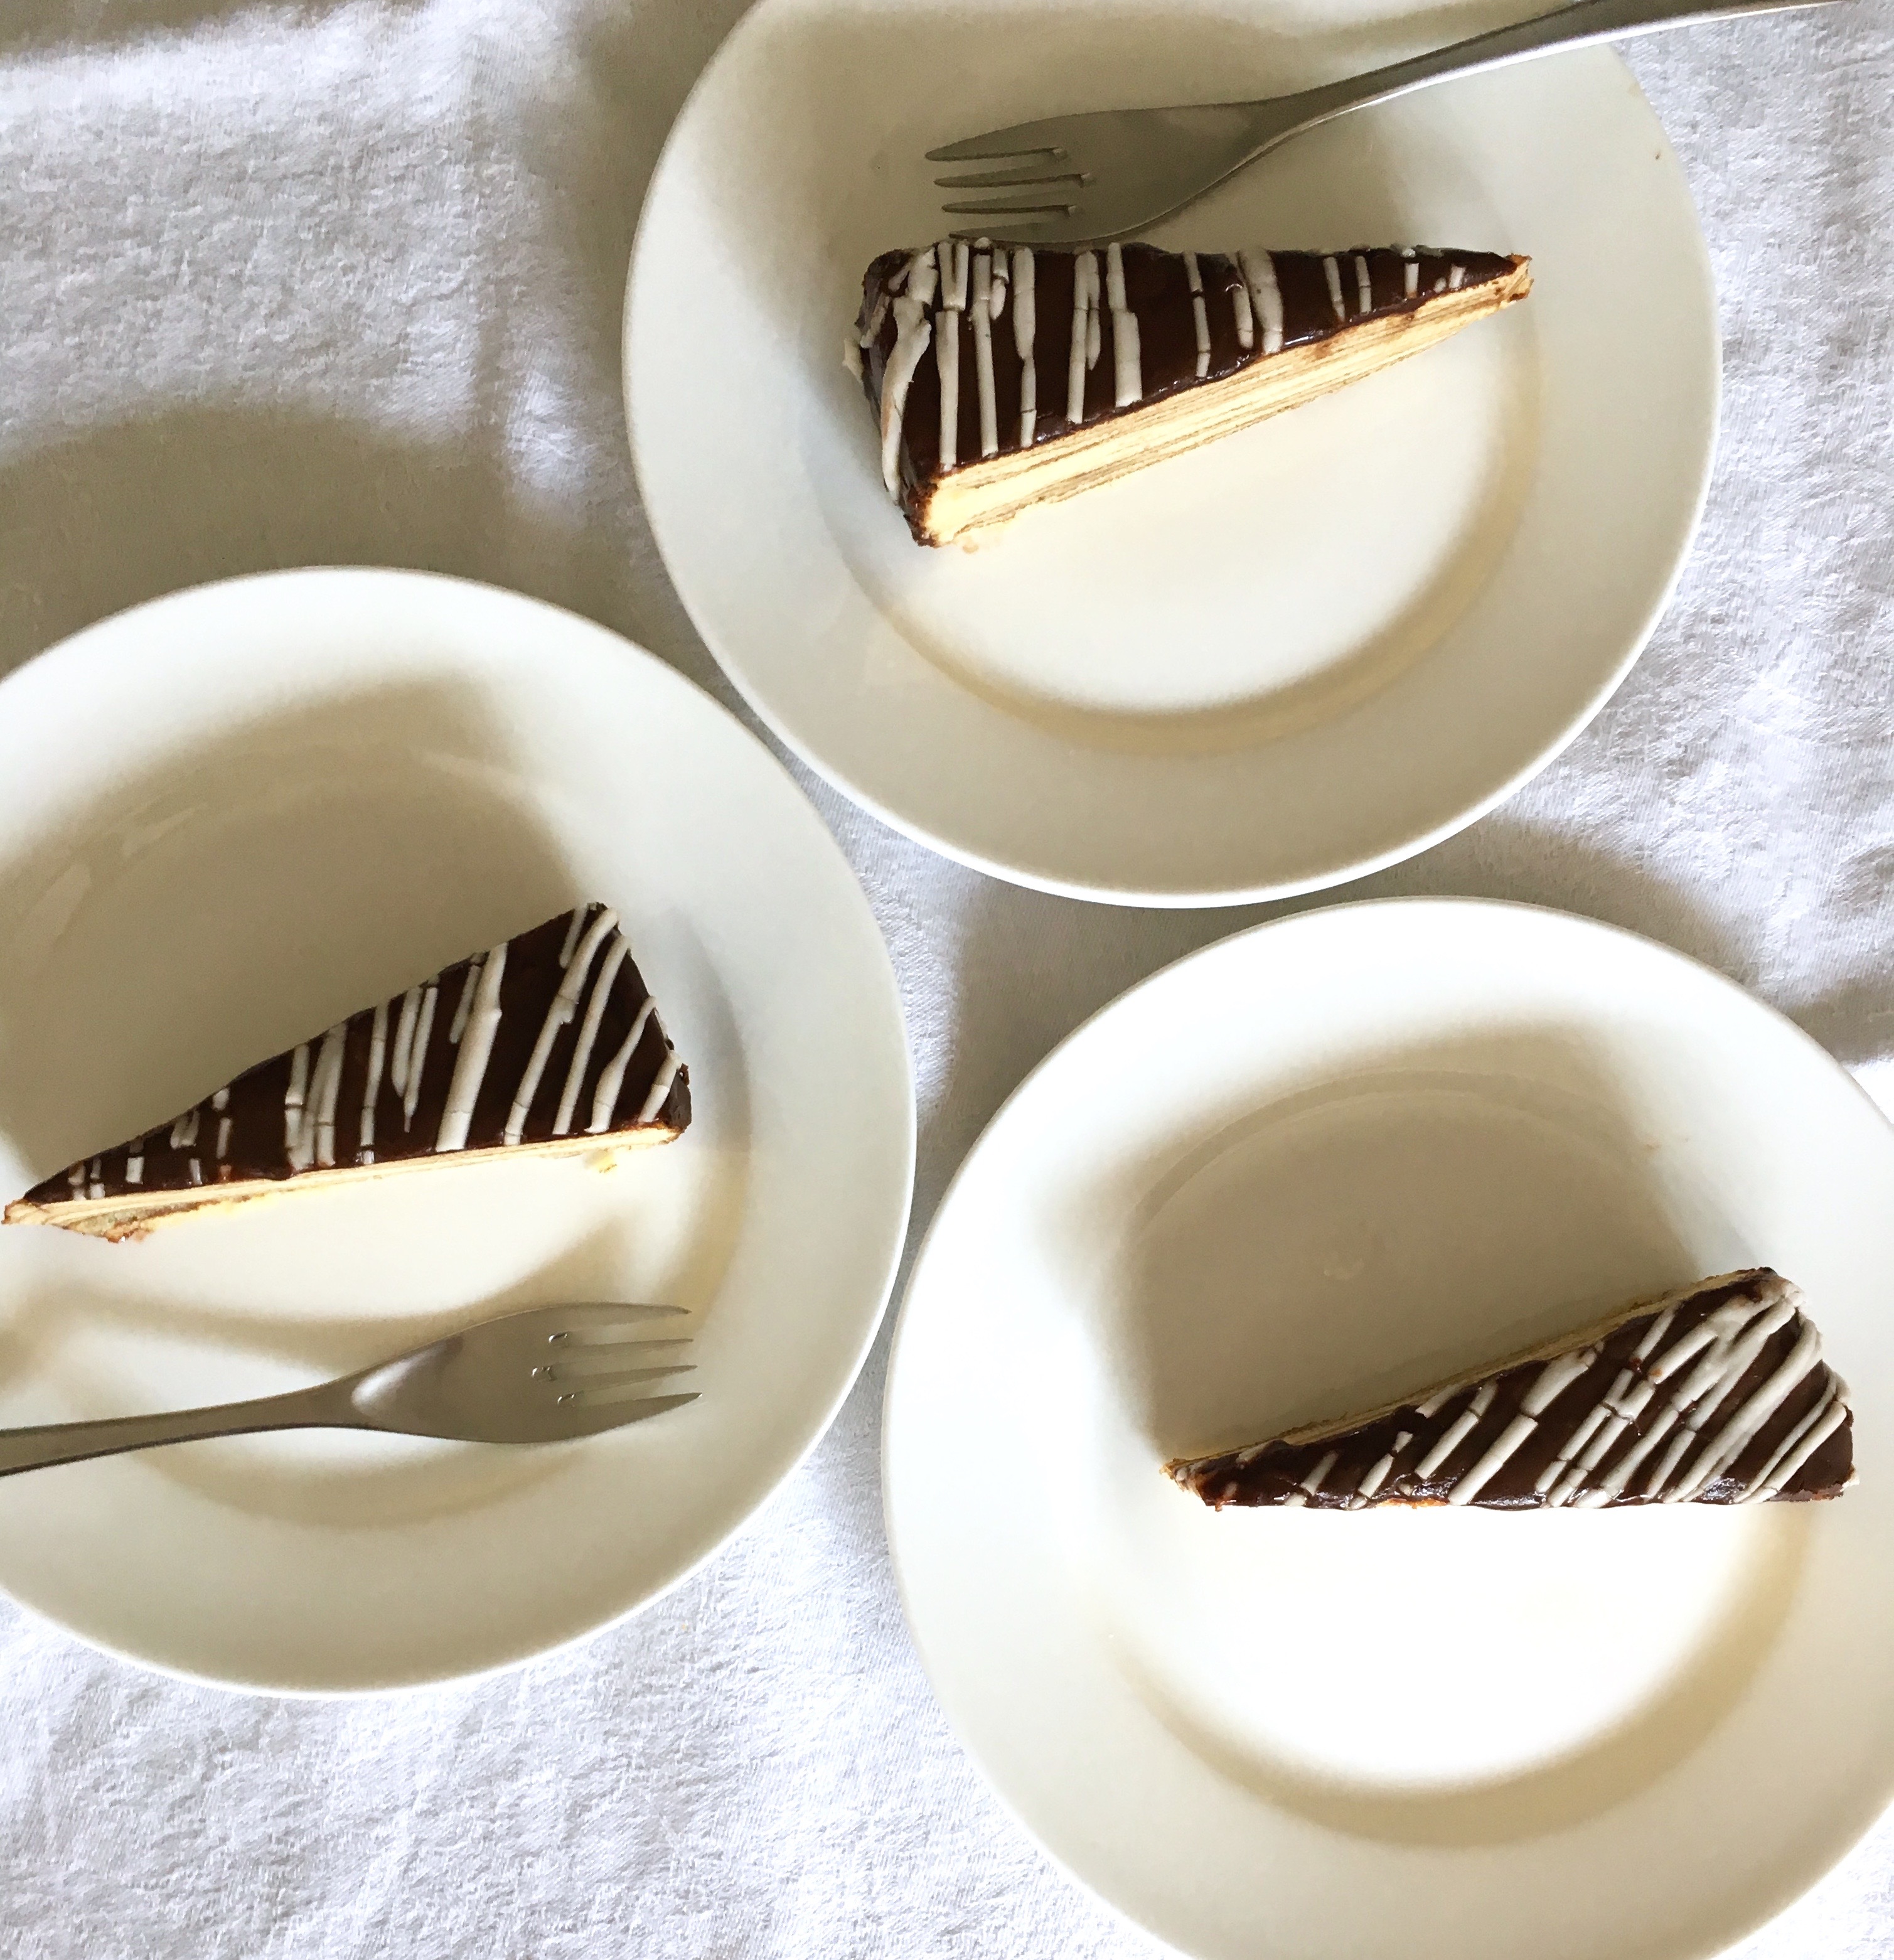
And here are a few more photos if you’d like to see.
 Â Â Â
   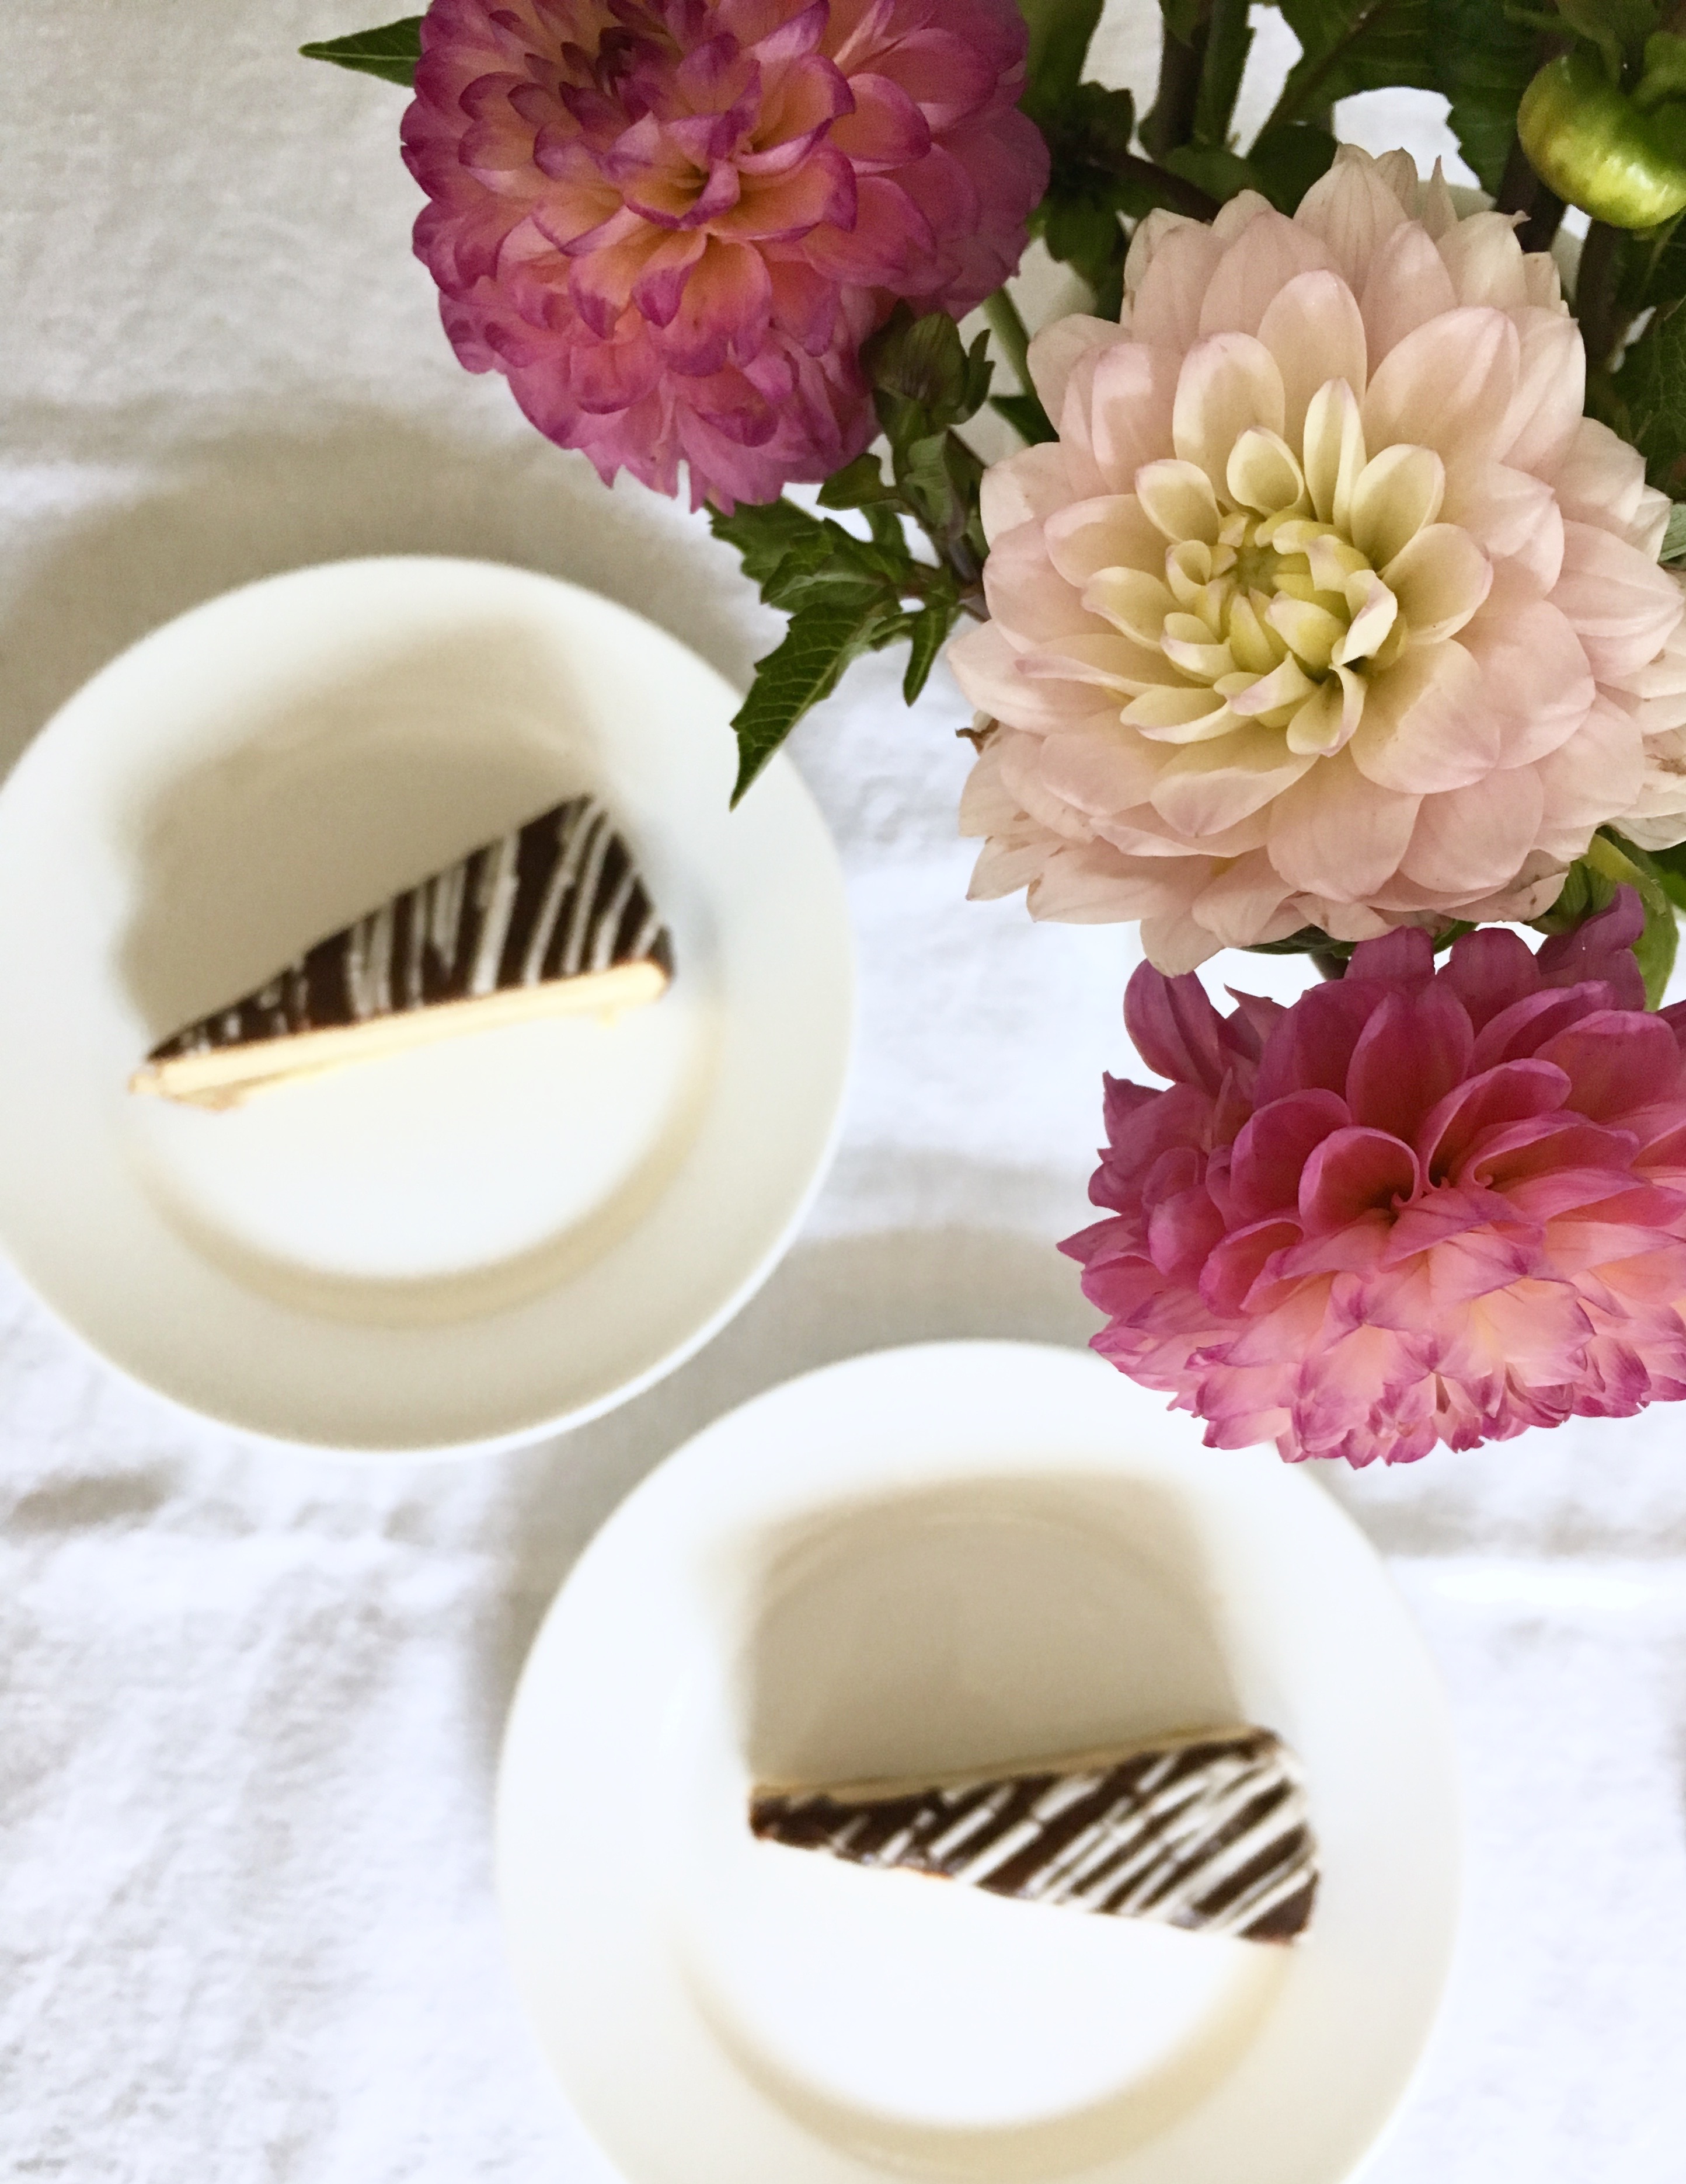
I’m so pleased that the cake turned out. All cake eaters (n=6) were impressed by the layers, the decoration, and the chocolate glaze. The same number of cake eaters were surprised by the cake’s density. Post-eating Googling revealed that the Schichttorte is in fact on the dense side, so I baked it as it should have been baked. Phew! Good to know, right?
If you’re like to challenge yourself, go ahead and bake a Schichttorte. The ingredients are easy, and the overall process is easy. The trickiest part was keeping track of the oven and time.
Recipe
(adapted from the BBC and Pate Smith)
Ingredients
The Cake
- 10 large eggs, separated
- 1/2 cup (100g/3½oz ) unsalted butter
- 1 cup (150g/5½oz) caster sugar (I used granulated sugar)
- zest of 1 large lemon
- 1 tsp vanilla extract
- 1 cup (150g/5½oz) flour, sifted
- 1/3 cup (65g/2¼oz) cornstarch, sifted
- oil, for greasing
- 6 tbsp apricot jam
- 1 cup (150g) icing (confectioners’) sugar
- 4 tablespoons cocoa powder
- 2 tablespoons milk
- 2 teaspoons vanilla extract
- 1 1/2 cups confectioners’ sugar
- 2 1/2 teaspoons milk
- 1/8 teaspoon salt
- 1/4 teaspoon vanilla extract
- 1 teaspoon butter
Method
-
Whisk the egg yolks in the bowl of a freestanding mixer on a high speed for five minutes, until pale, thick and creamy.
-
In a separate bowl, beat the butter and sugar together until pale and creamy. Add the lemon zest and vanilla extract and mix well. Add the whisked egg yolks and beat well. Add the flour and cornstarch and mix.
-
In a clean, grease-free bowl, whisk the egg whites until soft peaks form when the whisk is removed. Stir one-third of the egg whites into the batter to loosen the consistency. Then gently fold the remaining egg whites into the egg yolk mixture.
-
Preheat the broiler to high.
-
Grease a 20cm/8in round springform pan with oil and line the base with parchment paper.
-
Spoon some of the batter into the base of the cake tin and spread evenly across the bottom. Give the tin a gentle side-to-side shake to even out the top of the batter. Place on a shelf 10cm/4in below the grill and cook for two minutes, or until light golden-brown.
-
Remove from the oven, add another spoonful of batter, spread it out, and place under the broiler for three minutes, or until dark golden-brown. Continue layering and baking under the broiler until you have 20 layers alternating in colour from light golden-brown to dark golden-brown. (Or continue until you have used all the batter.)
-
Remove from the oven and leave to cool in the pan for five minutes. Carefully release from the pan and turn out onto a wire rack to cool.
-
Melt the apricot jam in a small pan over a low heat. Pass through a fine sieve, then brush the top and sides of the cake with jam. This will help the glaze stick to the cake.
-
To make the chocolate glaze, sift together icing/confectioners’ sugar and cocoa powder into a bowl. Stir in milk and vanilla extract and mix until smooth. If it is too thick, heat it up over a small pan. Pour evenly over cake.
- To make the vanilla glaze, melt butter and add in icing/confectioners’ sugar, milk, salt, and vanilla extract. Mix until smooth. Add more milk (very little at a time) if necessary. Pour into a squeeze bottle or icing bag and drizzle over cake.
A few extra notes:
- The full process (including kitchen clean up) took 2.5 hours. Not that bad, in my opinion. If I make it again, I know I’ll be a little faster, too.
- I used a 9″ spring form pan because I didn’t have an 8″. I didn’t think this was a problem although I did have fewer than 20 layers.
- This is a dense and eggy cake. If you’re looking for something light and airy, this isn’t it.
- I used granulated sugar as I thought that it was a fine replacement for caster sugar, but the next time I make this recipe, I’m going to use caster sugar to see if there’s a difference.


 Â Â Â
   
