So, it’s been a while since I’ve shared an update from my home uptown. You would think that because I have completely hibernated this winter, I should have been able to tackle a lot indoor projects, but with the evening darkness and my general laziness, I really didn’t get that much done. Plus, I am dealing with the most ridiculous kitchen cabinet maker (more on that one day soon), which has stalled much of the work that I needed to get done in the kitchen. Nonetheless, I have made some progress and¬†here are a five updates:
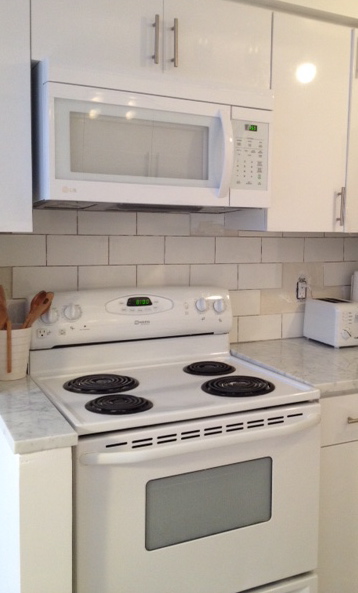
1. Kitchen: The last time you saw the kitchen, it looked like this. Since then, one of the new cabinets was installed, and my dad installed my over-the-range microwave. This made a huge difference in the kitchen as it freed up a whole counter section and really makes things feel lighter.
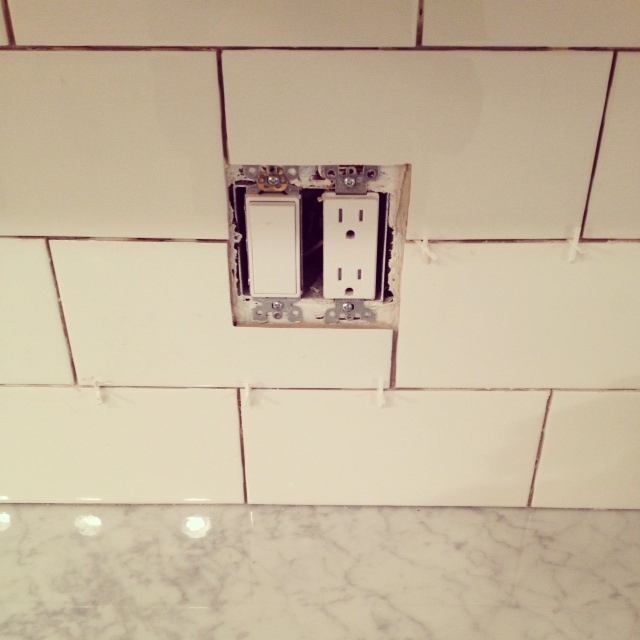
2. Kitchen: Since I took the above photo, I finished installing the backsplash (thanks to Tia and Jeff for cutting the tricky ones for me), but I still need to grout it (hopefully after work today).
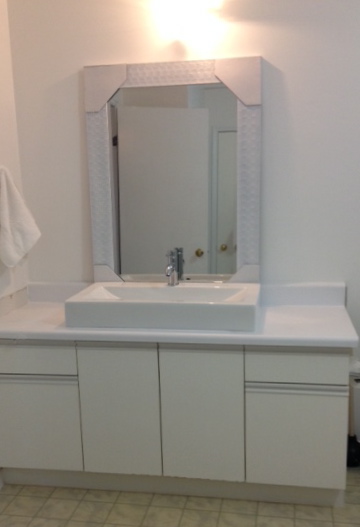
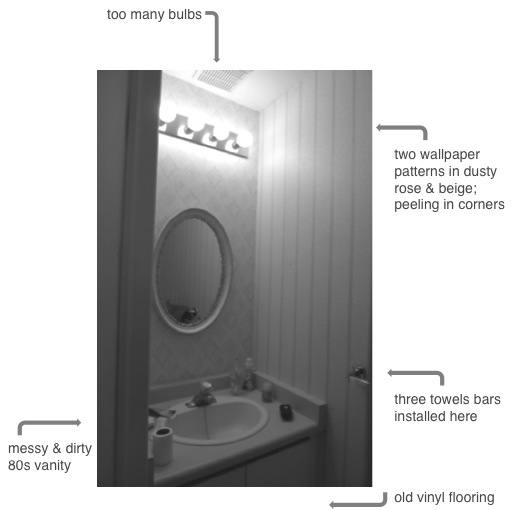
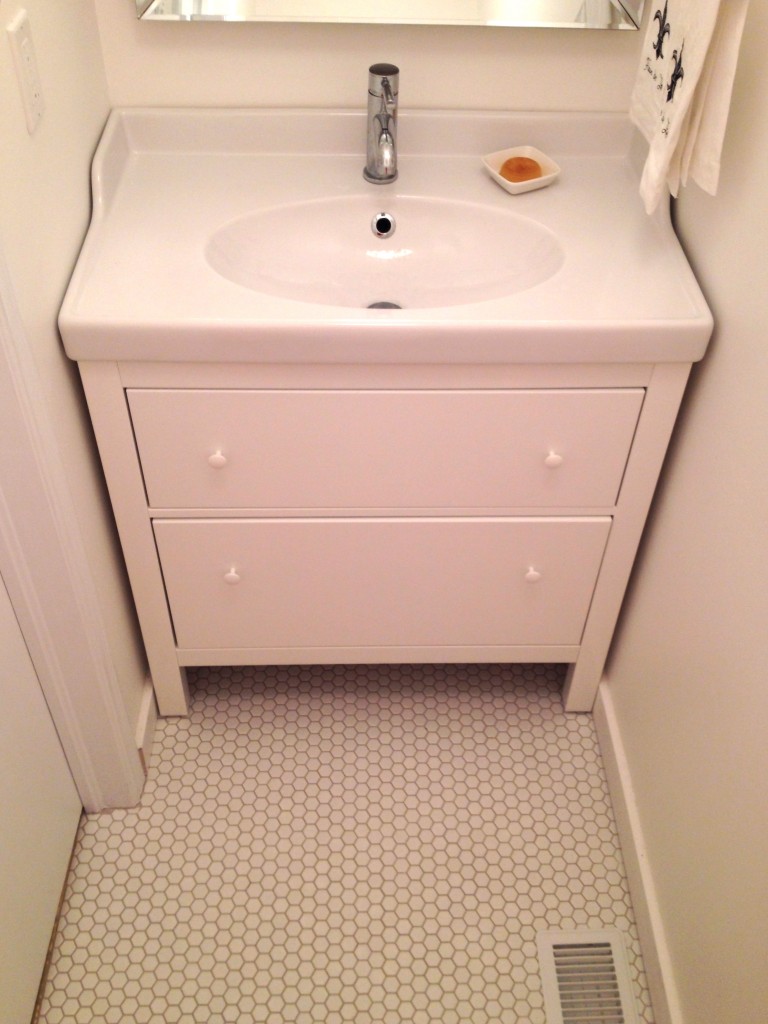
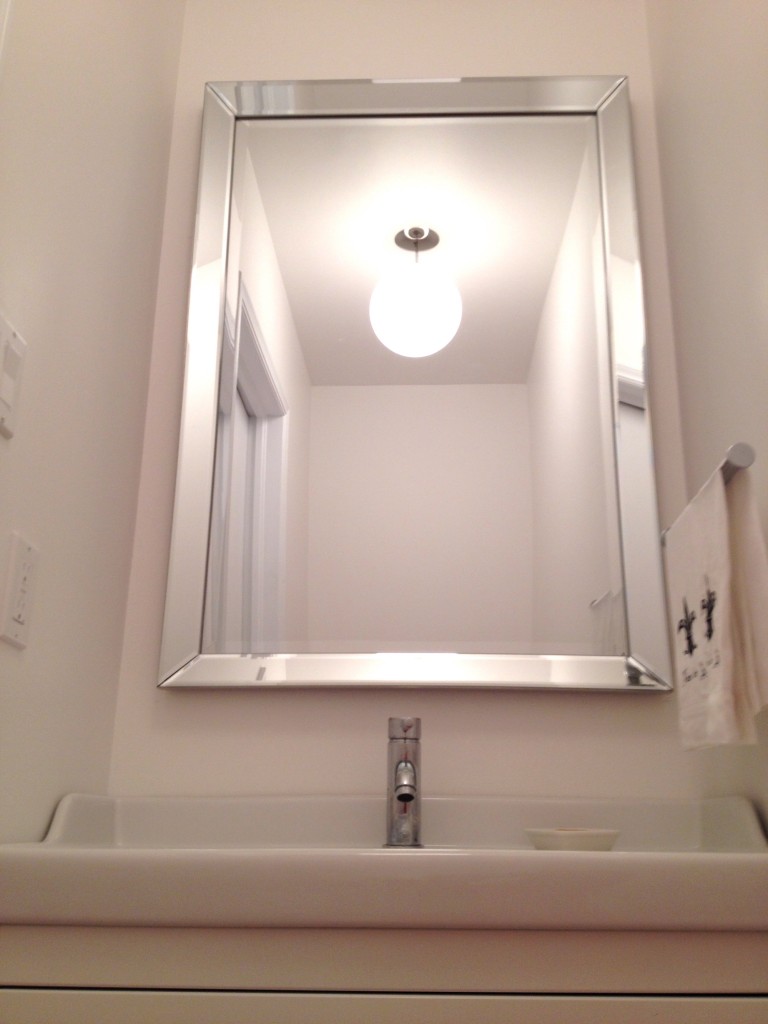
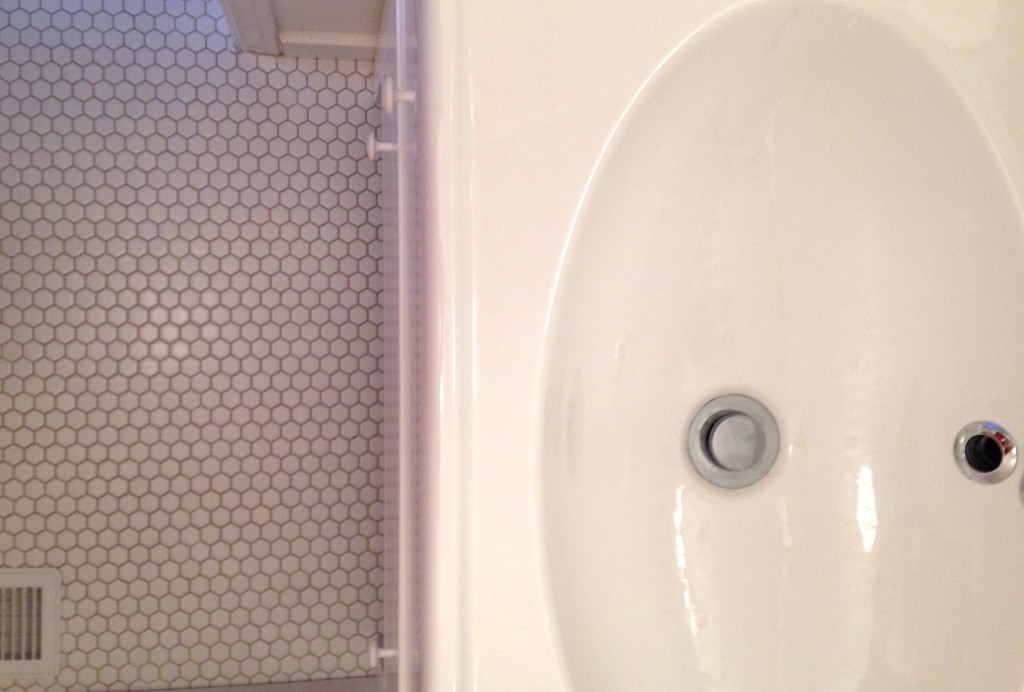
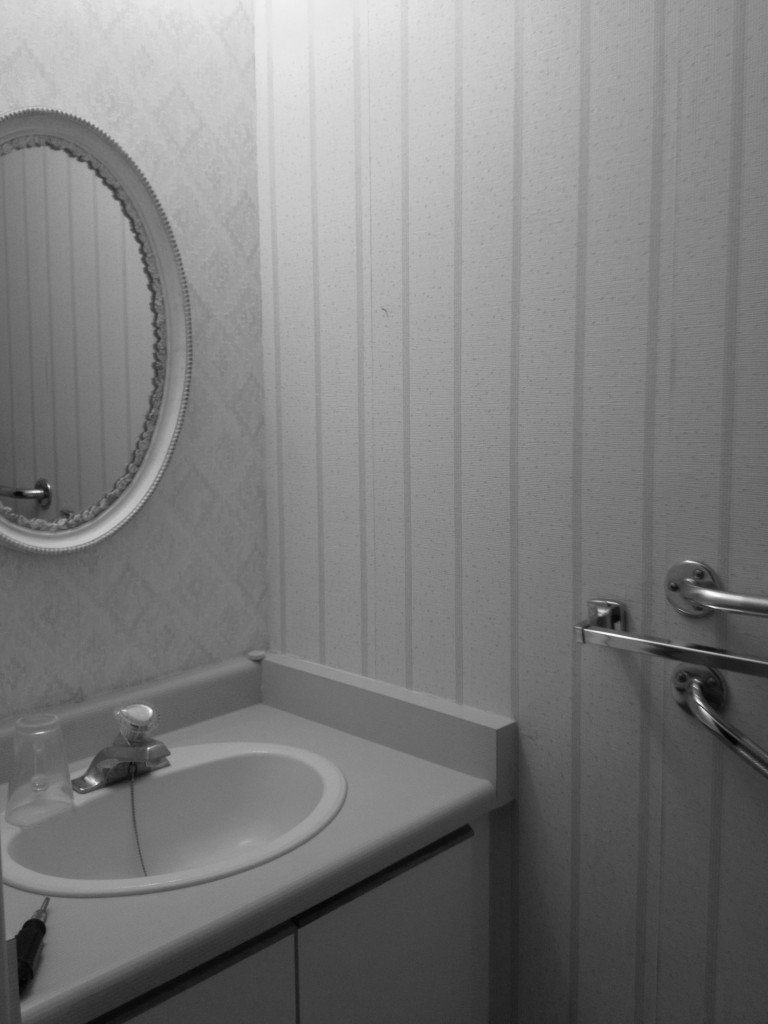
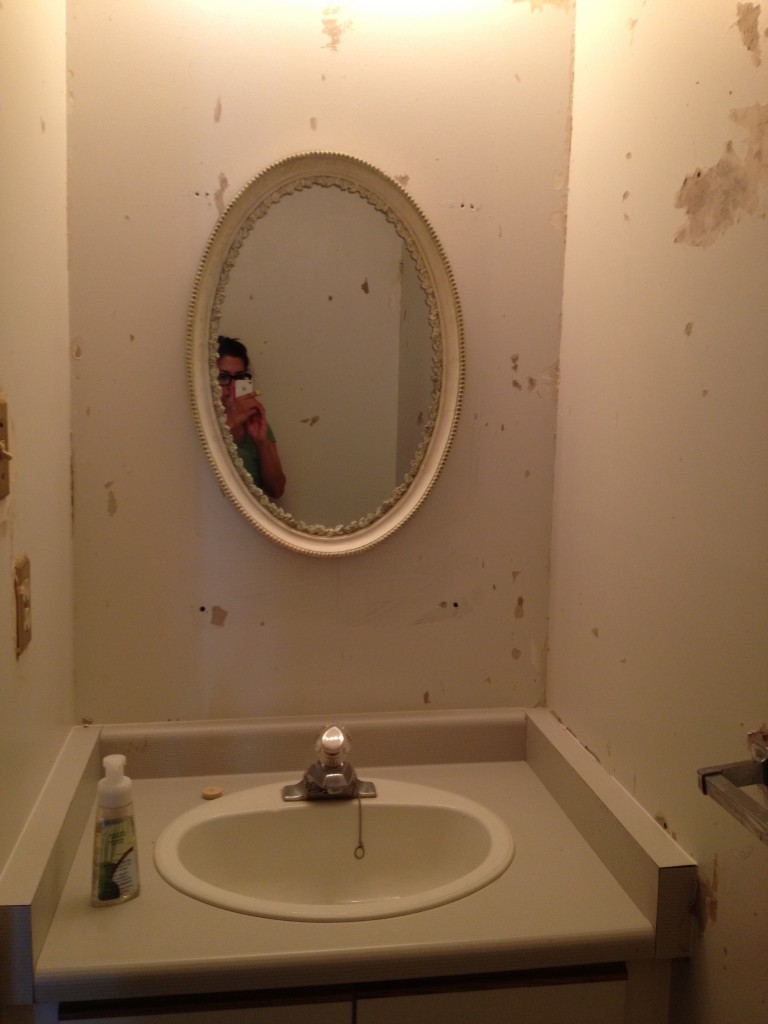
3. Big Bath: I have shared a small peek of my big bath¬†and a couple of before photos here. A lot has changed in the big bath. In addition to the tearing off of wallpaper, new paint on walls and ceiling, and new towel bars, I now have a modern rectangular sink on top of a new laminate counter and updated vanity doors (thanks to the power of paint!). I wanted to keep the current reno cost down just in case I want to plan a bigger reno down the road (ideas, ideas!). I’m still looking around for lighting options and I have to hang up the mirror. It’s by no means a beautiful room (yet), but it’s a big improvement from day 1.
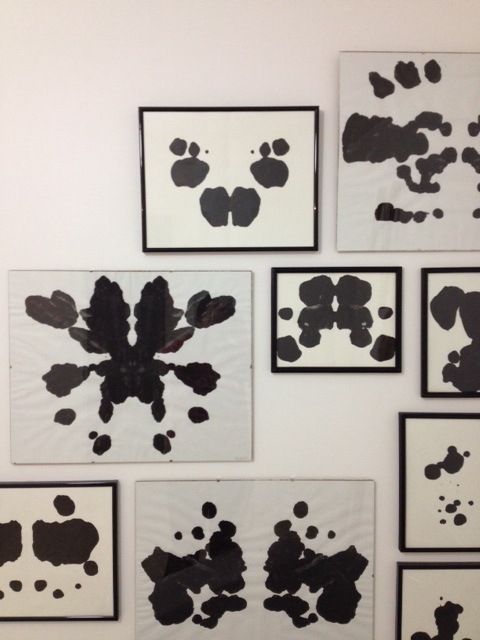
4. Big Bath: It has taken me quite a while to figure out what kind of art to put in the bathroom. At first, I thought I wanted something huge and loud. But then I couldn’t find anything that I liked, and I wasn’t sure I had time to paint something myself. As I unpacked my old gallery wall, I thought I could put it up in the big bath. But when I laid it all out, I felt it was too colourful. Then I leaned my DIY Rorschach-like art against the walls and I kind of liked it. Left it there for a few days to see if my thoughts would change. They didn’t. I painted up some more Rorschach-types, framed in frames that I already owned, and then hung them up on the bathtub wall. I’m really really liking the black & white art wall and I’ll continue to add to the grouping.
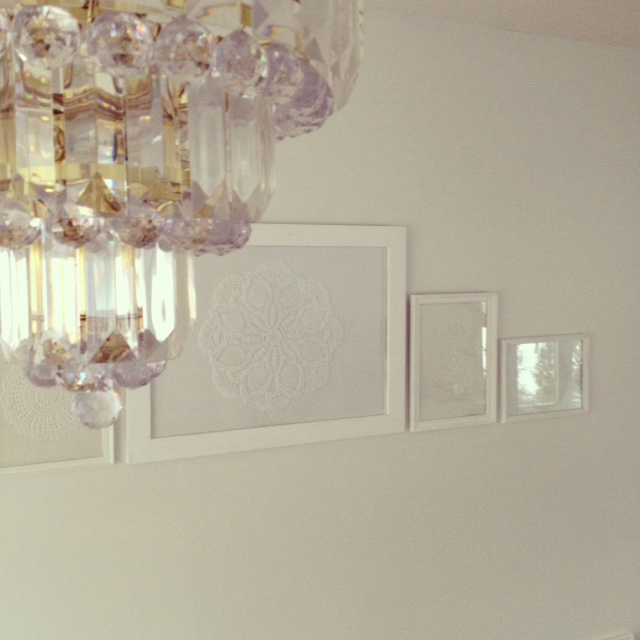
5. Dining room: I hung up my white doily art on one of the dining room walls. I lined up the bottoms as I had done in my last apartment, but I just read somewhere that art should be lined up from the top. Have I made the biggest faux-pas ever?
Bonus:
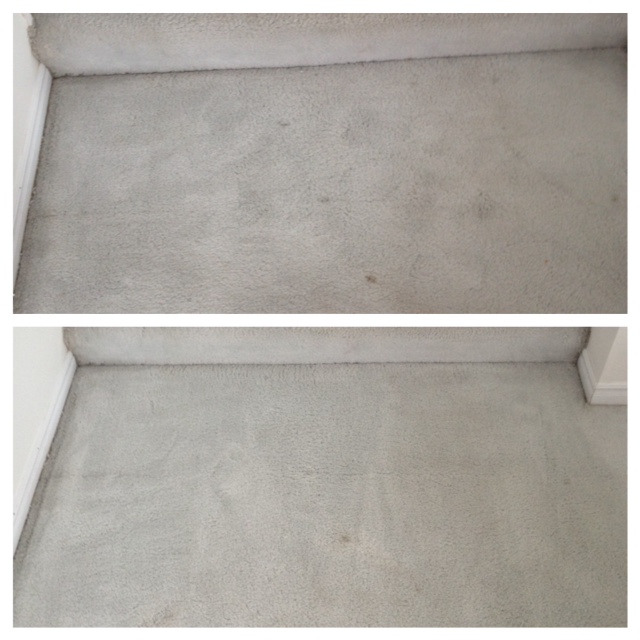
6. Entryway: I used Capture to give the carpet in my entry a refresh. It worked! Here’s the before (top) and after (bottom).
 So, that’s a quick update from Uptown to end the week. My to do list is look pretty great – even though I keep adding to it. Here’s where I stand (see¬†original to do list):
–¬†change all the door locks to¬†these Schlage locks
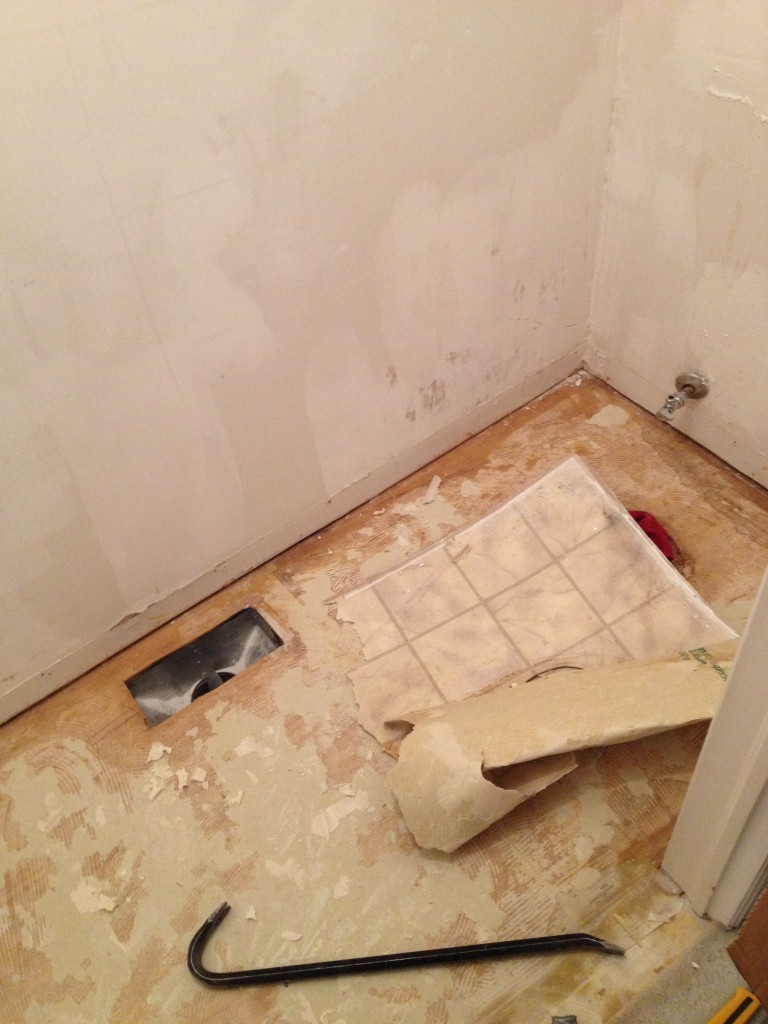
– remove wallpaper in¬†all three¬†bathrooms ‚Äď one left!
–¬†choose a paint colour
–¬†paint the whole house white (the walls are currently¬†brown, beige,¬†burgundy,¬†pink, and green)
–¬†plant hostas
–¬†install a new vanity in the powder room¬†and upstairs bathroom & install¬†these gorgeous Delta faucets
–¬†install a screen door off the kitchen so that I can open the door to the deck without letting in all the bugs
–¬†buy a Ficus plant
–¬†break the big wall down that exists between the living room and dining room
–¬†break the small wall down that exists in my kitchen
–¬†patch up the walls after so much destruction
Рchange all the light fixtures (I started with this one)
–¬†buy a new couch (looking at¬†these ones)
– install new kitchen countertops
– install a shower in the basement bathroom
–¬†buy tiles for backsplash &¬†install backsplash
Here are some of the new additions:
– paint touch-ups (all over)
-office organization
-office art wall
-install fire smoke alarms (again)
-plan patio
I LOVE seeing so many things crossed off the list! Yay for progress. This spring I’m looking forward to (learning how to and) installing a stone floor on my small back patio and watching my hostas grow.
Have a great Friday & happy weekend, everyone!
—
The Uptown series documents my experiences as a new homeowner. Fun times ahead!
