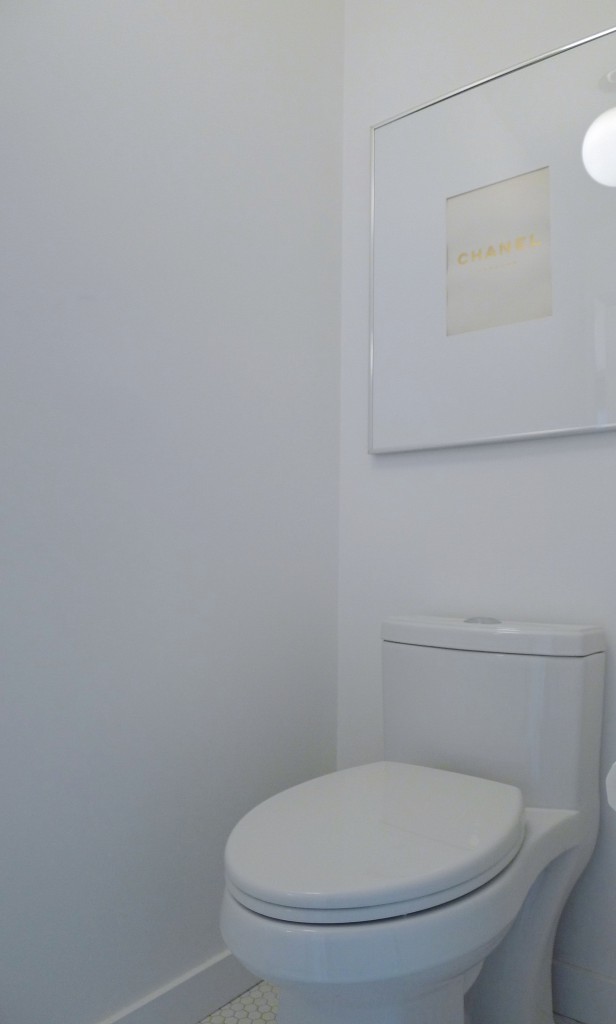
Design at Home: Powder Room Progress

As I’ve said before, our house needs very little in terms of renovations. Our largest renovation projects would be the kitchen and the backyard. And even then, the renovations aren’t essential…they’d just make me enjoy our house even more than I already do! 🙂 So the projects we’ve been slowly doing at the house are small tweaks to increase functionality and aesthetic.

One of the spaces that I’ve spent a bit of time working to improve is our main floor powder room. It was a white box that I knew could get even whiter.

Here’s what the space looked like when we moved in:
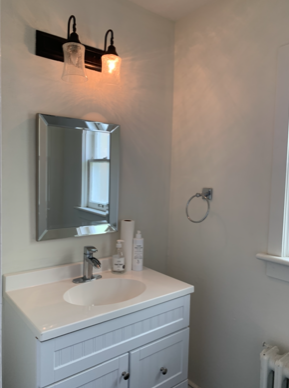
The bathroom was white and bright, but the light fixture was broken, the mirror was small, and the towel ring wasn’t my aesthetic.

We didn’t want to put too much money and effort into a massive renovation (like installing a custom vanity), but I knew we could do a few things to make it nicer. So we did!
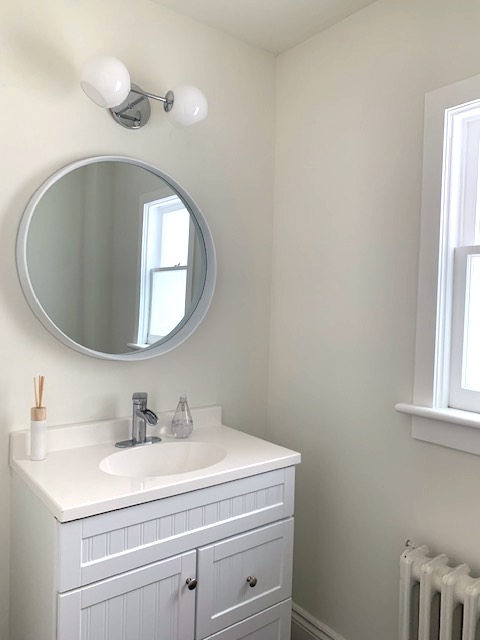
One of the best things I did was to repaint the walls. They weren’t in the best shape, so I patched up a lot of holes, smoothed out a few gouges, and gave the whole room a fresh coat of white paint (leftover Benjamin Moore Simply White). The new paint job – like so many people often say – made a world of difference to this room. Magic!

Beyond the painting, I polished the window hardware (more magic!), hung a round mirror, and installed a modern light.

Seeing the before and progress photos makes me grin. A few tweaks has made a huge difference in the function and aesthetic of this space.

That said, the room transformation isn’t quite complete. The towel bar and toilet roll holder will arrive next month, and we have to decide on art. I’ll be happy to share more photos when all the pieces are in place.

One Room Challenge: Laundry Room – Week 2

Well, my first impression of the One Room Challenge event is great! I have been enjoying learning about the people and the projects in this new-to-me community. There are so many creative people out there doing beautiful things, and I encourage you to have a look at the One Room Challenge featured designers and guest participants to be inspired about home renovations and interior design.

As you may remember, I’m currently tackling a laundry/bathroom renovation (see my Week 1 post for before photos). I keep calling the space my laundry room, but, in fact, this space serves a dual purpose. I primarily use it for my weekly laundry sessions, but it is also used as a guest bathroom. I was fortunate to have a finished and functioning space when I moved into my home five years ago, but it was beyond dated.

A refresh has been in the pipeline for quite some time.

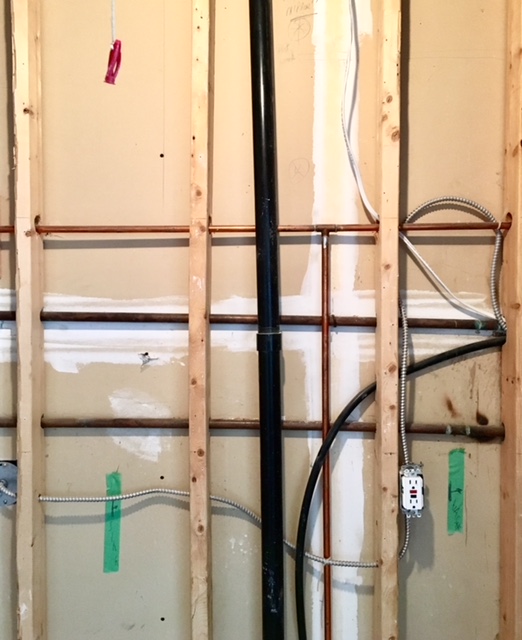
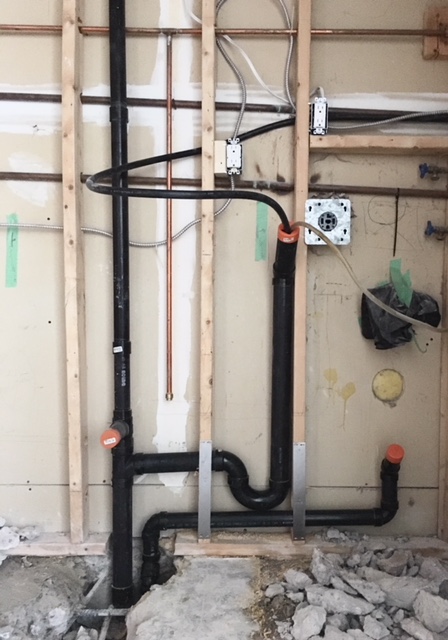
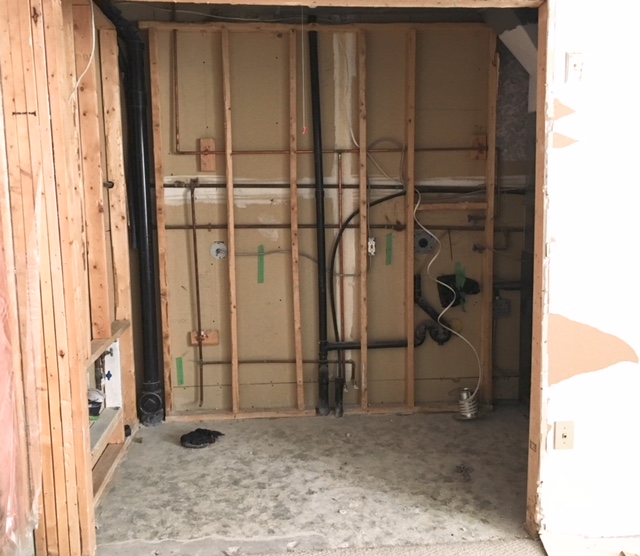
The layout of the space – laundry, sink, toilet – will not change in my new space. But I have broken down a wall to squeeze in a shower. This is major. This has required quite a bit of plumbing.

While my family and I tackled the demo, I have four people working on putting things back together: a framer/drywaller, a plumber, a tiler, and my dad (aka pseudo-electrician). Each person is super skilled, and while I hadn’t worked with three of these people prior to my project, they have each lived up to my standards of high quality craftsmanship. These people are gems, let me tell you! I feel very lucky!

My framer, plumber, and electrician were the first people on the scene. My framer took down existing doors, installed (or reinstalled) studs, and installed a pocket door.

While the framer took a bit of a break, the plumber got to work. I had a lot of items on my plumbing to do list on this job: installation of brand new shower plumbing, switch out/clean up of old pipes, installation of new ball-valve switches, etc. The space got dusty and messy, and I enjoyed watching the progress each day.

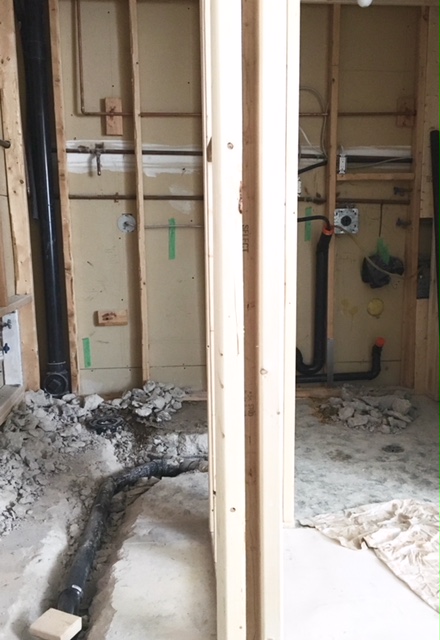
This laundry/bathroom turned open concept!

a grid of pipes and 2x4s

This p-trap makes me happy because it means a more efficient plumbing set-up for my laundry and sink.

I lived with a trench for a little while.

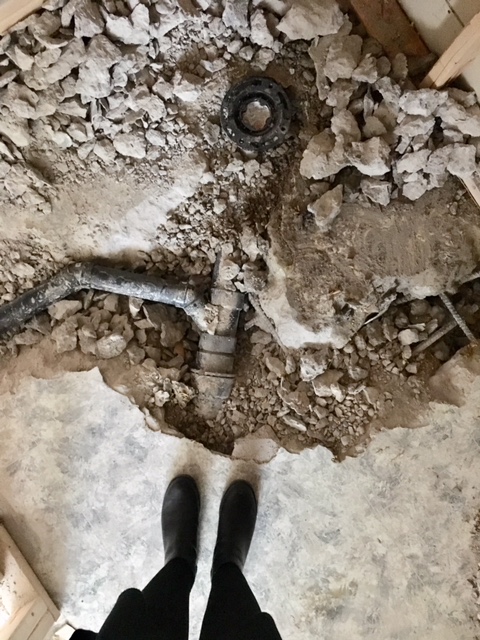
There wasn’t much left of the original floor. No loss there!

And because I know some of you like to see pretty things during the One Room Challenge recaps, here’s the art I’m going to use in my new room:

Clothespins (c/o)

I encourage you to check out what the One Room Challenge guest participants and featured designers have been up to during week 2.

Note: See my Week 1 post to get updated on my One Room Challenge project.

DIY: Painting with CIL

If you’re a regular reader, then you know that my parents have helped me with just about every reno project I’ve done at my home. They are both very handy people. Dad’s great with electrical, plumbing, and BBQ cleaning projects, and mom is a genius sewer, stylist, gardener, and painter. I’d be dumb not to cash in on their talents. (Mom, Dad, I hope you’re amused by this introduction.)

So it goes without saying that if they have a project that needs me, I’m happy to help. Most of the time this means that I’m moving a piece of furniture. But recently, my help came in the form of painting. I worked with CIL and helped my parents paint their garage doors. The doors weren’t in terrible shape, but since my parents recently replaced all their outdoor eaves and trim, the existing door colour didn’t work.

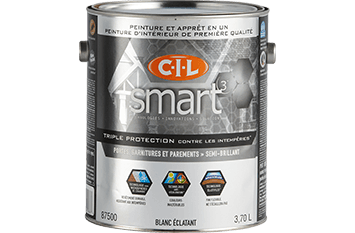
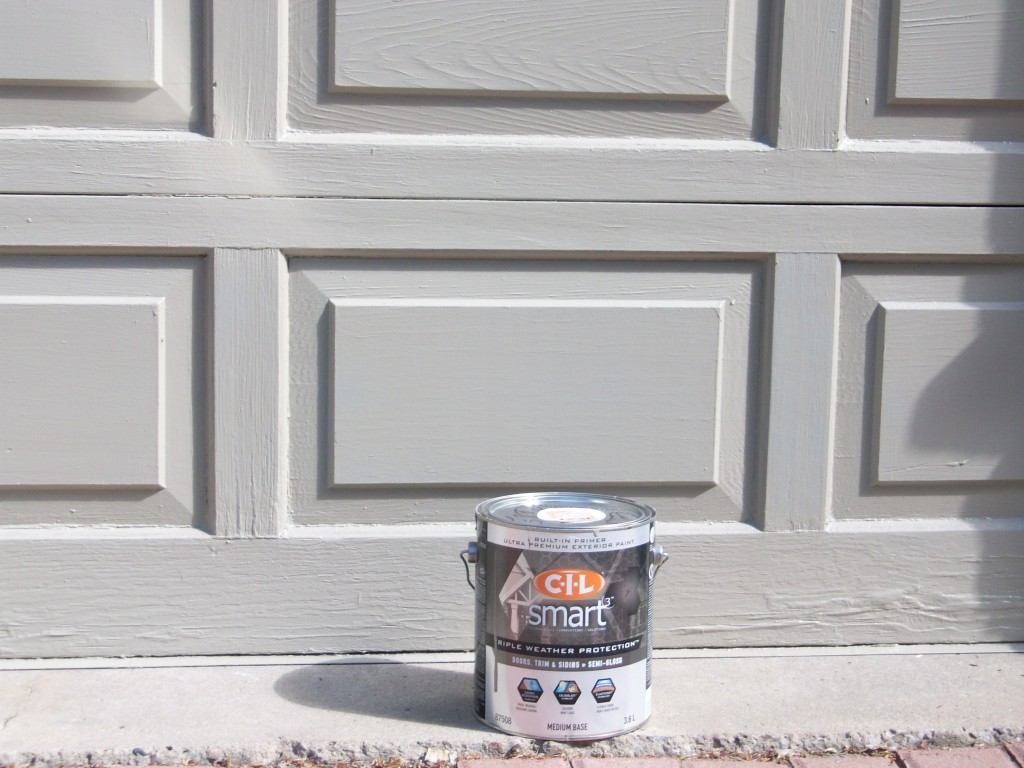
We opted for this CIL exterior doors and trim paint:

CIL-Doors_trim-exterior-paint-101CIL Smart3 Triple Weather Protection Doors and Trim

I picked up the paint at my local Home Depot and had it colour matched to a piece of the eaves. Perfection!

My dad took the lead on the painting. Since this was an outdoor painting project, we waited for the weather report to call for a few days of warmth and sunshine. CIL suggested  (via Twitter) that the ideal temperature for exterior painting is 15°-20°C. (I’m pretty sure that those temps are good for the paint application and the painter’s fingers!)

We didn’t need to begin with a separate primer because the CIL Smart3 already has a built-in primer (cue the confetti!). Dad liked working with this paint; he reported that there were no bad smells, no splattering, and that the application was very smooth.

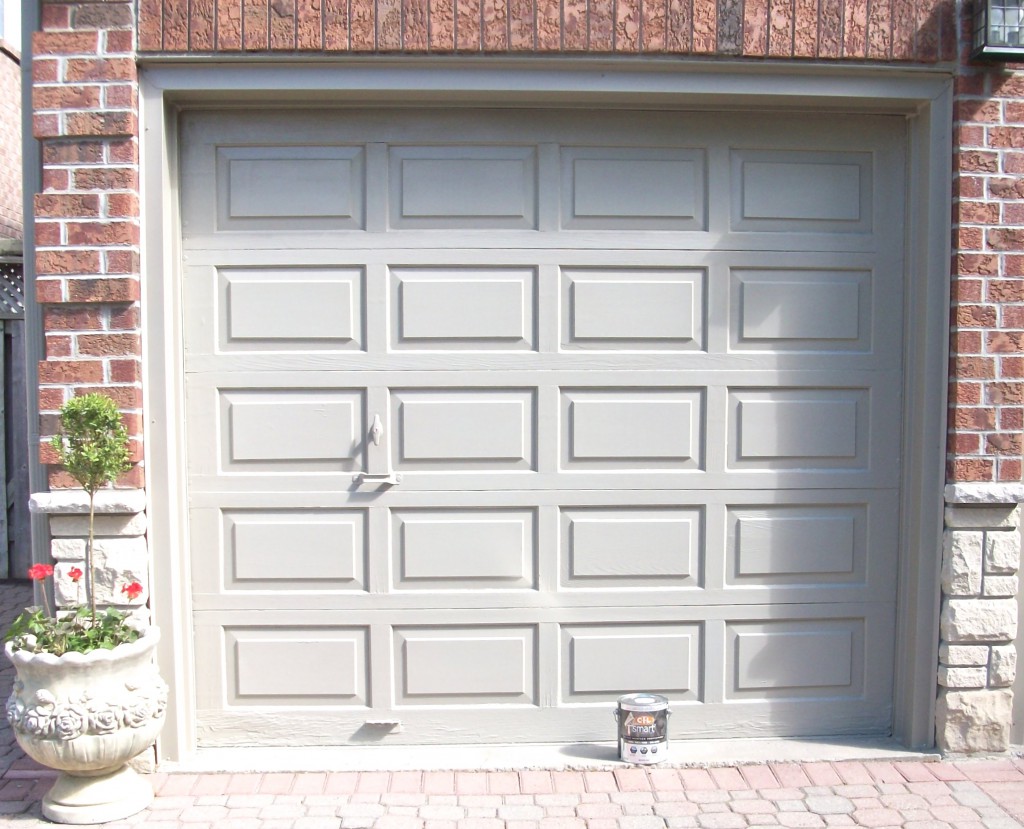
Here’s a look at the after:

White-Cabana-CIL-paint-exterior-garage doors102_1261The garage door is a taupe-grey-stone colour that is a perfect match to the eaves and trim. The colours of the whole house are now much more cohesive. It was an easy weekend project that made a big impact to the home’s exterior.

Thanks to CIL for sponsoring this post. Photos by Jordana and Dad.

The Friday Five: Laundry Room Details

I’ve got a bathroom/laundry room renovation on my mind these days. I would really like to start the reno this spring, but I’ve had little time to finalize the design plan. It’s not going to be anything too complicated as it is a small space, but every reno needs thoughtful consideration and planning. Am I right?

I’m looking at the design details of these laundry rooms and they’re making me wish I had a large enough space to incorporate all of them!

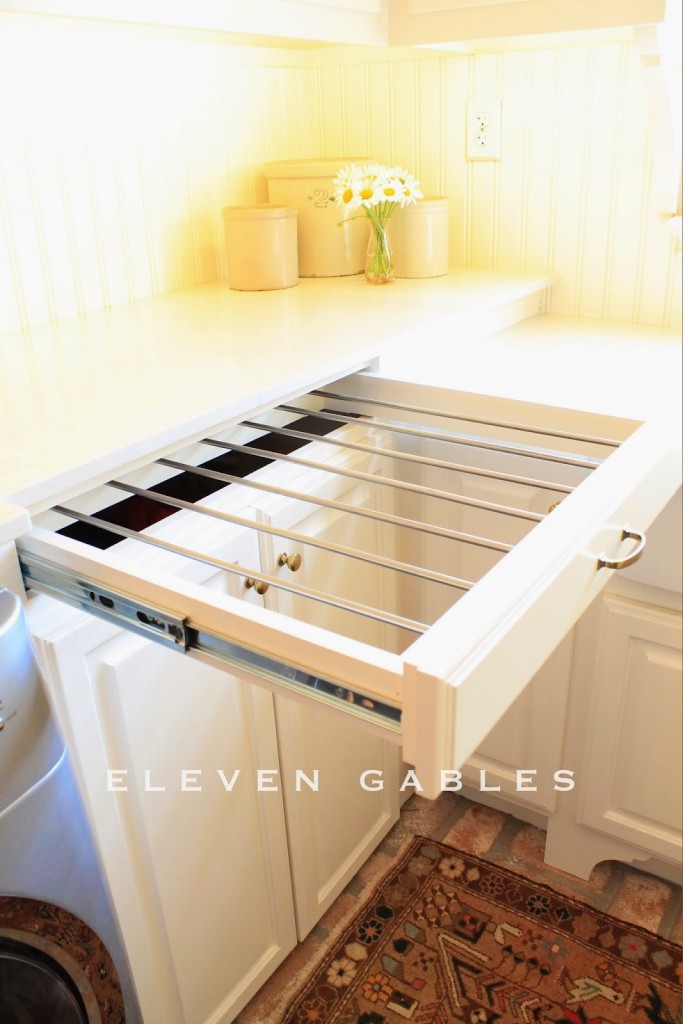
laundry-room-white-eleven-gables

drying rack drawer – via Eleven Gables

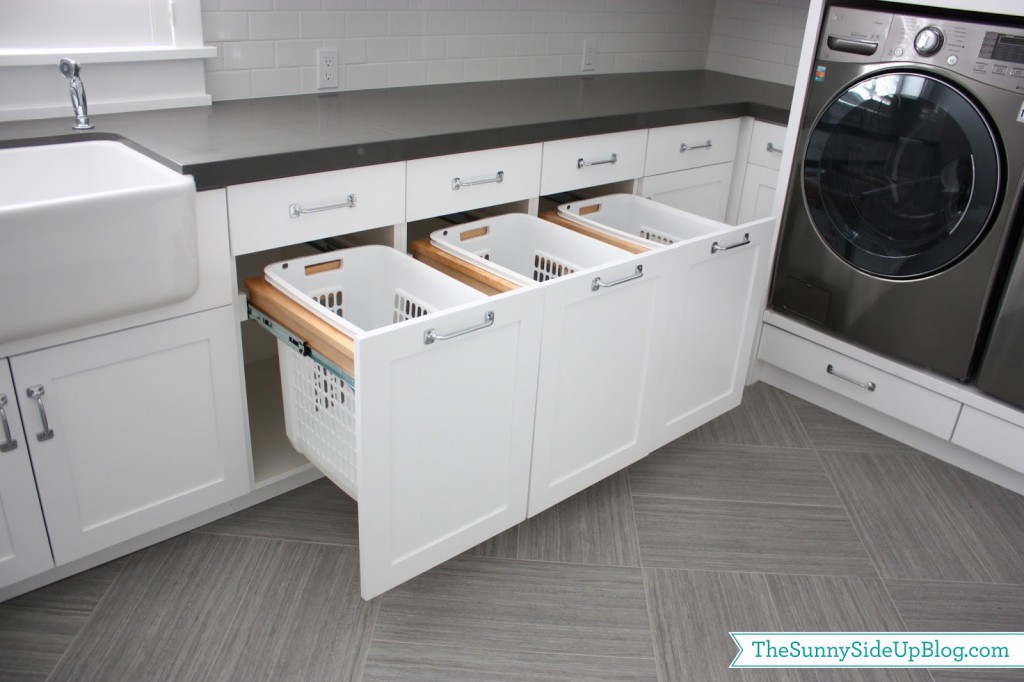
pull-out-laundry-bins

sorting drawer – via Sunny Side Up

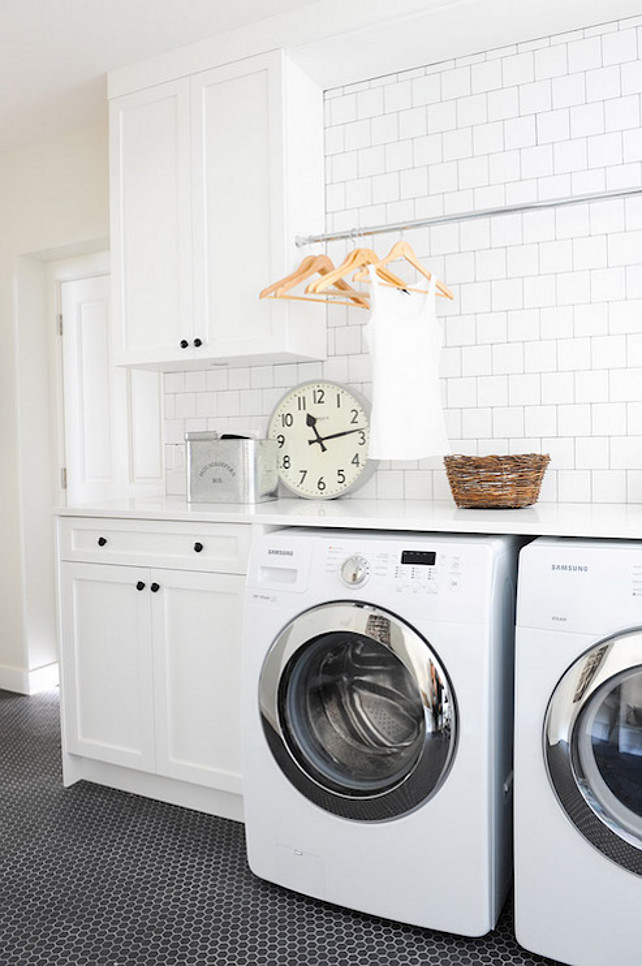
Laundry-Room-Oliver-and-Simon-Design

clothes hanging rod – via Home Bunch

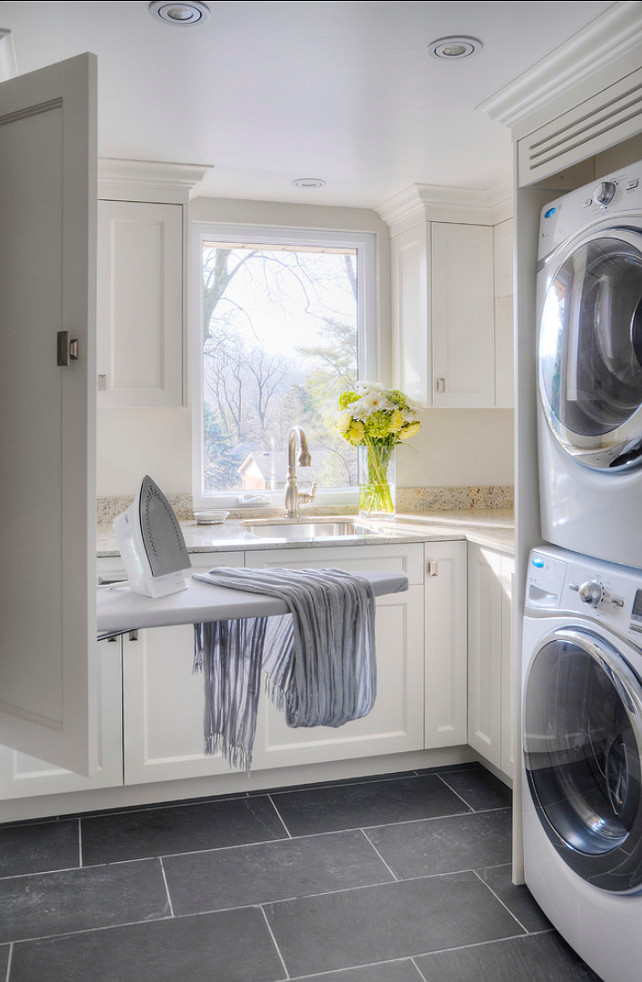
Cloud-White-CC-40

closet fold-down ironing board – via Home Bunch

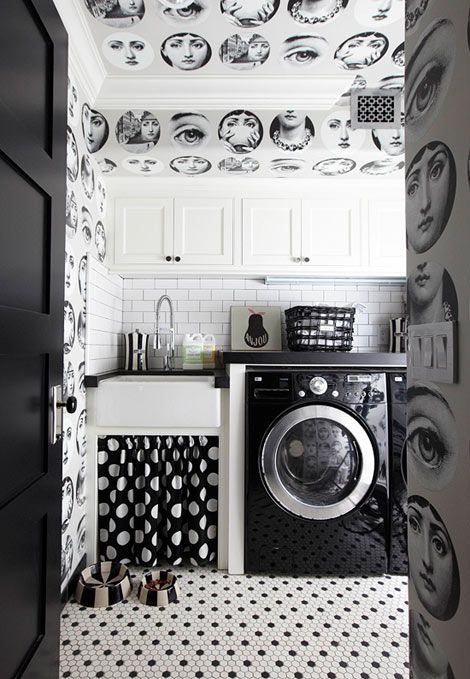
2fa722451783e4f9900d1b75b4786b69

Fornasetti overload – via Berkley Interior & Lifestyle Design

Uptown: A Look at my Powder Room

I haven’t posted any photos of my home for quite some time. Most of the major work is done (yay!), although I always have something on my to do list (e.g., my basement bathroom). I am so proud of all that I have accomplished in the 1.5 years since I moved into my home. The house looks nothing like it did when I moved in. I slathered gallons and gallons of paint on every single wall, changed a bunch of light fixtures, cleaned for hours on end, tore down a wall, and so much more.

I haven’t taken after photos of every room, so this past weekend, I devoted some time to doing just this. I am just about ready to share a house tour. I really should post the before photos, too, to make things extra dramatic (maybe I will one day)!

For now, here’s a look at what my powder room. This space was completely gutted, and nothing (besides some of the walls) was salvageable (you can see some before photos here and here). It was a disgusting space, really, and that just sums up the before.

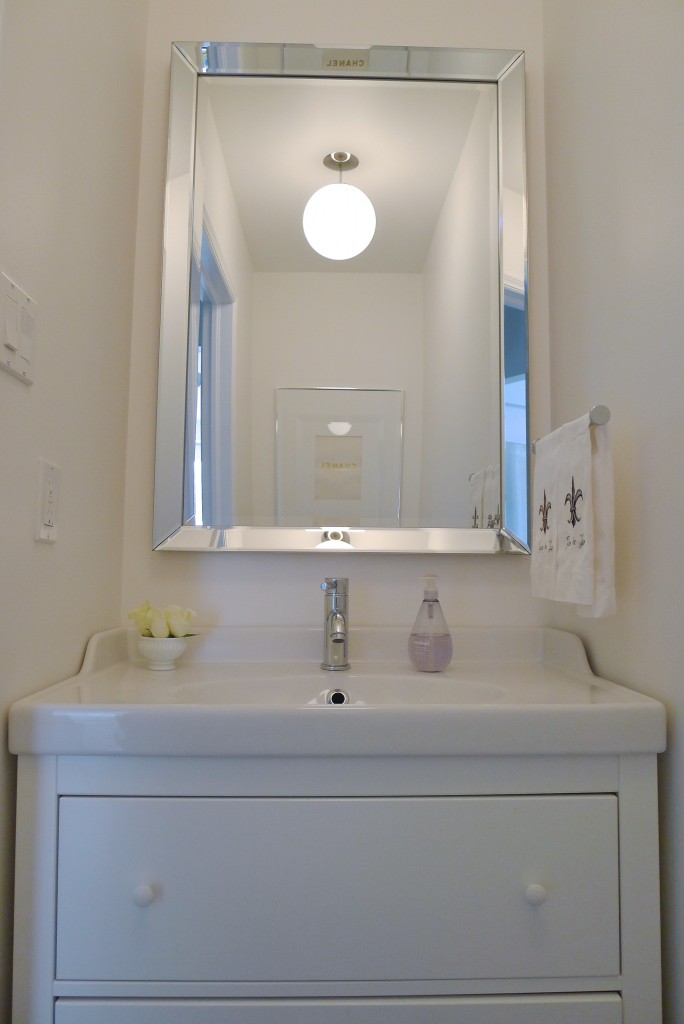
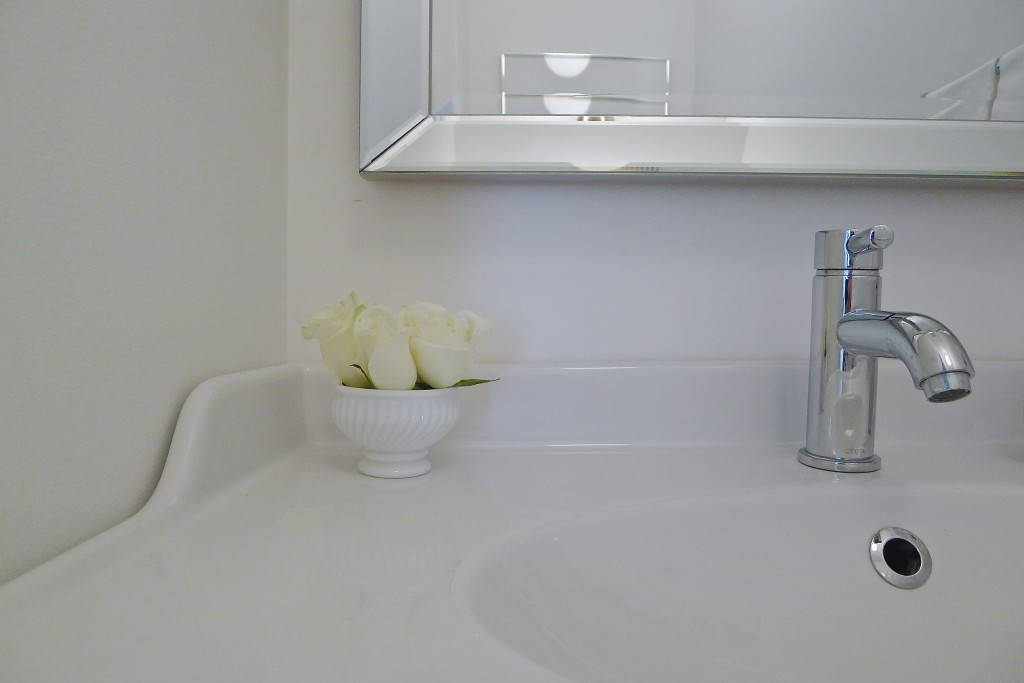
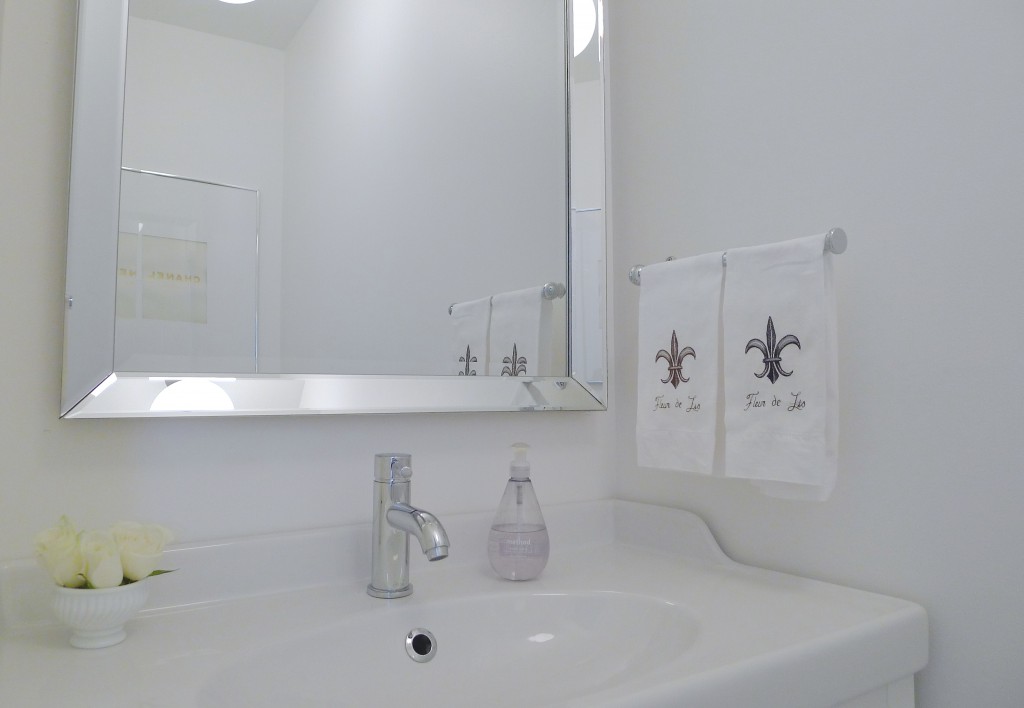
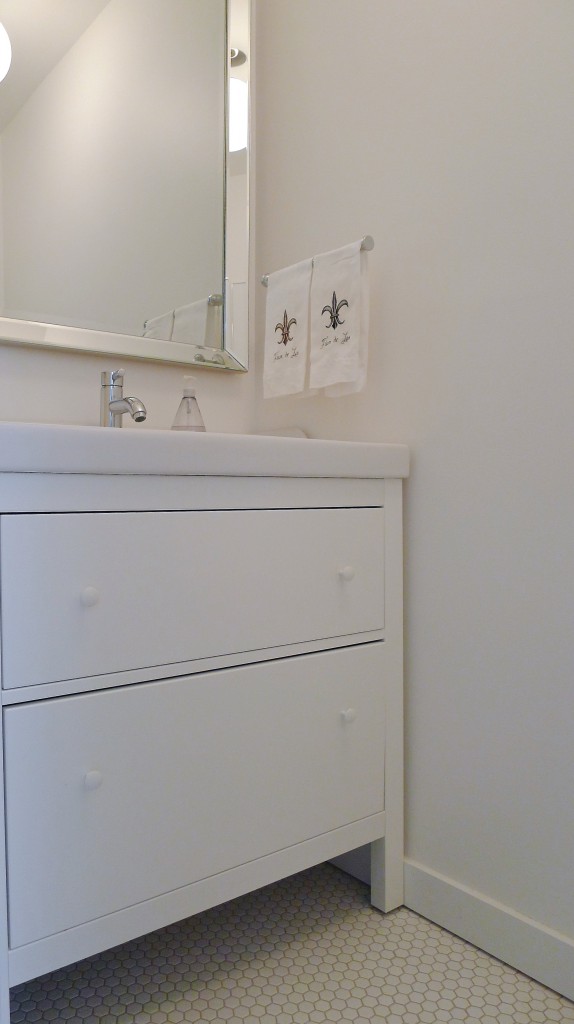
White-Cabana-Powder-Room-1 White-Cabana-Powder-Room-2 White-Cabana-Powder-Room-3 White-Cabana-Powder-Room-4 White-Cabana-Powder-Room-5I am so pleased with how this little room came together. Me and my family did the work ourselves, so the only cost was for supplies and fixtures. Little money, big impact. I especially love the floor in my powder room because I installed it myself. Who knew I would ever do such a thing!

Sources:
Tommy faucet – Delta c/o
cabinet & sink – IKEA
hex tiles – Twin City Tile
twin flush, energy efficient toilet – Costco
vintage Chanel poster – Les Puces flea market, Paris
mirror – HomeSense
towel bar – Umbra (it’s a paper towel holder)
linen towels – vintage
milk glass – vintage
light fixture – vintage
toilet roll holder – Bed Bath & Beyond
baseboards, light plates – Home Depot

Photos by me.

1 2 3